To publish your apps to the App Store, you need to set up your Apple Developer account. We’ve made a step-by-step guide so you can quickly set up your account. Please go here to do that and come back once that’s finished.
Publishing an App through Rork is incredibly simple. Once you have your developer account, you just have to enter a few details about your app and submit it. This guide will go through each step.

Watch an App Store submission

This example resubmits an existing app: sign in to Apple Developer through Rork, ask the agent for a new build, then submit it for review in App Store Connect.

1. Update Your Icon and App Name

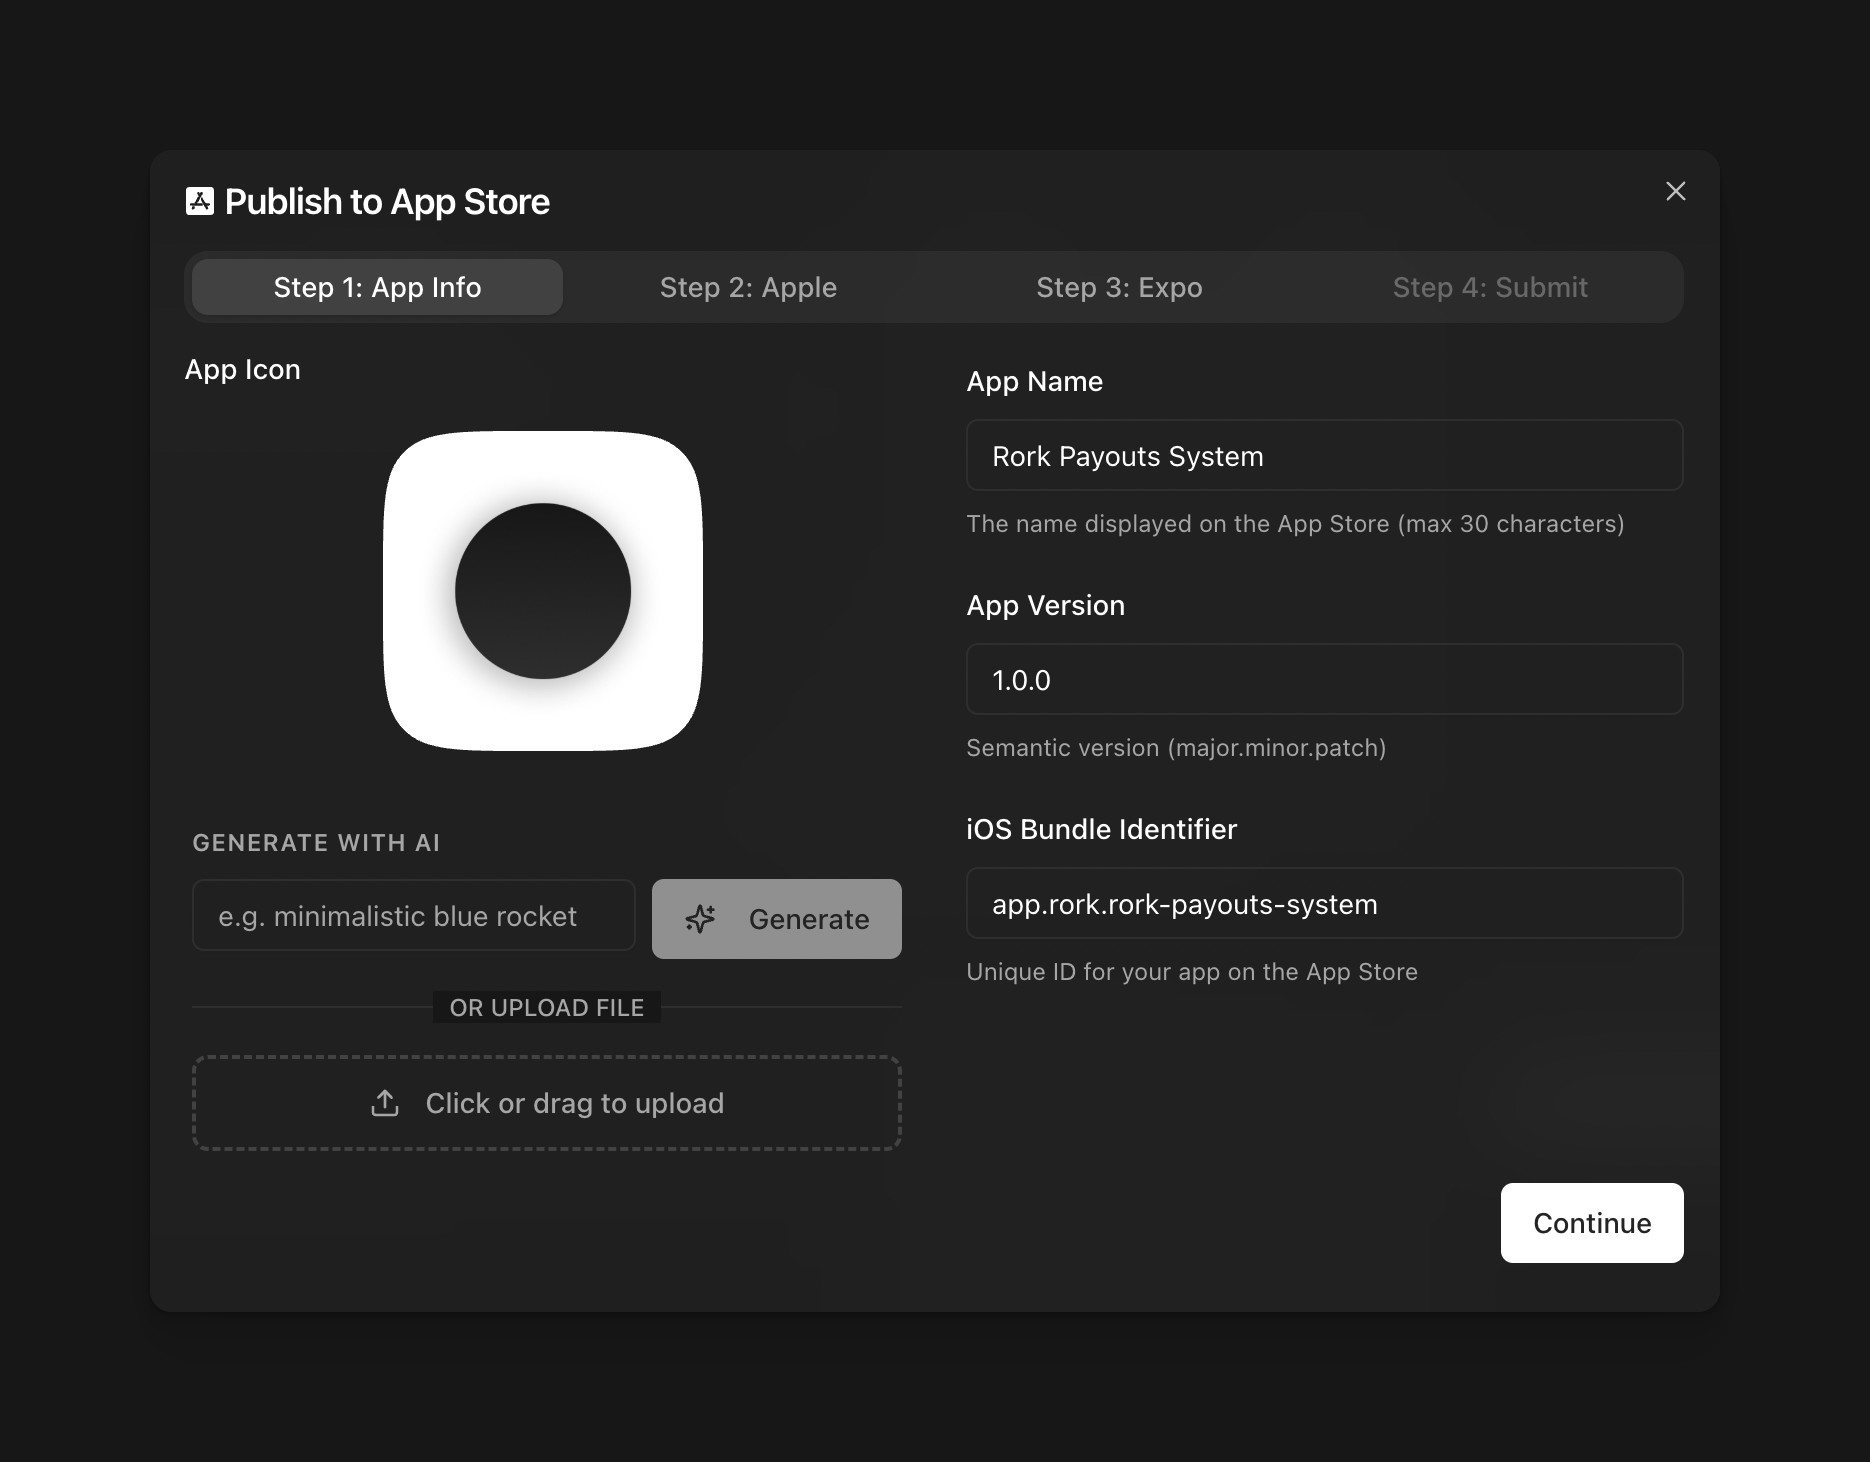
Image Inside your app, we need to update your App Icon, Name, and Variables before we submit it to the App Store. Inside your project, click on the title on the top left of your project. This will open a window with your Project Settings. Please update your Project Name, bundle identifier, and App Icon to whichever one you prefer. Once finished, save your changes. Generate a new App Icon directly in Rork You can ask your Rork editor to generate an App Icon for you, and it will integrate it for you automatically.

2. Press Publish to App Store

Press Publish to App Store. Another window will open up. Remember, if you haven’t set up an Apple Developer account. Check out our guide.
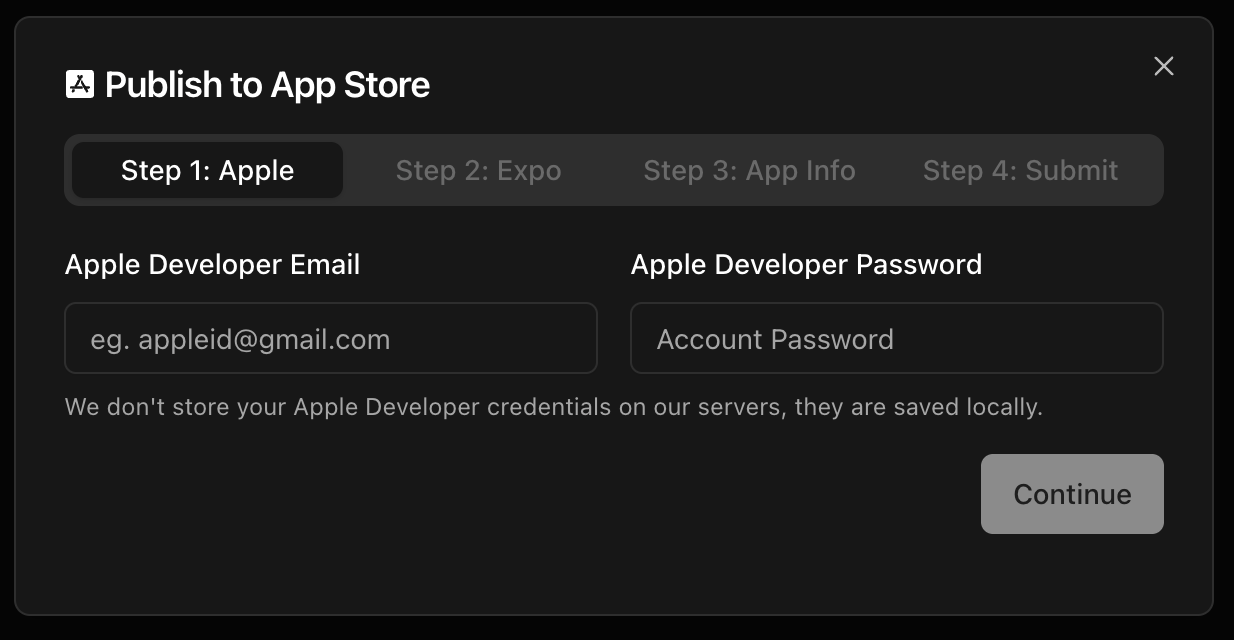
Publish to App Store, Step 1: Apple, asking for the Apple Developer email and password
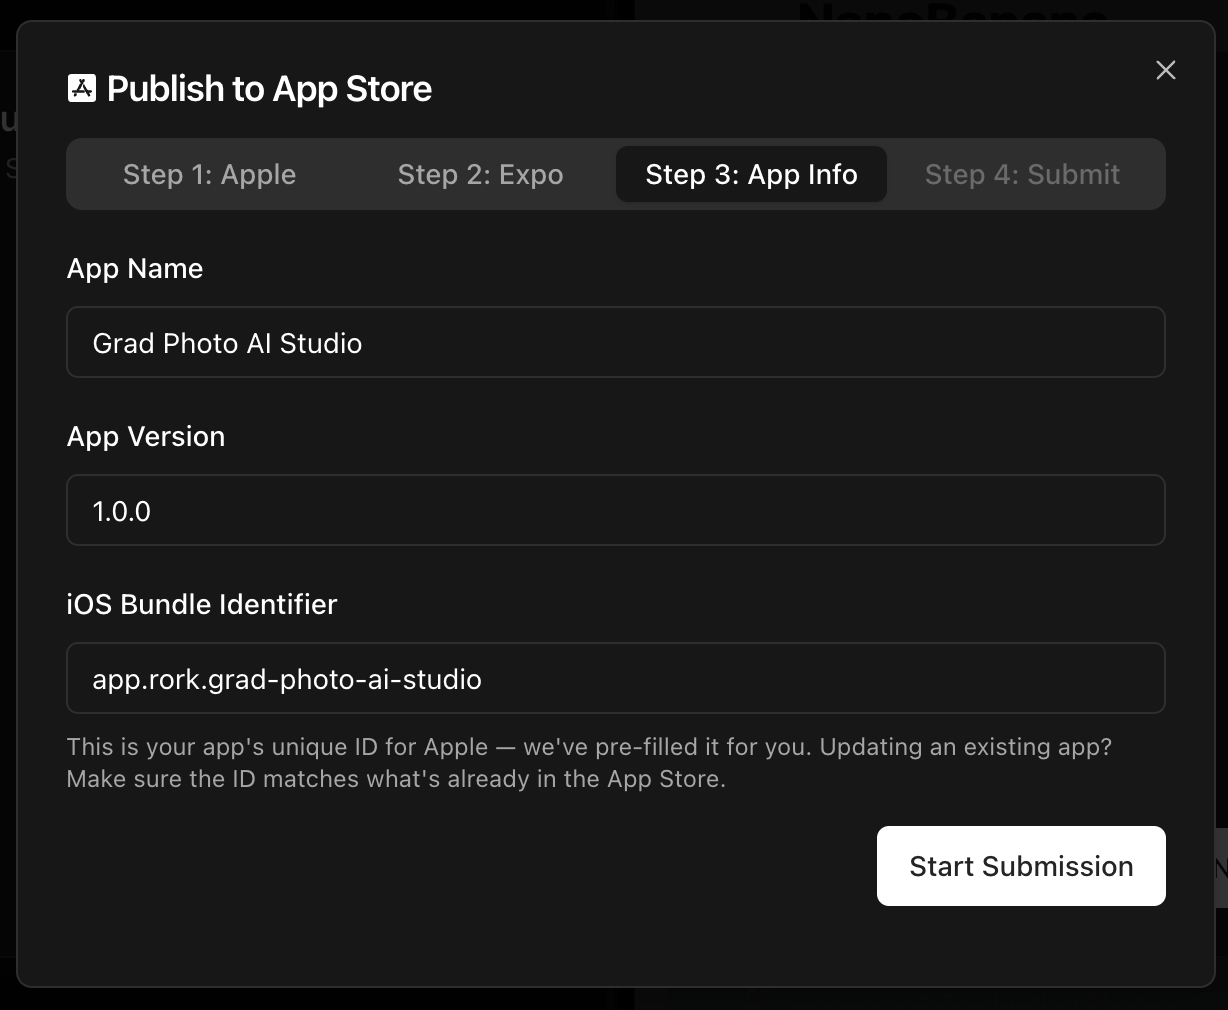
Sign in with your Apple Developer account. Rork builds the app on its own machines, so you do not need Xcode, a Mac, or any other build account. You should not have to do anything at this point since we already updated our names earlier. Start Submission.
Publish to App Store, Step 3: App Info, with the app name, version, and bundle identifier filled in
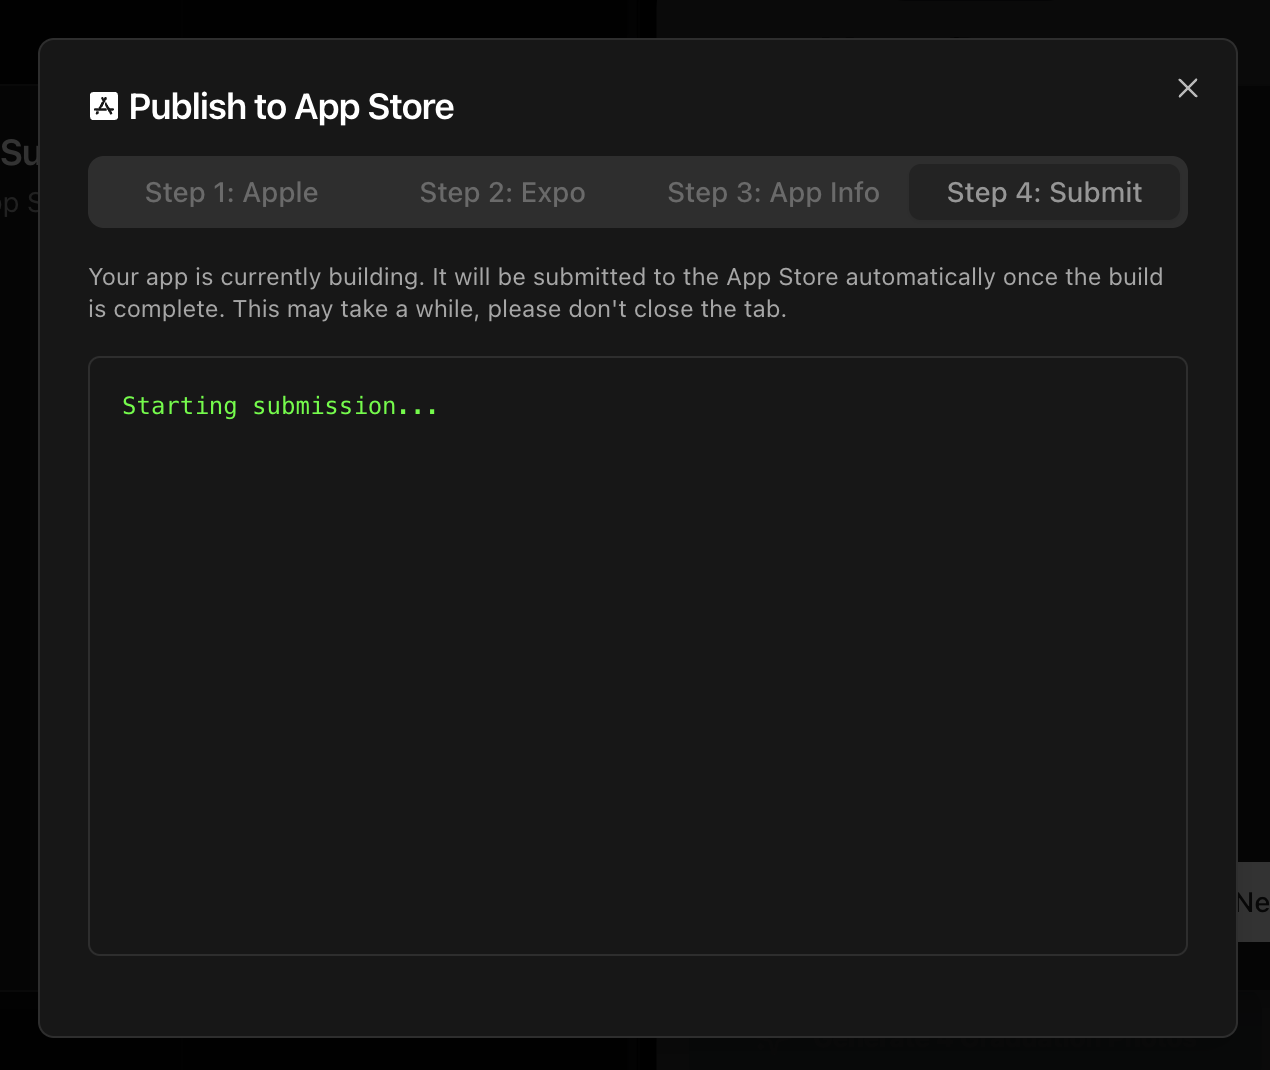
Stay on this page while the app builds and submits. There will be a point where Apple asks for a code through one of your signed-in devices. Please have that ready to enter into Rork when asked. Publish to App Store, Step 4: Submit, with the build log showing Starting submission When the app submits, you will see it show up on App Store Connect Apps Dashboard. Click this link to get to it quickly

Congrats! You have successfully submitted your app to the App Store

From this point, just follow all the instructions inside your app in App Store Connect to finish entering your Product Page, then you can finally submit to the App Store! You will have an app in the App Store in no time! Good luck and tweet us your app link! @rork_app Once the app is live, the ratings and the written reviews arrive in the project, and the agent writes your replies. See Reply to App Store reviews.