Create a Firebase account
- Go to Firebase and log in with your Google account. You may have to answer a few questions before you can create your first project. This takes just a few minutes.
-
Create a new Firebase project (choose a name).
Feel free to skip the Gemini AI assistance and Analytics part for now. You can always add those in later.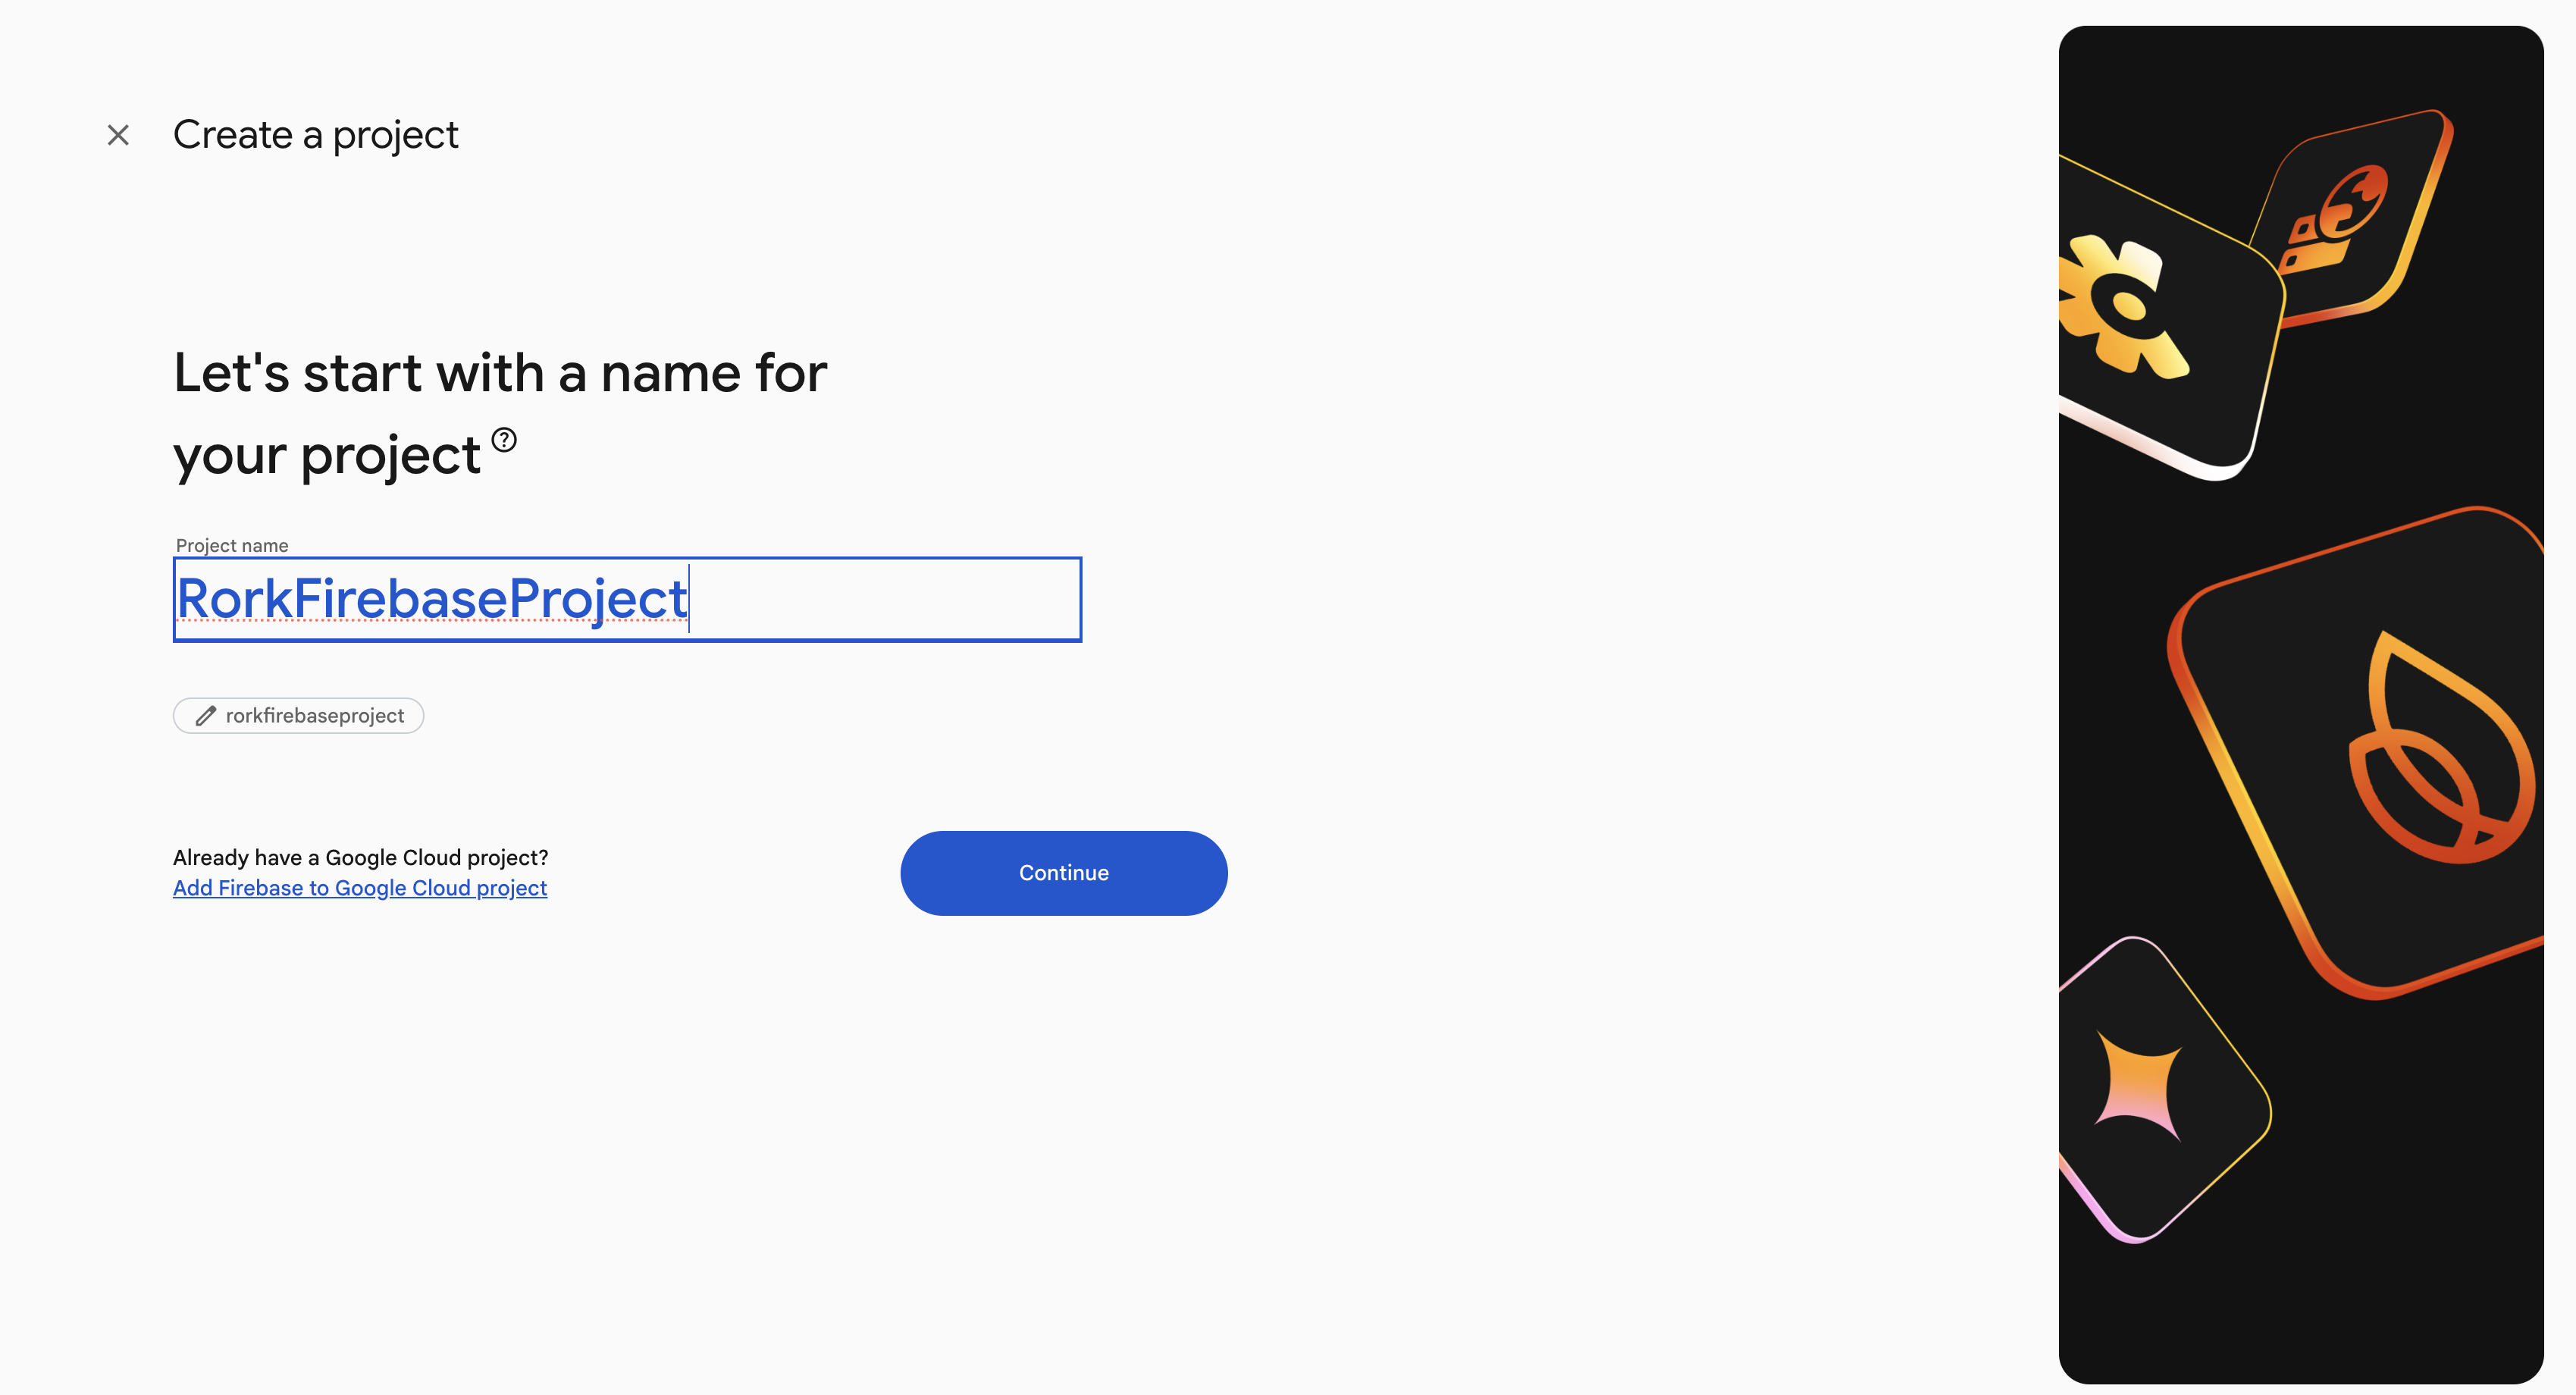
-
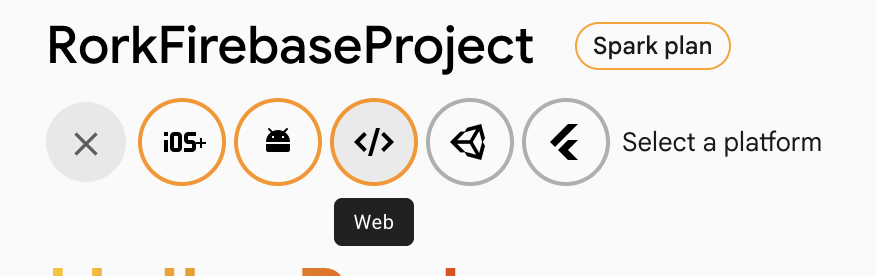
Register your app.
After you have a Firebase project, you can register your app within that project.-
You should see an “Add App” button followed by a set of Platforms. While it may make sense to choose iOS or Android, we are running the Expo framework in the background, which is powered by JS/Web. Choose Web.
-
Enter your app’s nickname. This is internal and won’t be seen by the public.
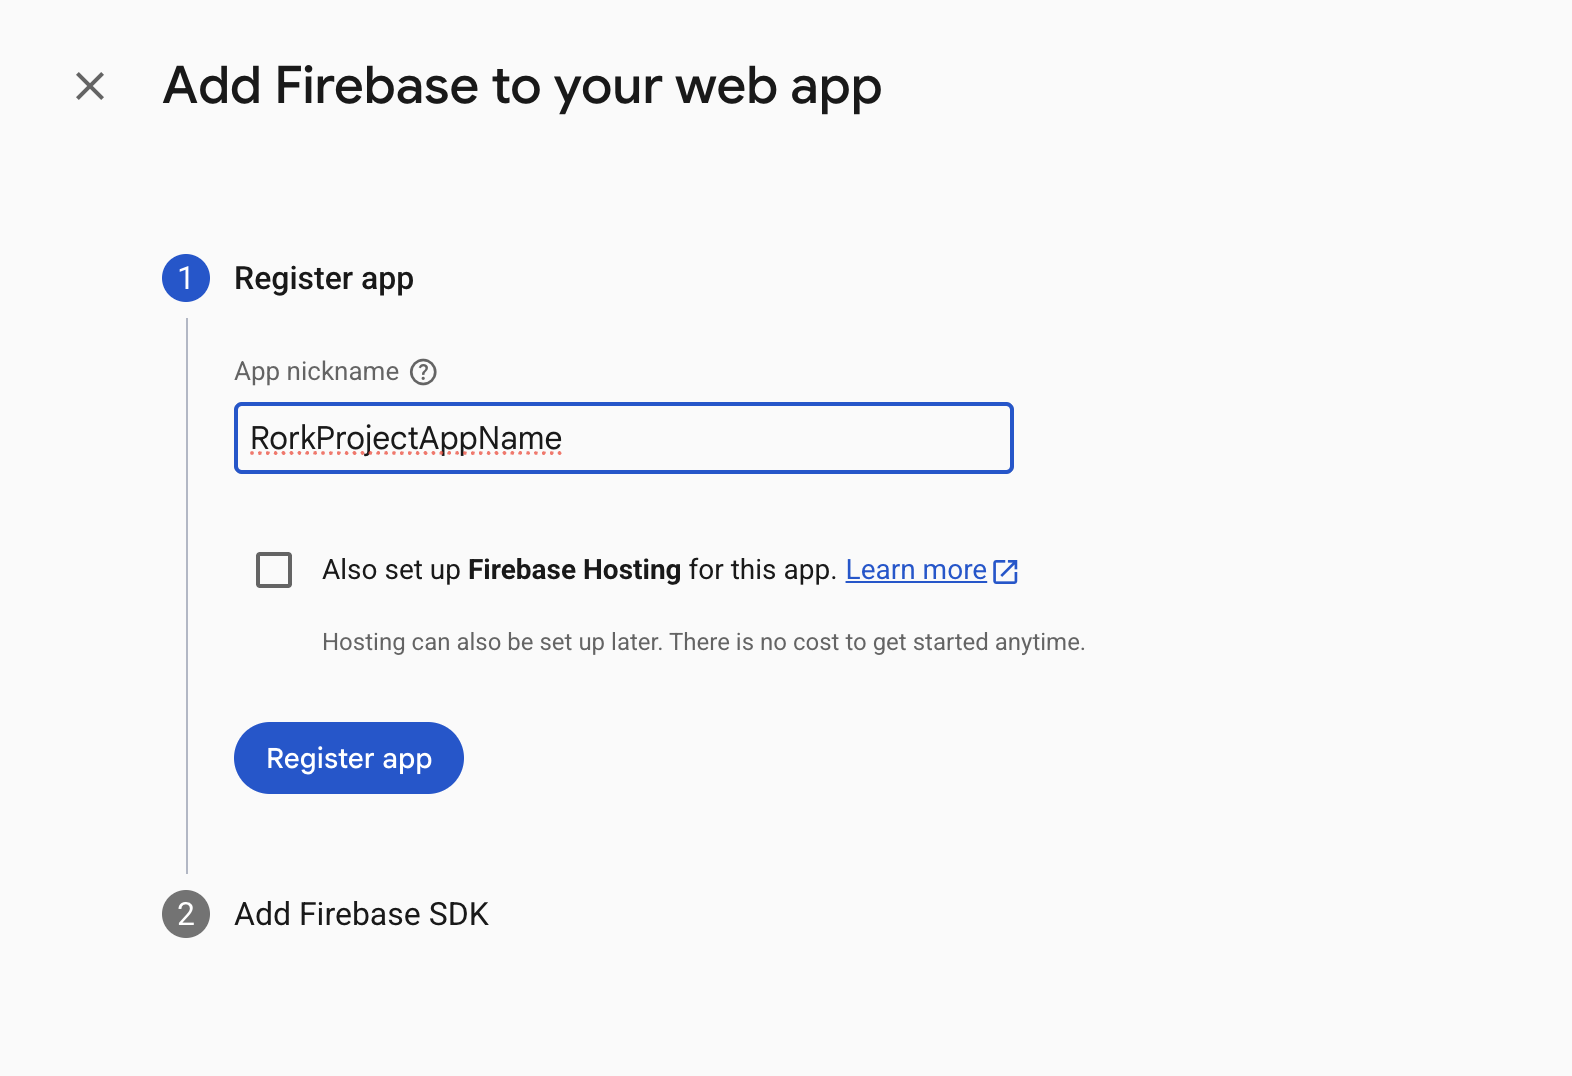
- Click the Register app.
- You will be shown your config. Please check the next steps in Collect Your Config on what to do.
-
You should see an “Add App” button followed by a set of Platforms. While it may make sense to choose iOS or Android, we are running the Expo framework in the background, which is powered by JS/Web. Choose Web.
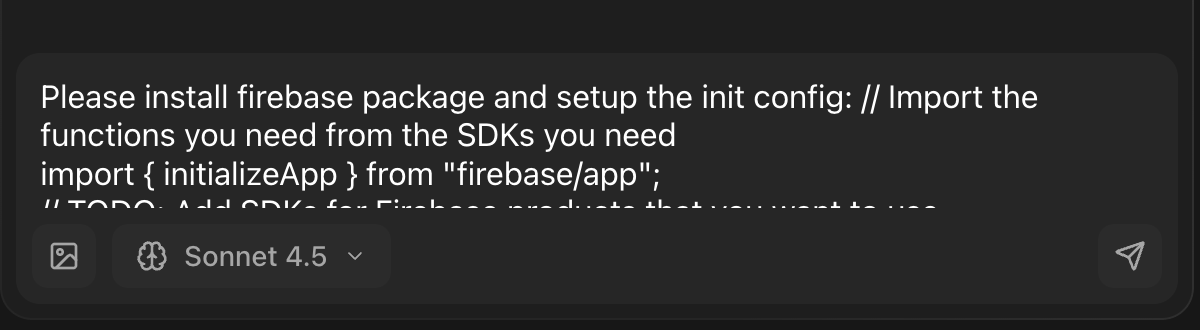
Collect Your Config
On that same page, after registering your app, you will see the config and SDK instructions. We are basically going to tell our Rork project editor to add these in.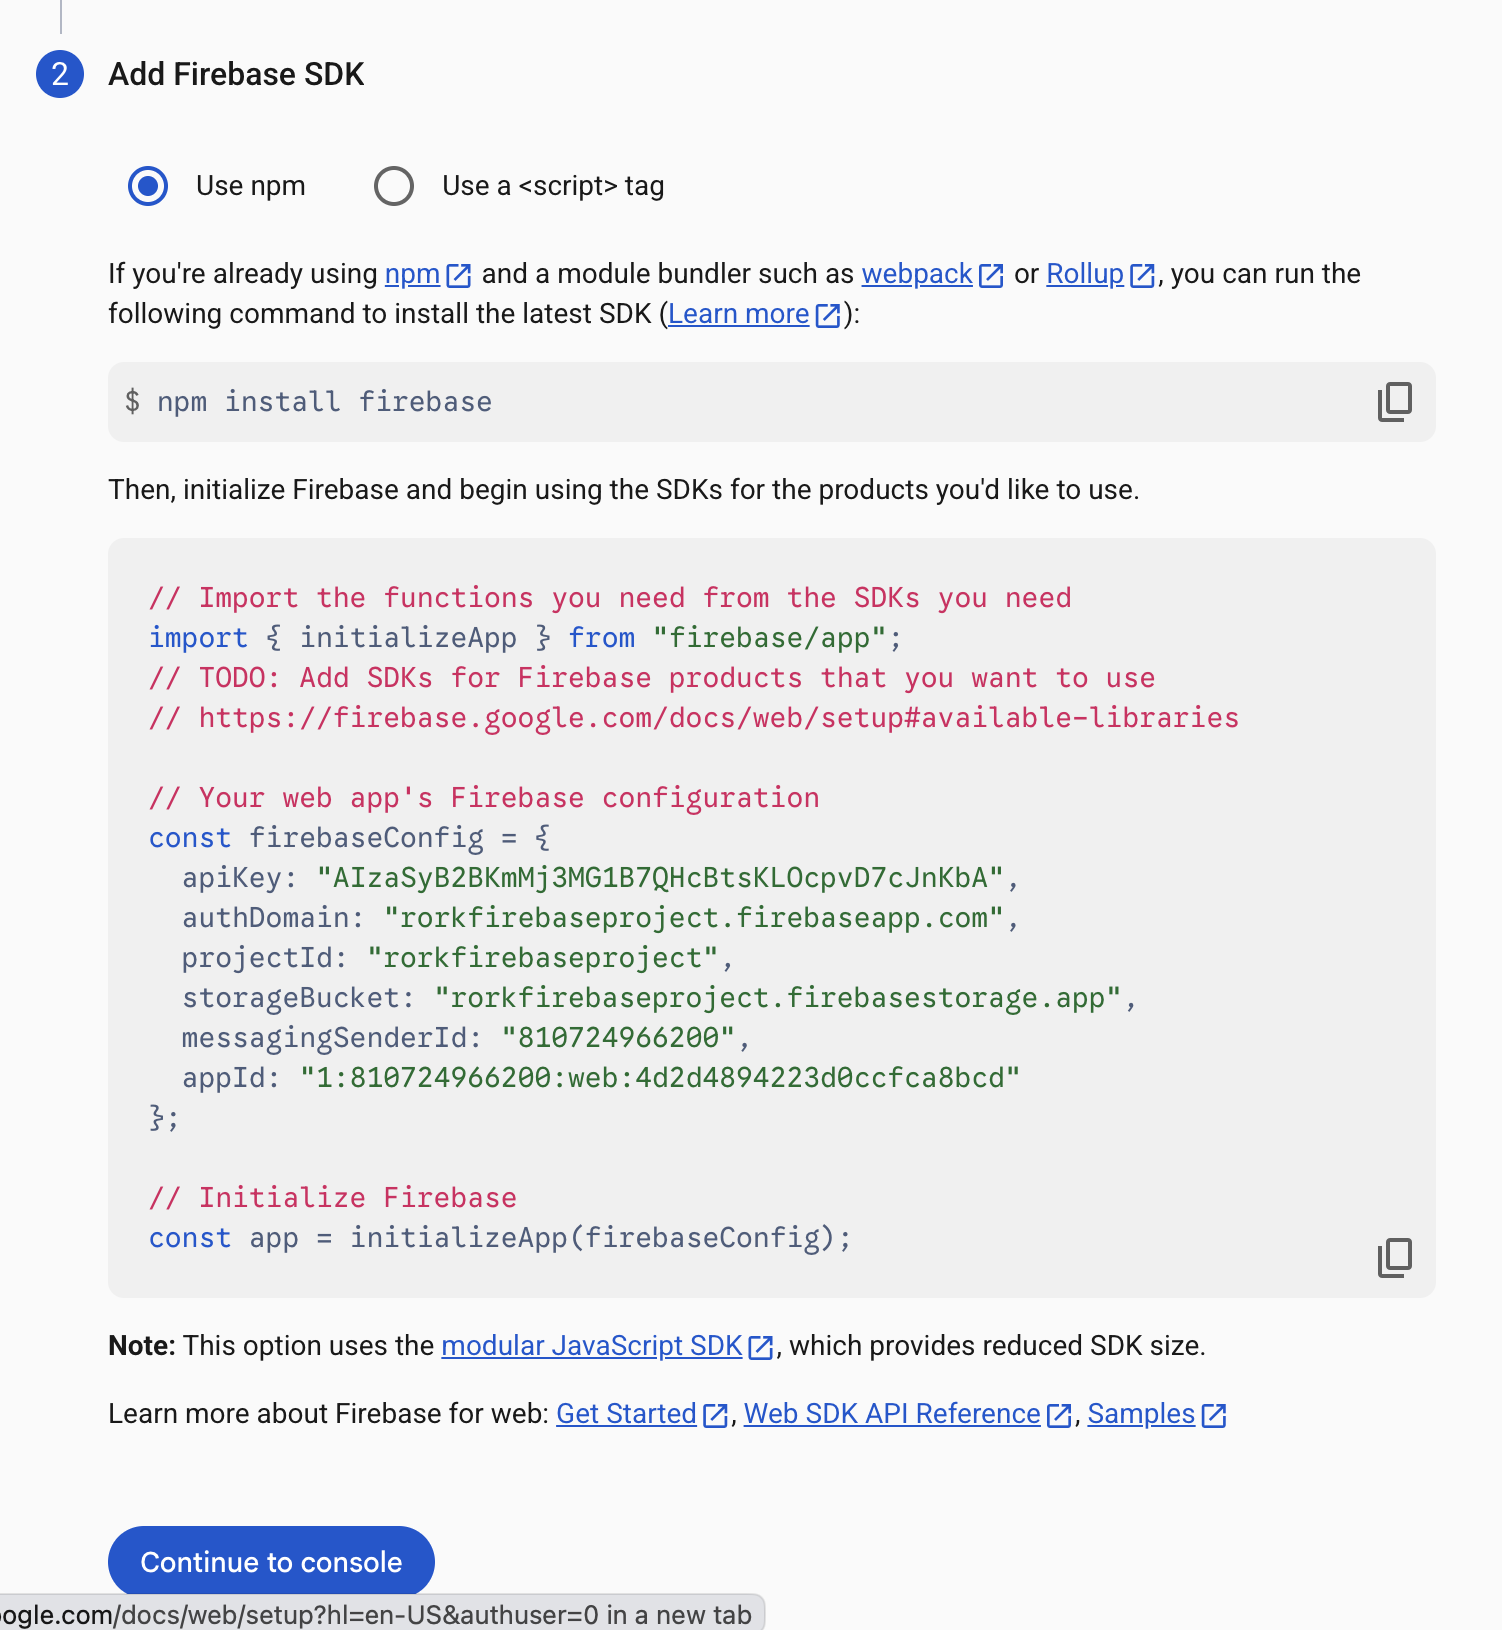
Creating the Backend Data Schema
This is probably going to be the most challenging part of this whole process if you have never done this, but you can also use AI (inside Rork) to help you out. You need to figure out the data schema needed for your application to work, and the functions that it should be able to do as well. Just like with SQL, you still need to define which objects your app needs — but Firebase uses NoSQL instead of tables. This means:- You will create collections (like tables)
- Each user or post will be a document
- A document contains fields
- You can also have subcollections nested inside documents
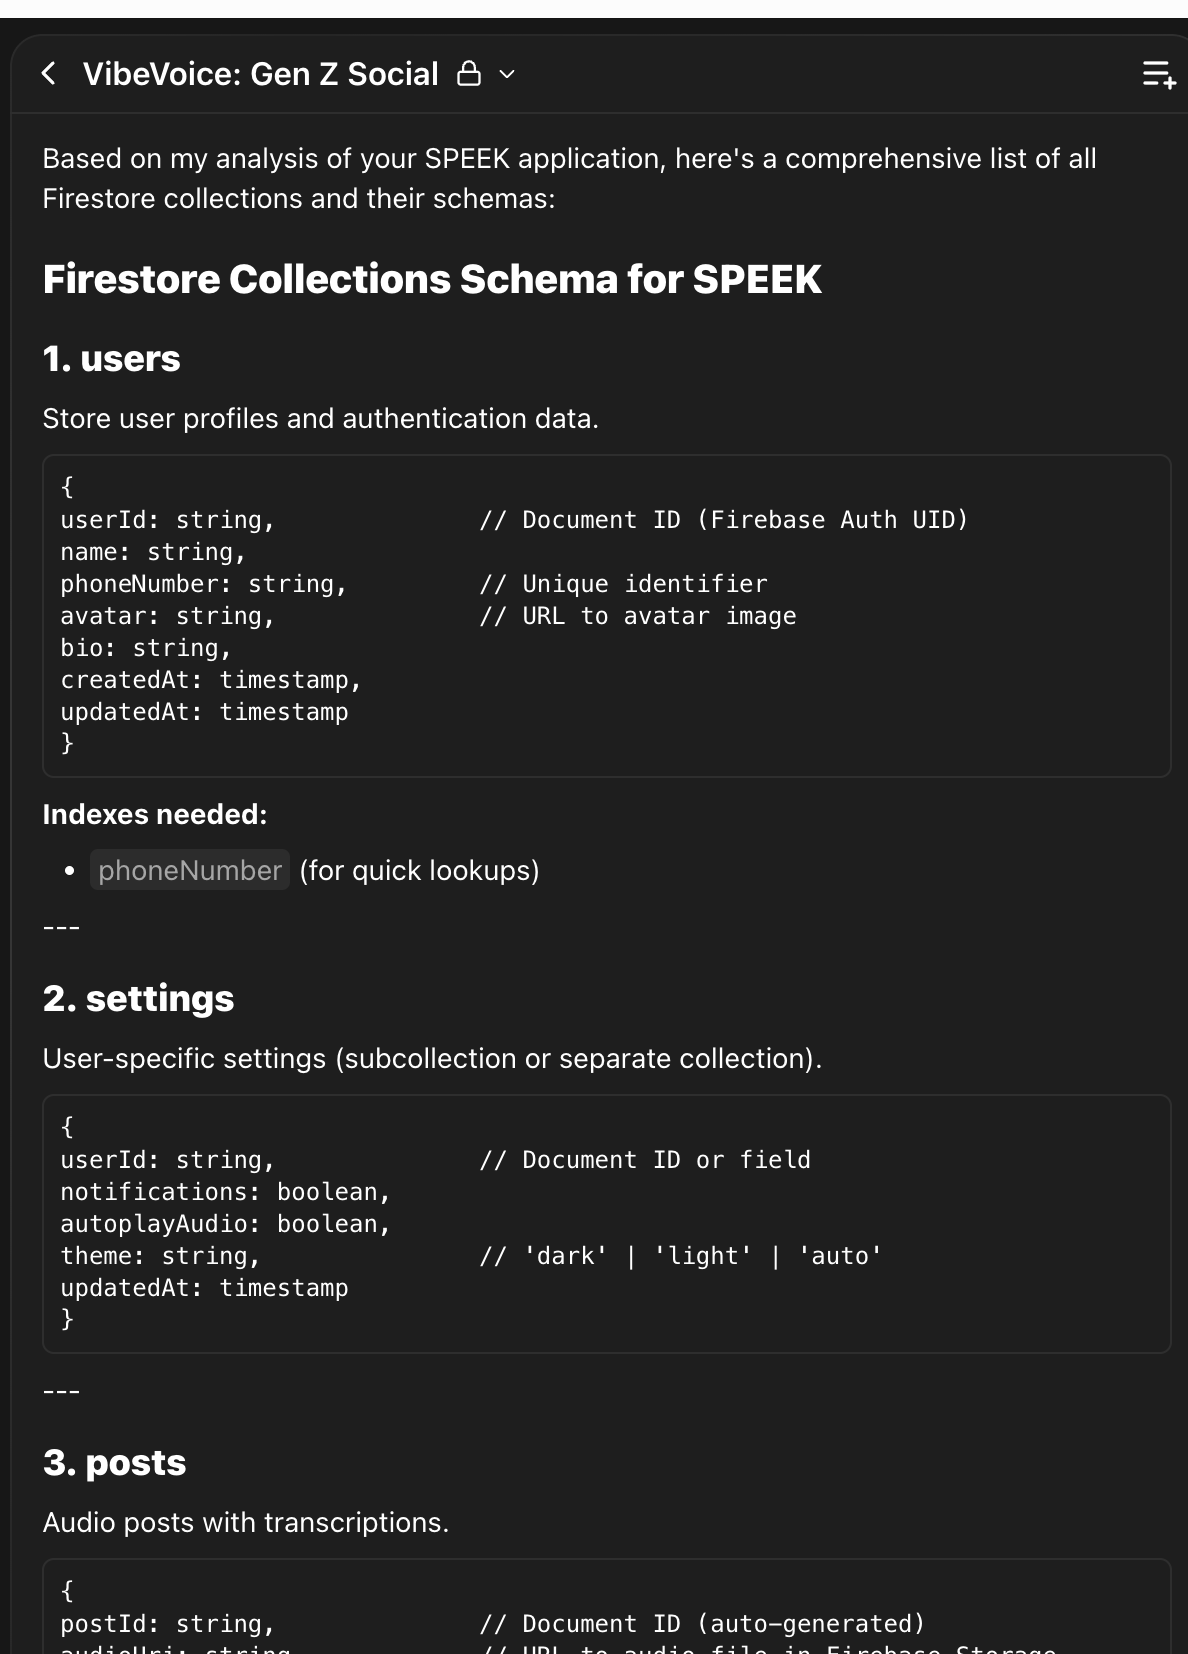
Please list out all of the data schema collections required for our application to work. I will be using this list to create my Firestore collections and security rules.
Create Your First Database
We need to enable the Firestore Database in order to be able to store information on the cloud. Click on Firestore Database on the left-hand panel inside your Firebase project. Create a database and pick a region closest to your users. You cannot change this later, and this does affect the speed of your backend. Once in, add the security rules Rork told you to add. Go to the Rules tab and paste them in.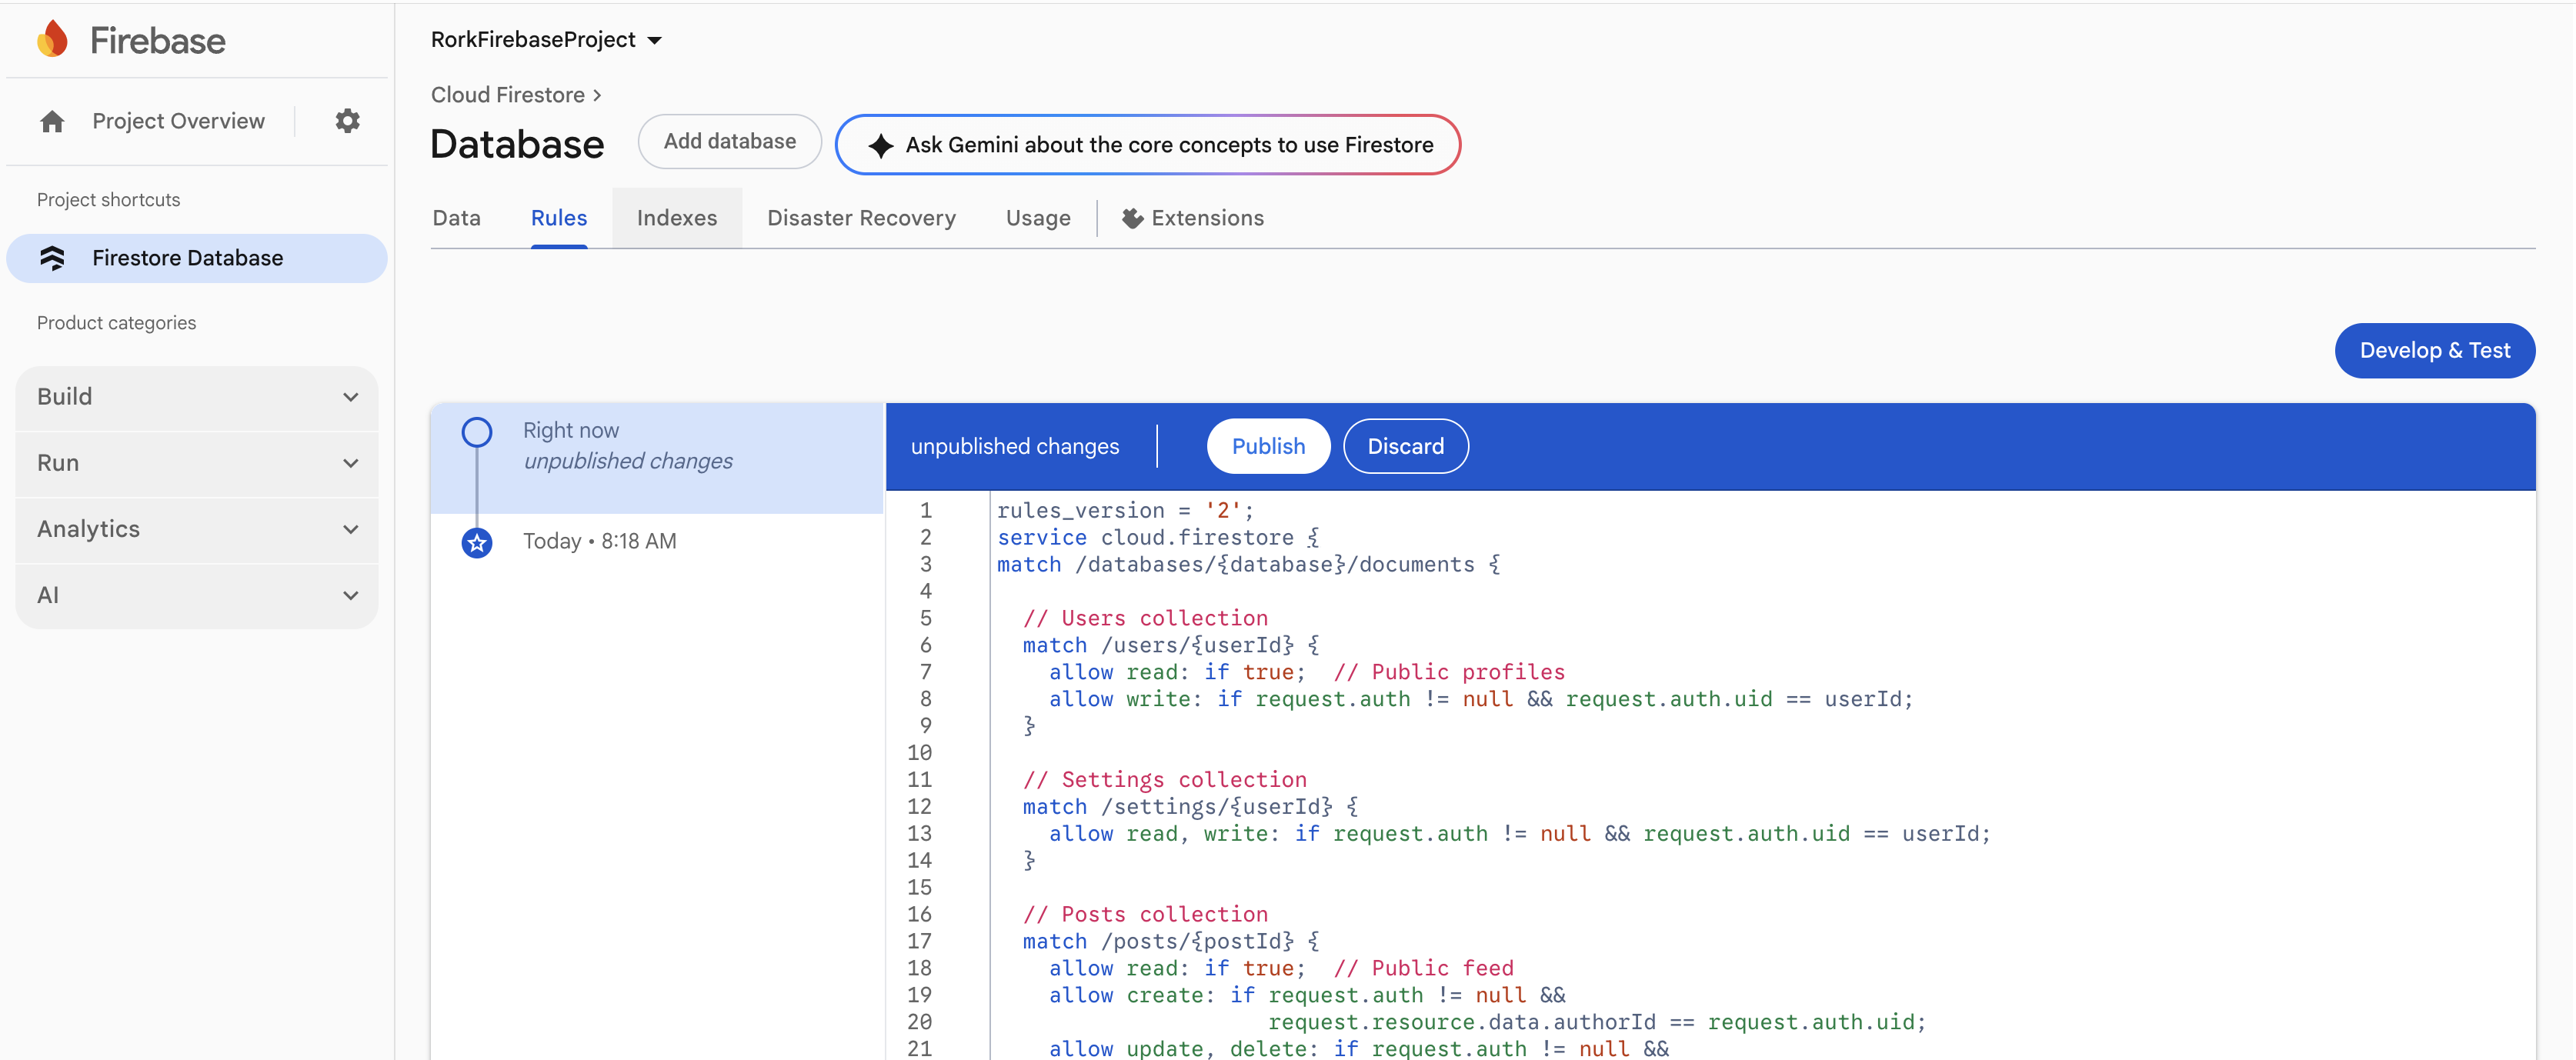
Set up authentication in the Firebase dashboard (e.g., email/password, OAuth providers)
Before we connect your data schema to Firestore, we need to make sure users can actually sign up and sign in. Firebase Authentication is the simplest part of this whole backend setup and requires no databases or SQL.Enable Email + Password Authentication
- In your Firebase dashboard, go to **Authentication **and press Get Started.
- Click the Sign-in method tab.
- Enable Email/Password.
- (Optional) Turn off email verification to make development easier.
- (Optional) Enable Google, Apple, or phone number if you want those later. These are highly popular asks from most users to add in.
Integrating Auth into Rork
Now that authentication is enabled, Rork can generate all the login and signup logic directly inside your project. In your Rork editor, ask:- a signup function
- a login function
- an auth state listener
- The code to create the initial user document in Firestore
- navigation updates for logged-in vs logged-out users
Ask Rork to Apply Your Schema and Build Your Functions
Now that authentication is working and your Firebase Security Rules are in place, the final step is to give Rork your app’s schema so it can generate all of the backend functionality your project needs. This step is where your backend becomes real — Rork will build:- Firestore collection/document structures
- create/read/update/delete functions
- queries (feed, user posts, lists, etc.)
- any subcollection logic (comments, likes, followers, etc.)
- Firebase Storage upload helpers (if your schema includes images/audio/video)
- fully typed helper functions your app can call
If it misses a relationship or a field, simply update your schema and re-run the request. Once this step is complete, your app is fully wired up to Firebase. The authentication, Firestore, and all your app’s backend functions will now work end-to-end!