- Supabase DB. A database for storing your user data. Row Level Security so data is protected, and users can only access their own information.
- Supabase Auth - To allow users to log in and sign up.
- Supabase Storage - To allow users to upload a profile photo.
Create a Supabase account
- Go to Supabase and create an account. This takes just a few minutes.
-
Create a new Supabase project (choose name, region, password).
Choose the region closest to where the majority of your users will be.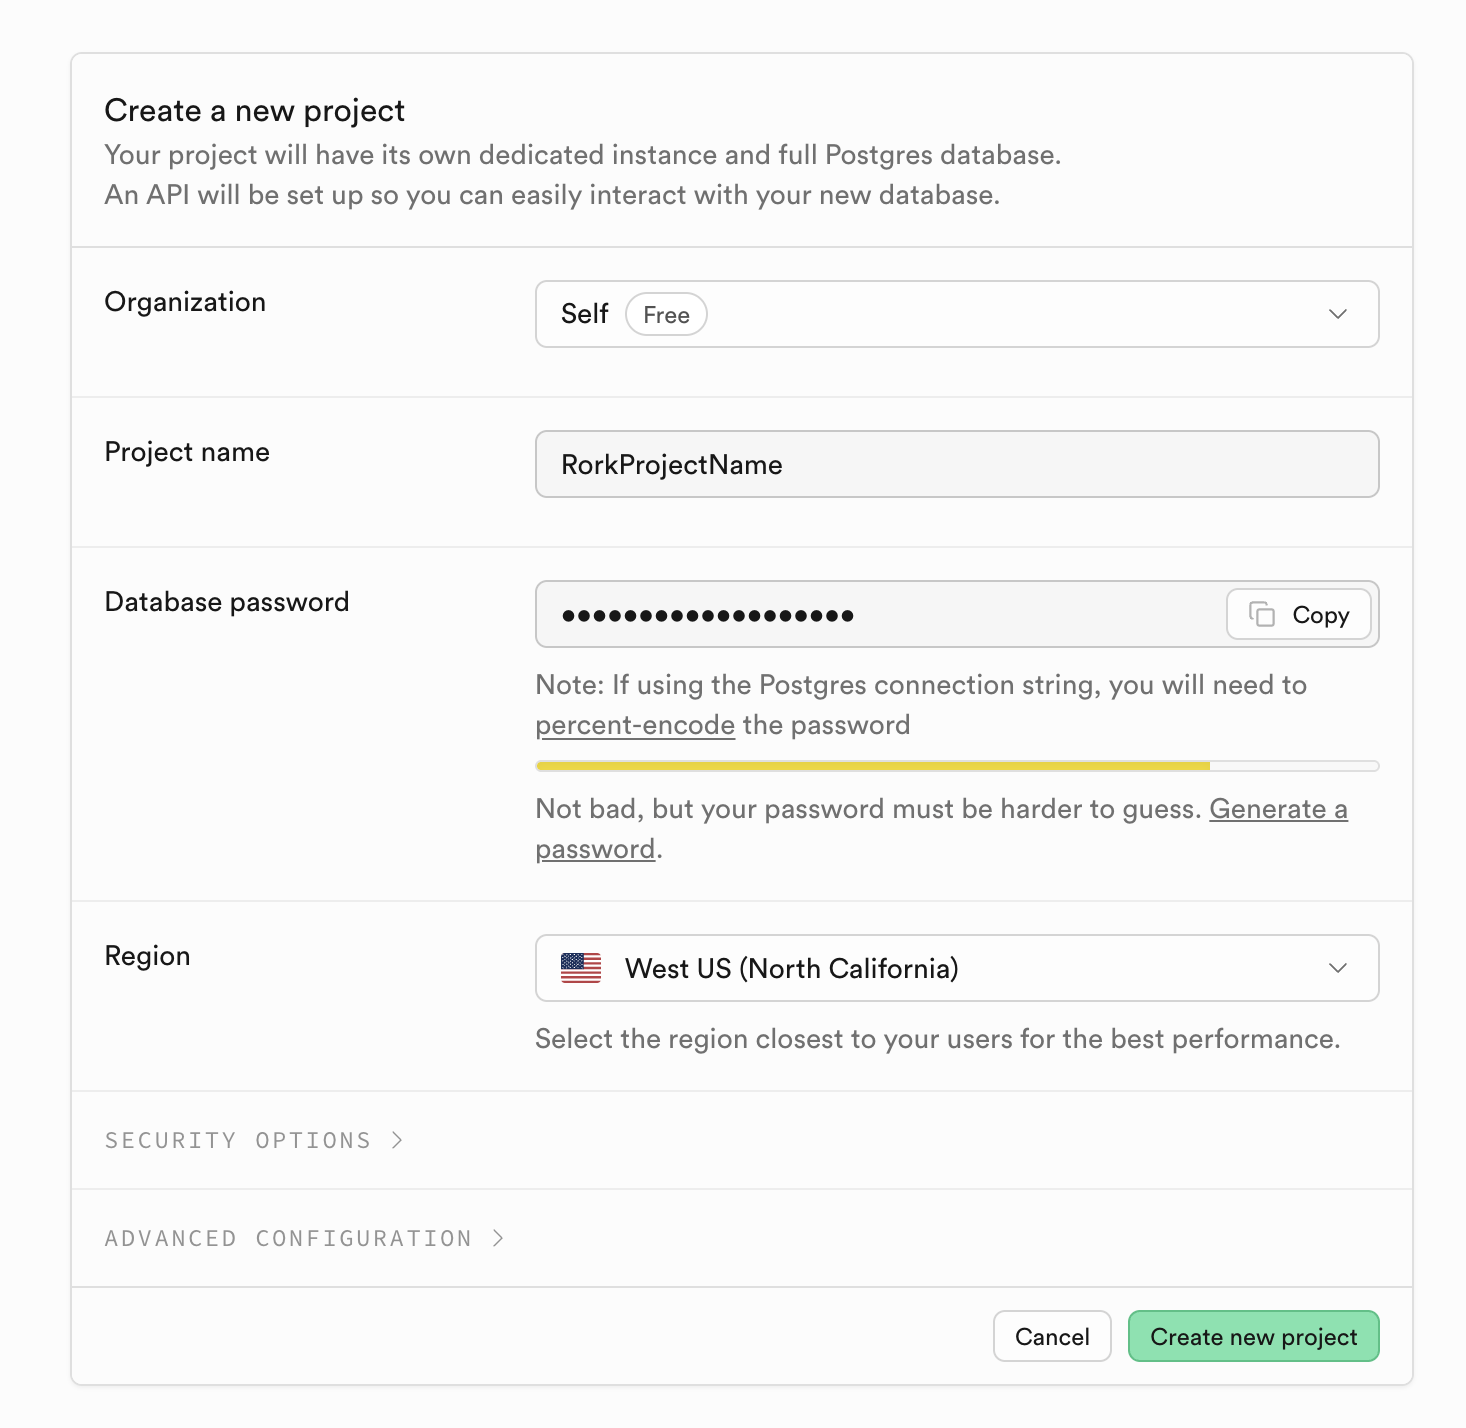
Collect Your API Keys
Get the Project URL from the API settings and Publishable Key from the API Keys:- Go to the API Settings page in the Dashboard.
- Find your Project
URLandservice_rolekeys on this page. - Then go to the API Keys page.
- Find your Project Publishable Key on this page under the API Keys tab.
Install Supabase-JS into your project
Usingsupabase-js is the most convenient way of leveraging the full power of the Supabase stack as it conveniently combines all the different services (database, auth, realtime, storage, edge functions) together.
Install + init the Supabase SDK
We need to create a config file to start the Supabase client (
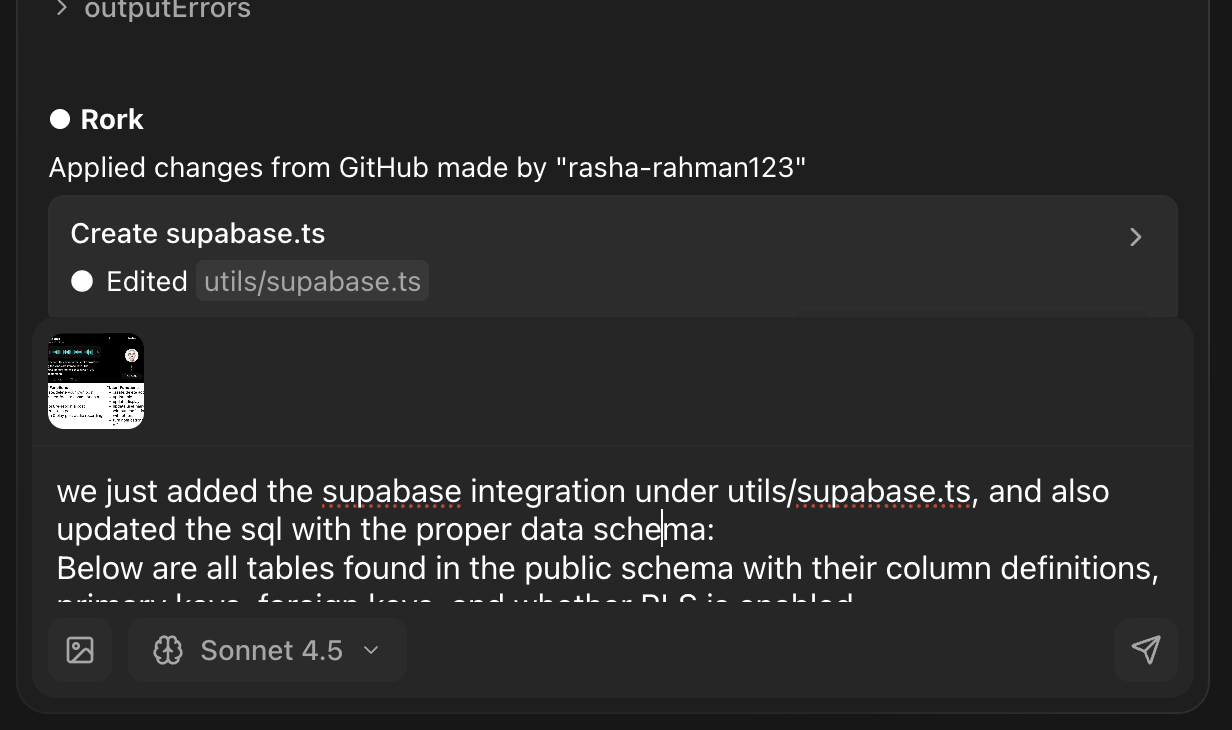
@supabase/supabase-js). Using the API URL and the Publishable Key We grabbed earlier. These variables are safe to expose in your Expo app since Supabase has Row Level Security enabled in the Database. Just copy and paste this with your proper keys to the Rork editor and say to build the utils/supabase.ts file.utils/supabase.ts
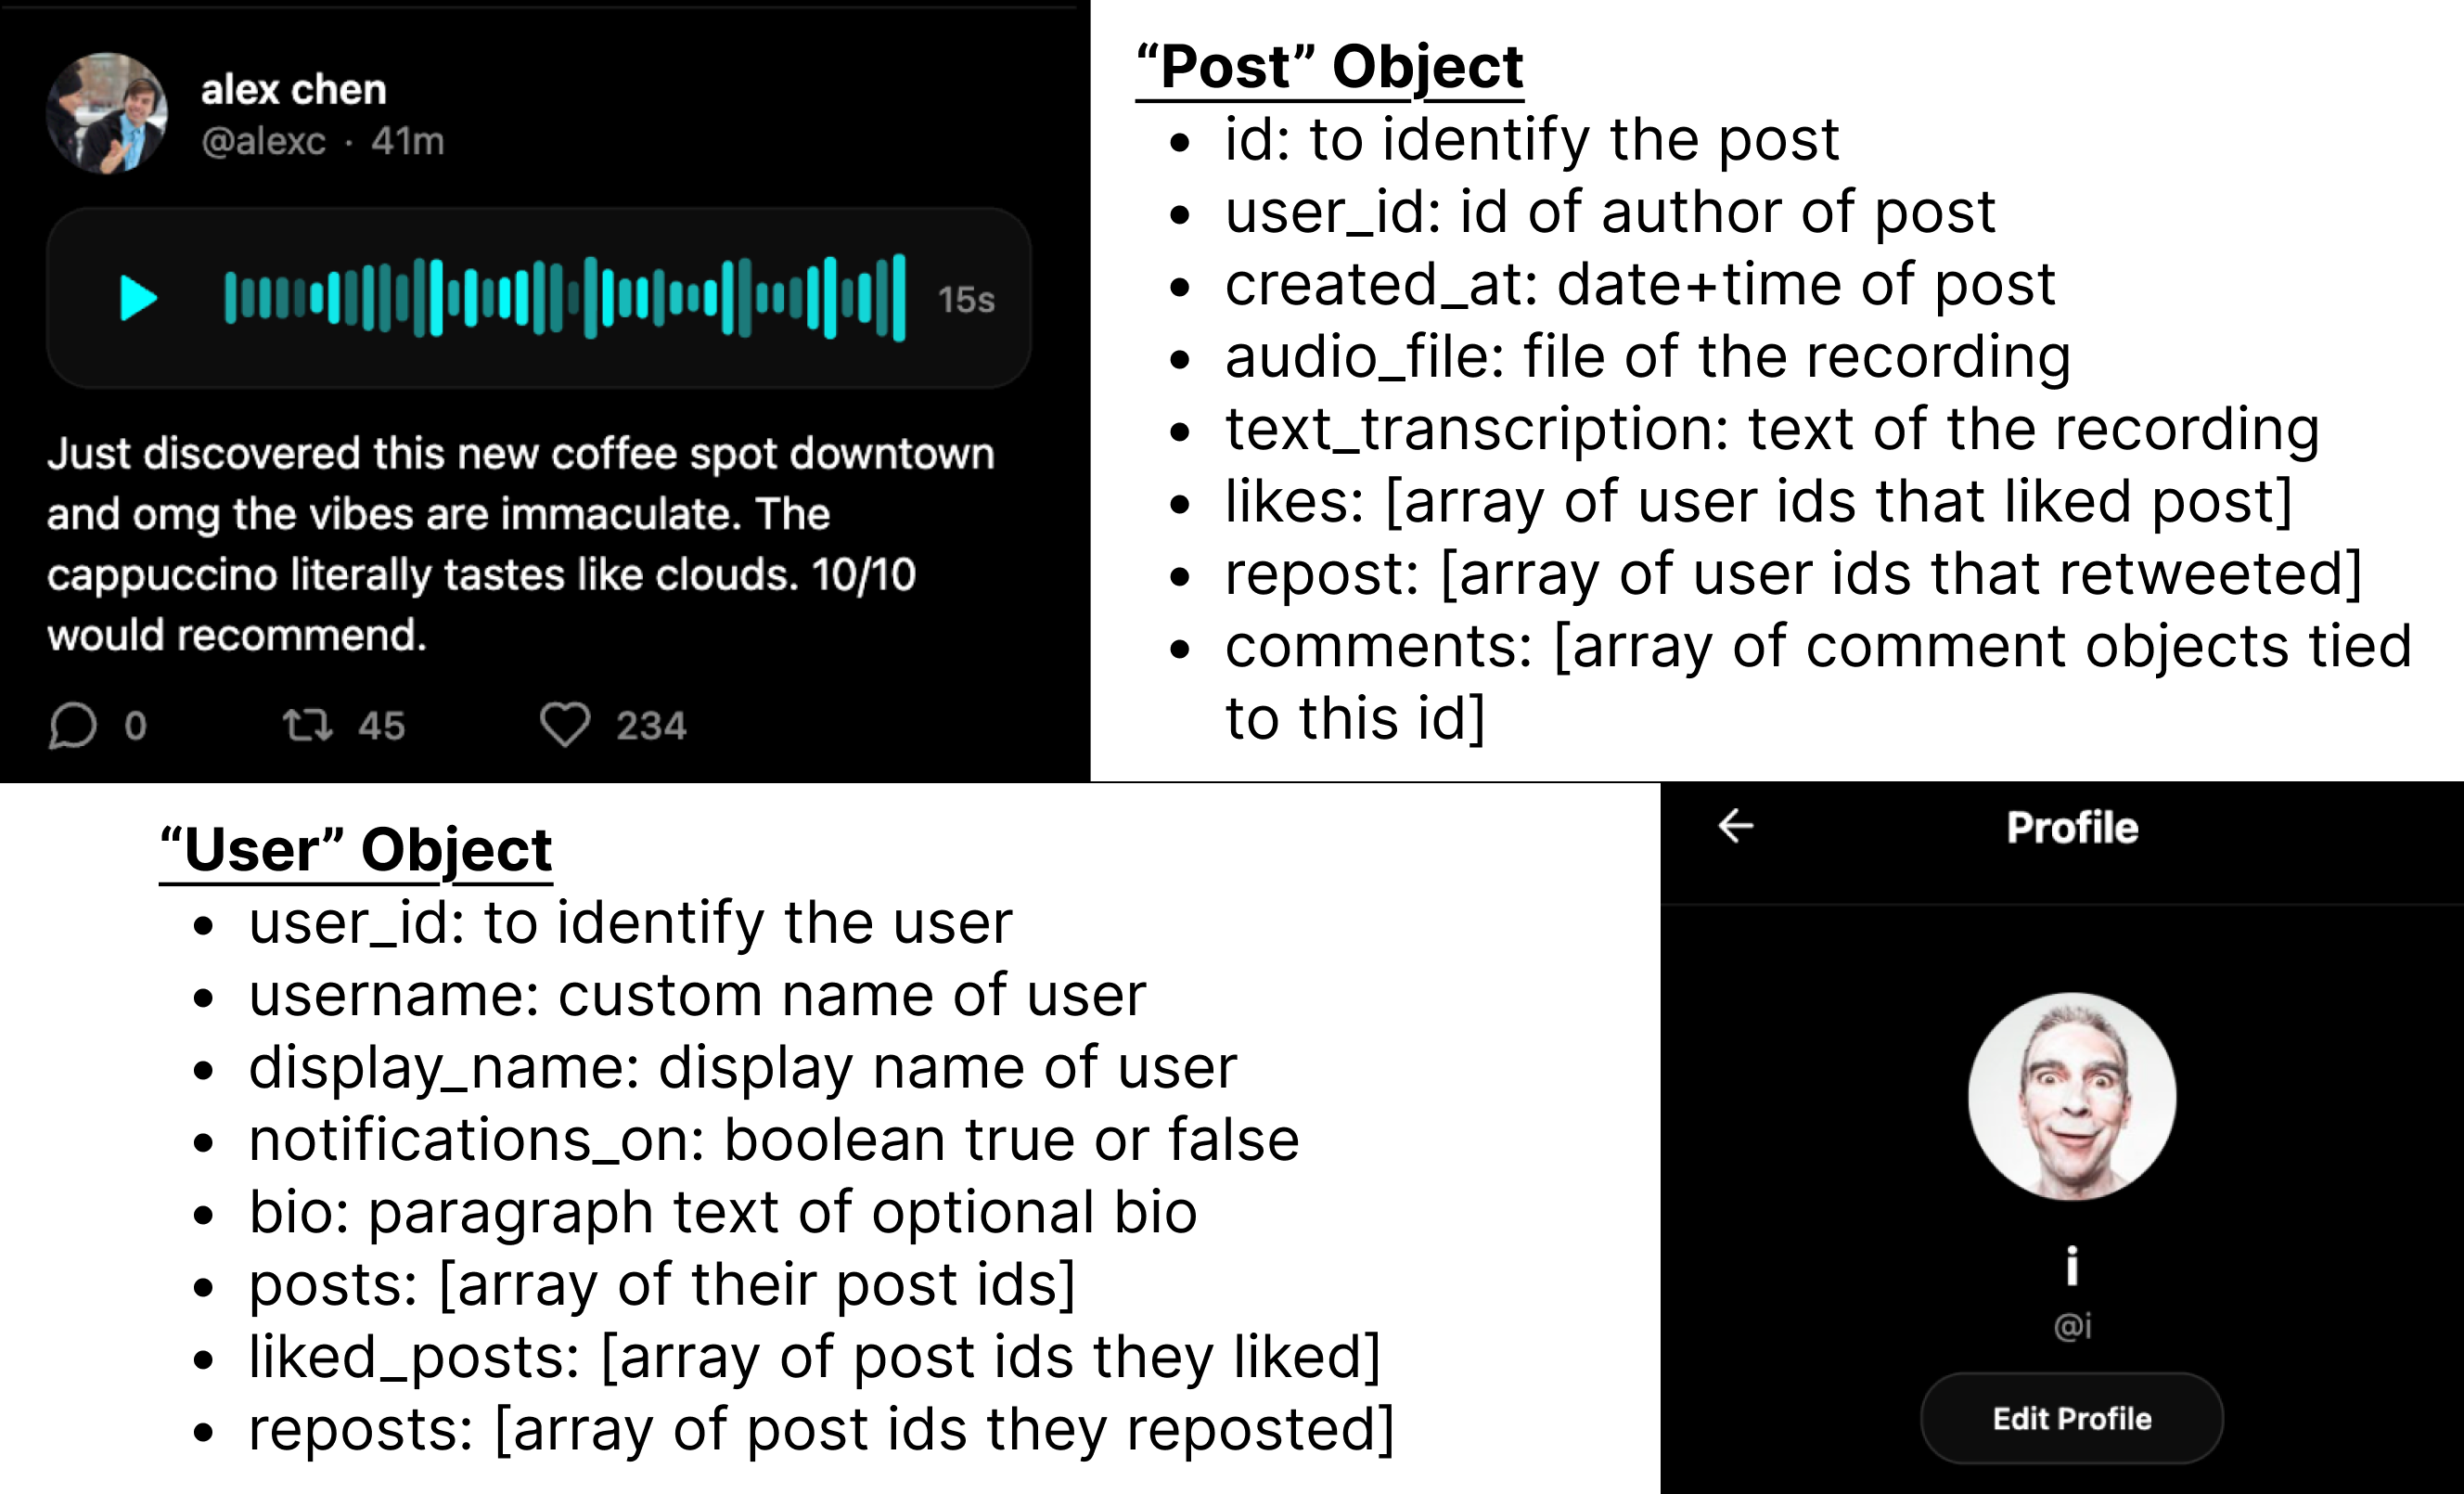
Creating the Backend Data Schema
This is probably going to be the most challenging part of this whole process if you have never done this, but you can also use AI to help you out. You need to figure out the data schema needed for your application to work, and the functions that it should be able to do as well. You can ask it to generate all the relevant database schemas required for both user management + all aspects of the app by asking Rork.Please list out all of the data schema objects required for our application to work. I will be using this list inside of the Supabase SQL AI editor to build out the proper tables.For a social media app, there are two main points of focus: the user object and the post object.
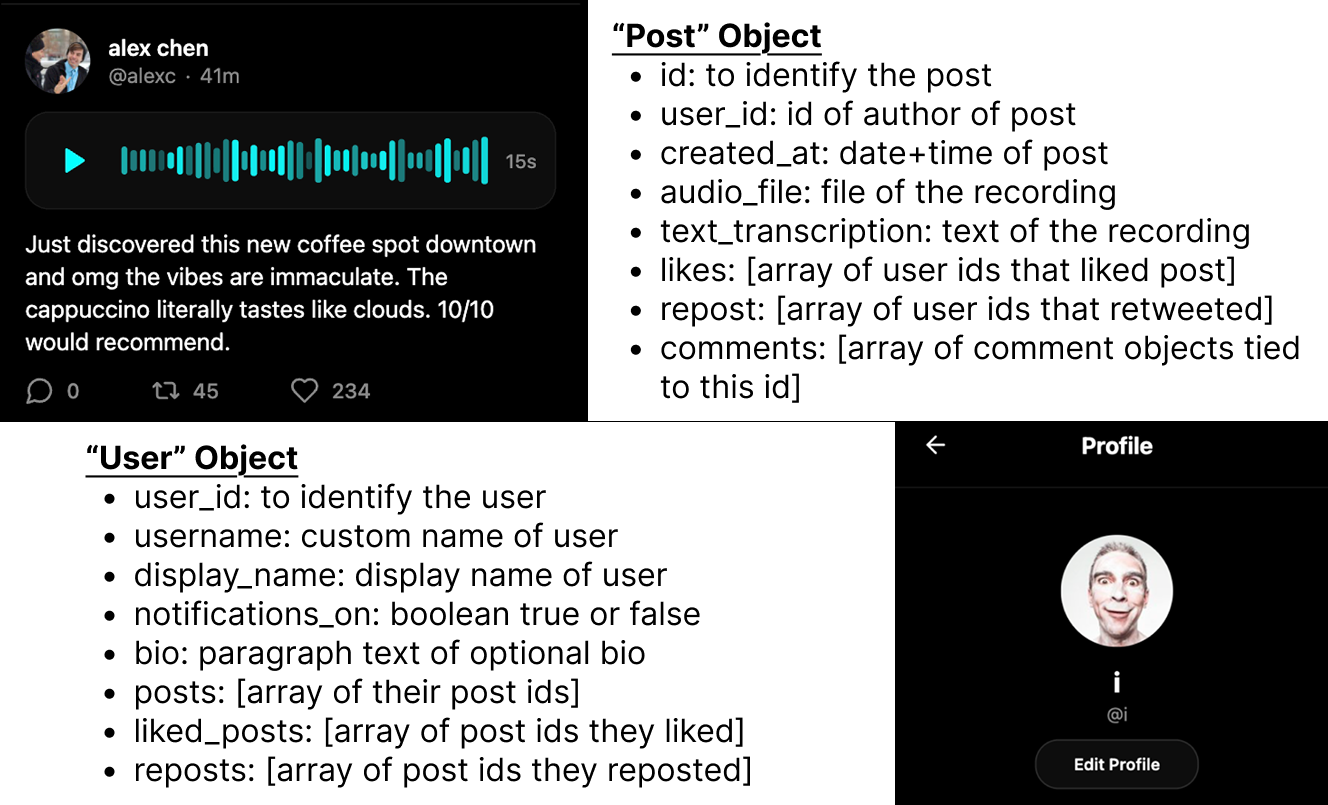
Create necessary tables for your app (with appropriate fields)
Now that you know exactly what your app’s schema is and how it functions, we can build our tables. Instead of manually building tables inside of Supabase, we can use the SQL editor inside of Supabase with its AI editor. Click on SQL Editor on the left panel inside your project. Then click on the AI editor on the top right. For this project, we will copy the objects above that were listed out inside of Rork and then ask the AI editor to build tables with them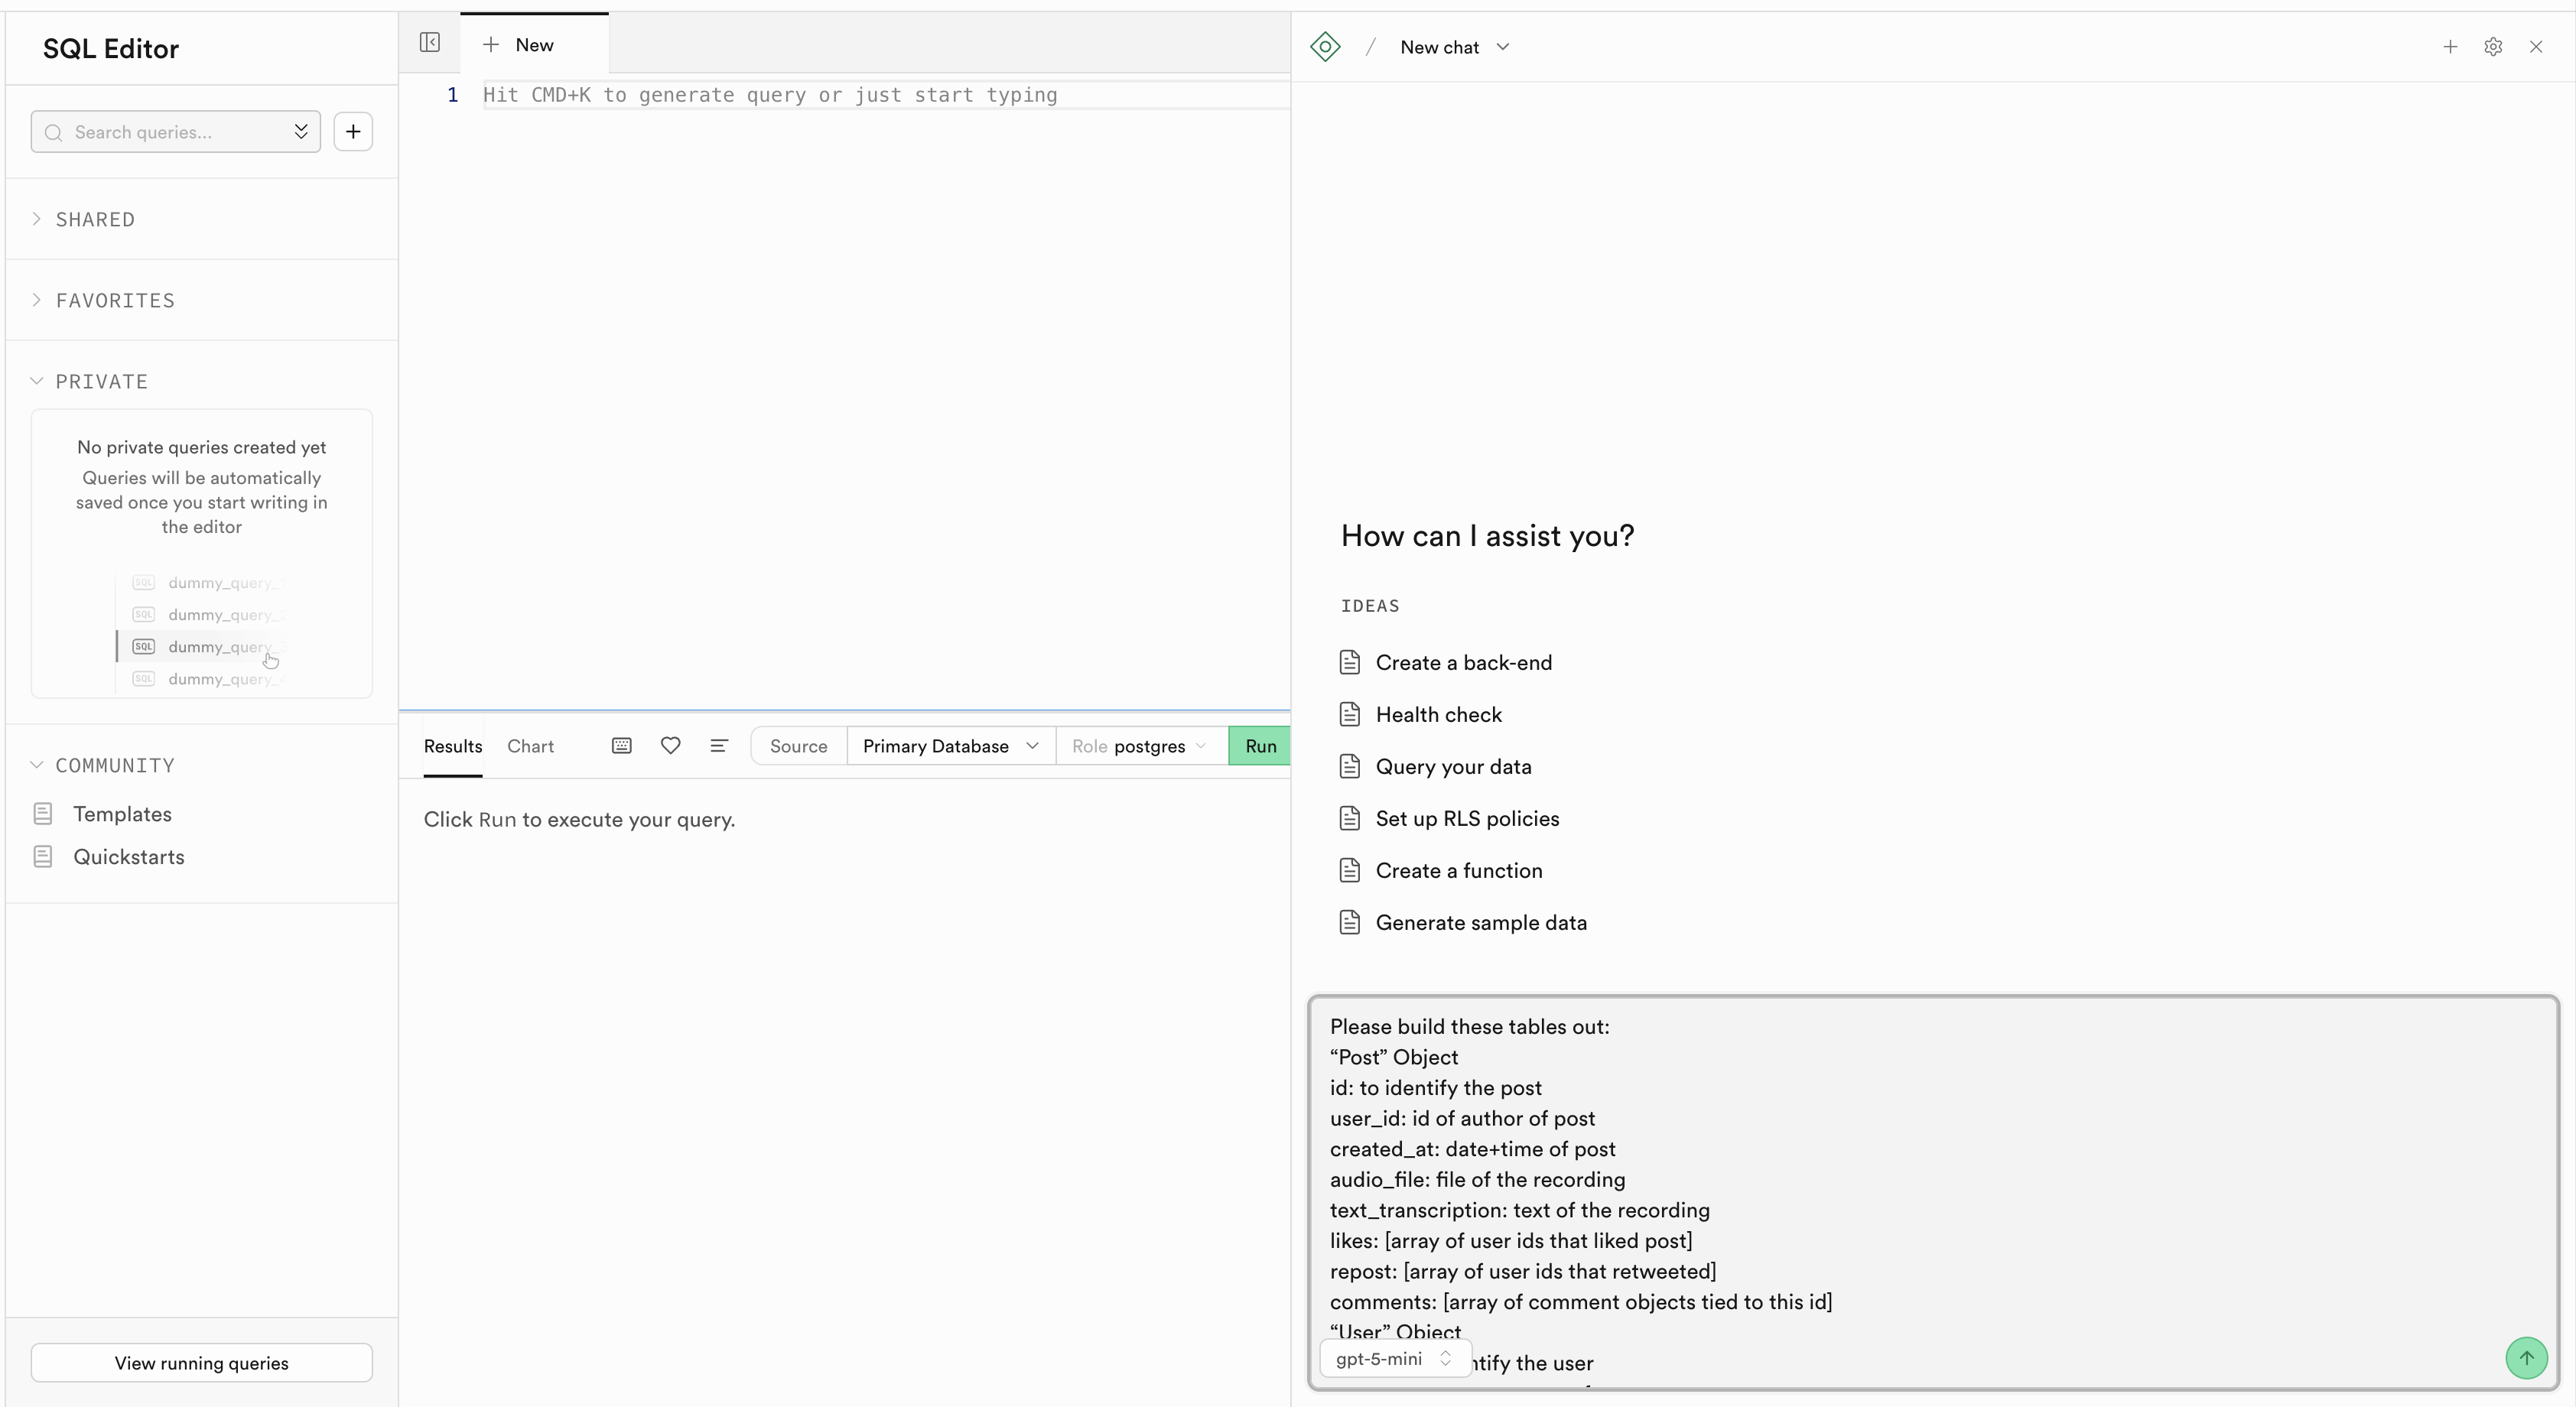
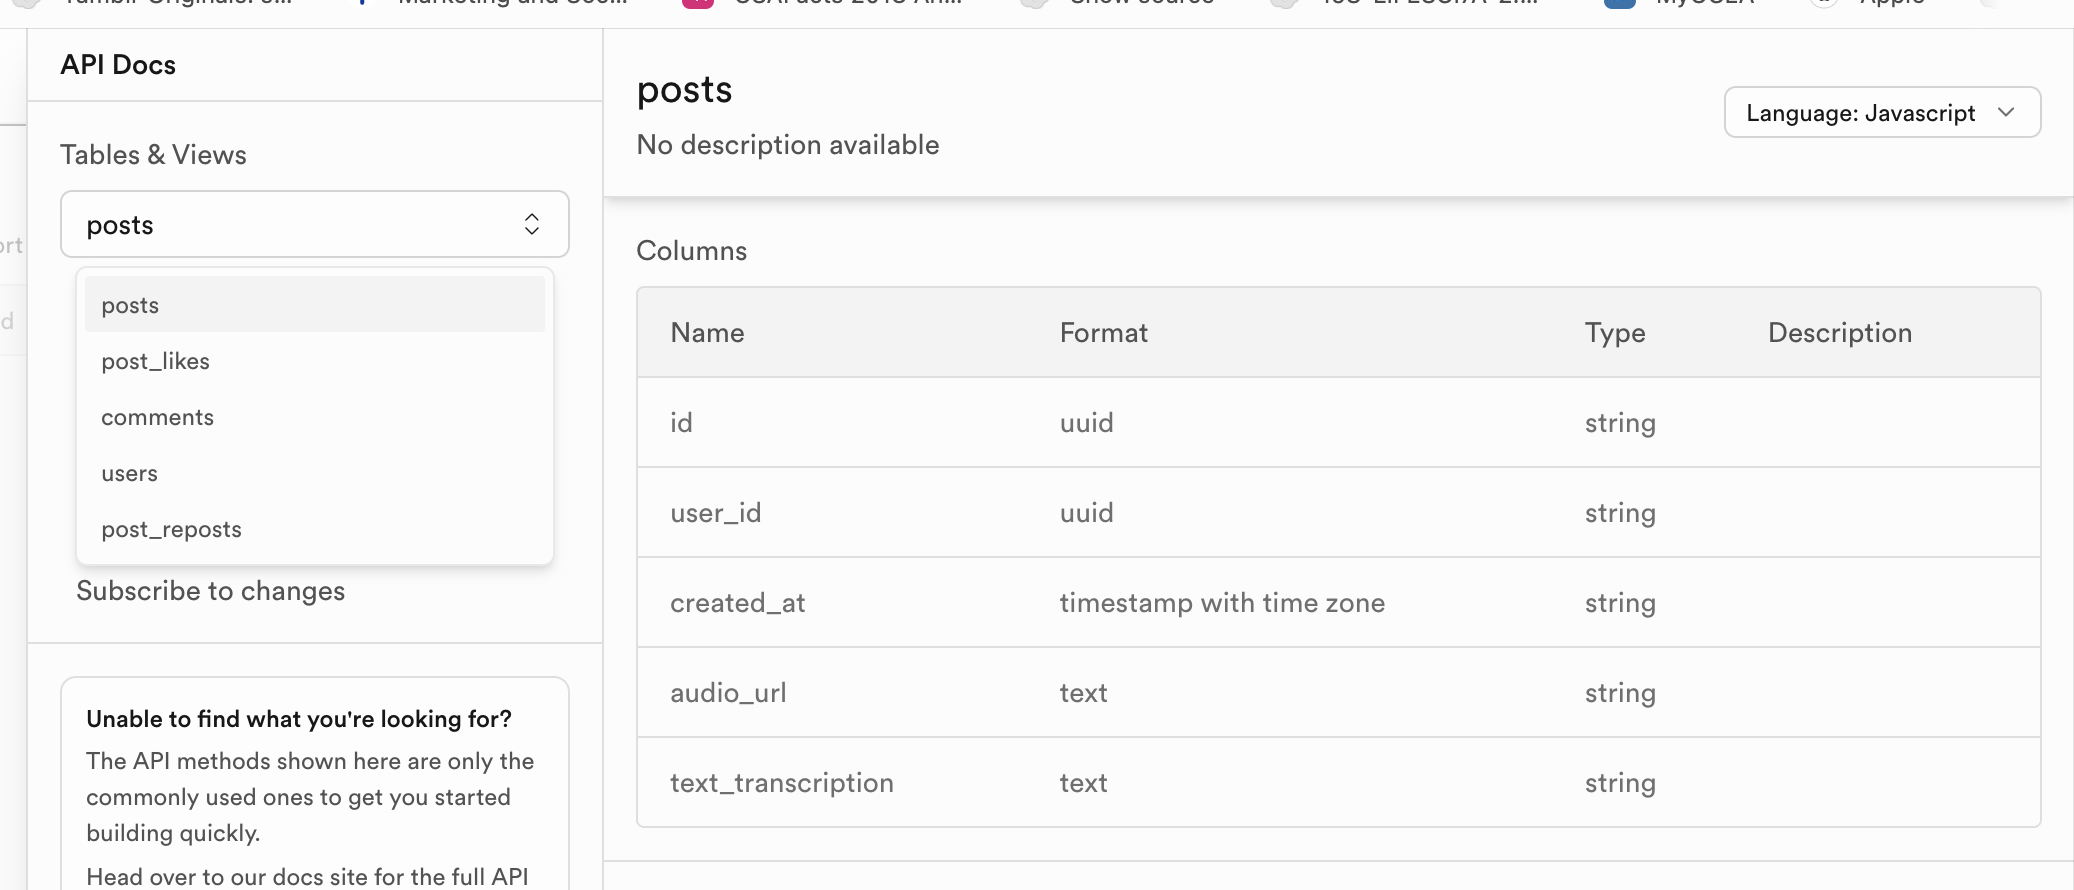
Set up authentication in Supabase dashboard (e.g., email/password, OAuth providers)
Now we just need to finish up by setting up the authentication services allowed and then connect them on the Rork app. For the sake of simplicity, let’s do email + password sign in. By default, Supabase enables email+password as a sign in option, but go to Authentication -> **Providers **to see all the options. You can sign in with Google, Apple, your phone number, and other options. You can also disable Email verification for your project to make things easier to start with inside of the Provider -> User Signups settings.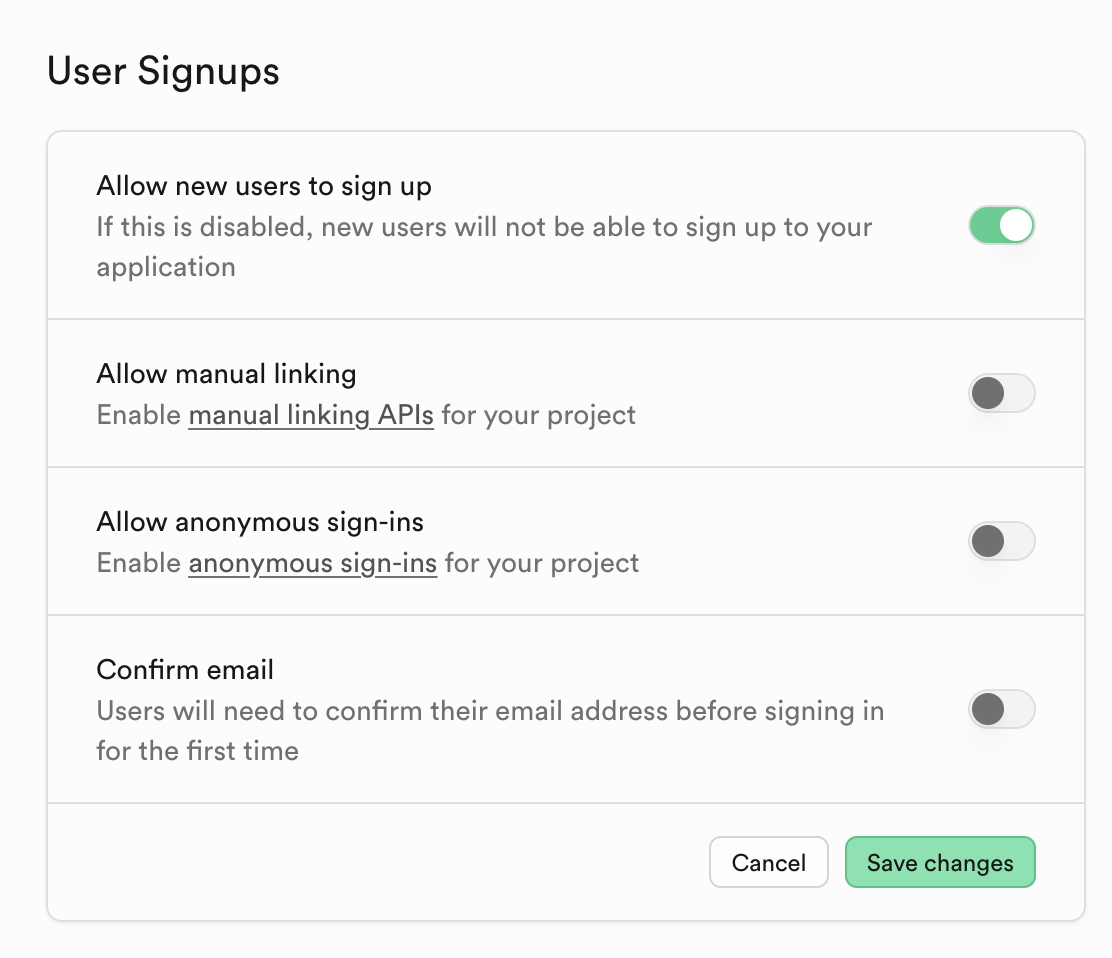
Integrate Supabase email+password sign up and sign in into the app and make
sure that connects properly + handles sessions properly.
Connect the functionality to the Rork app
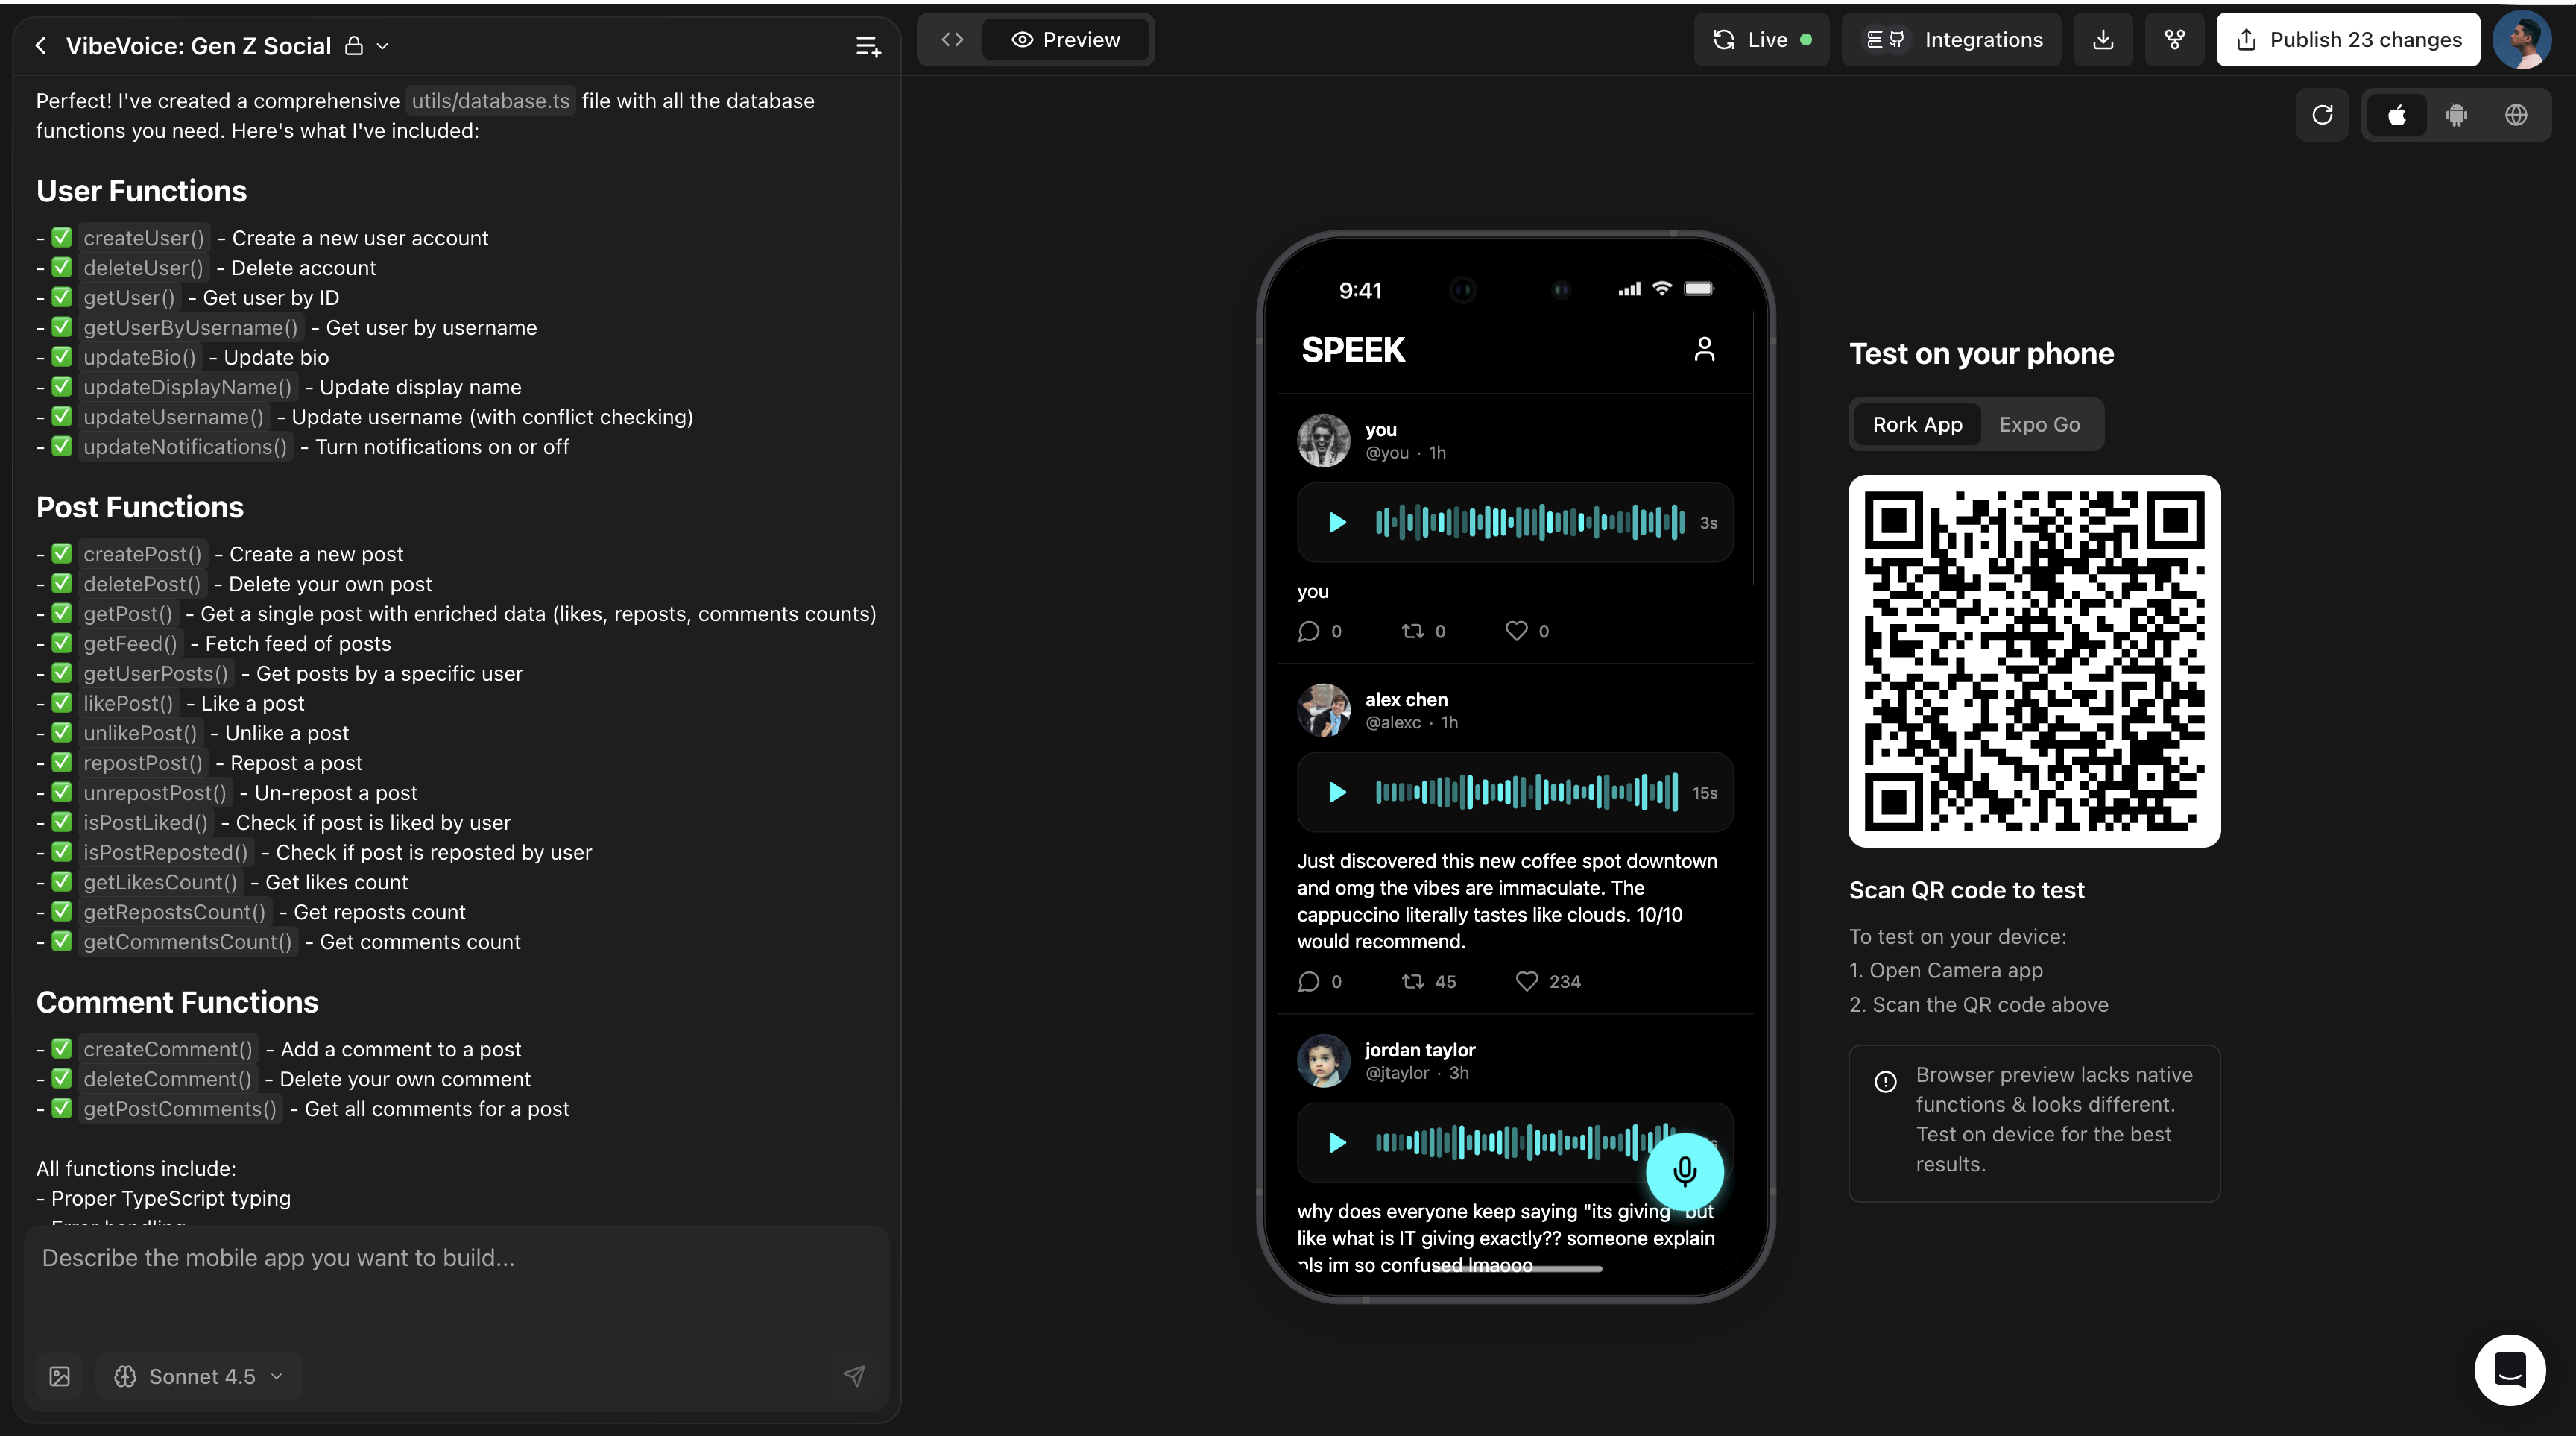
Now let’s build out the rest of the helper functions needed. Please use the SQL editor in Supabase to list out all of the tables under “public”.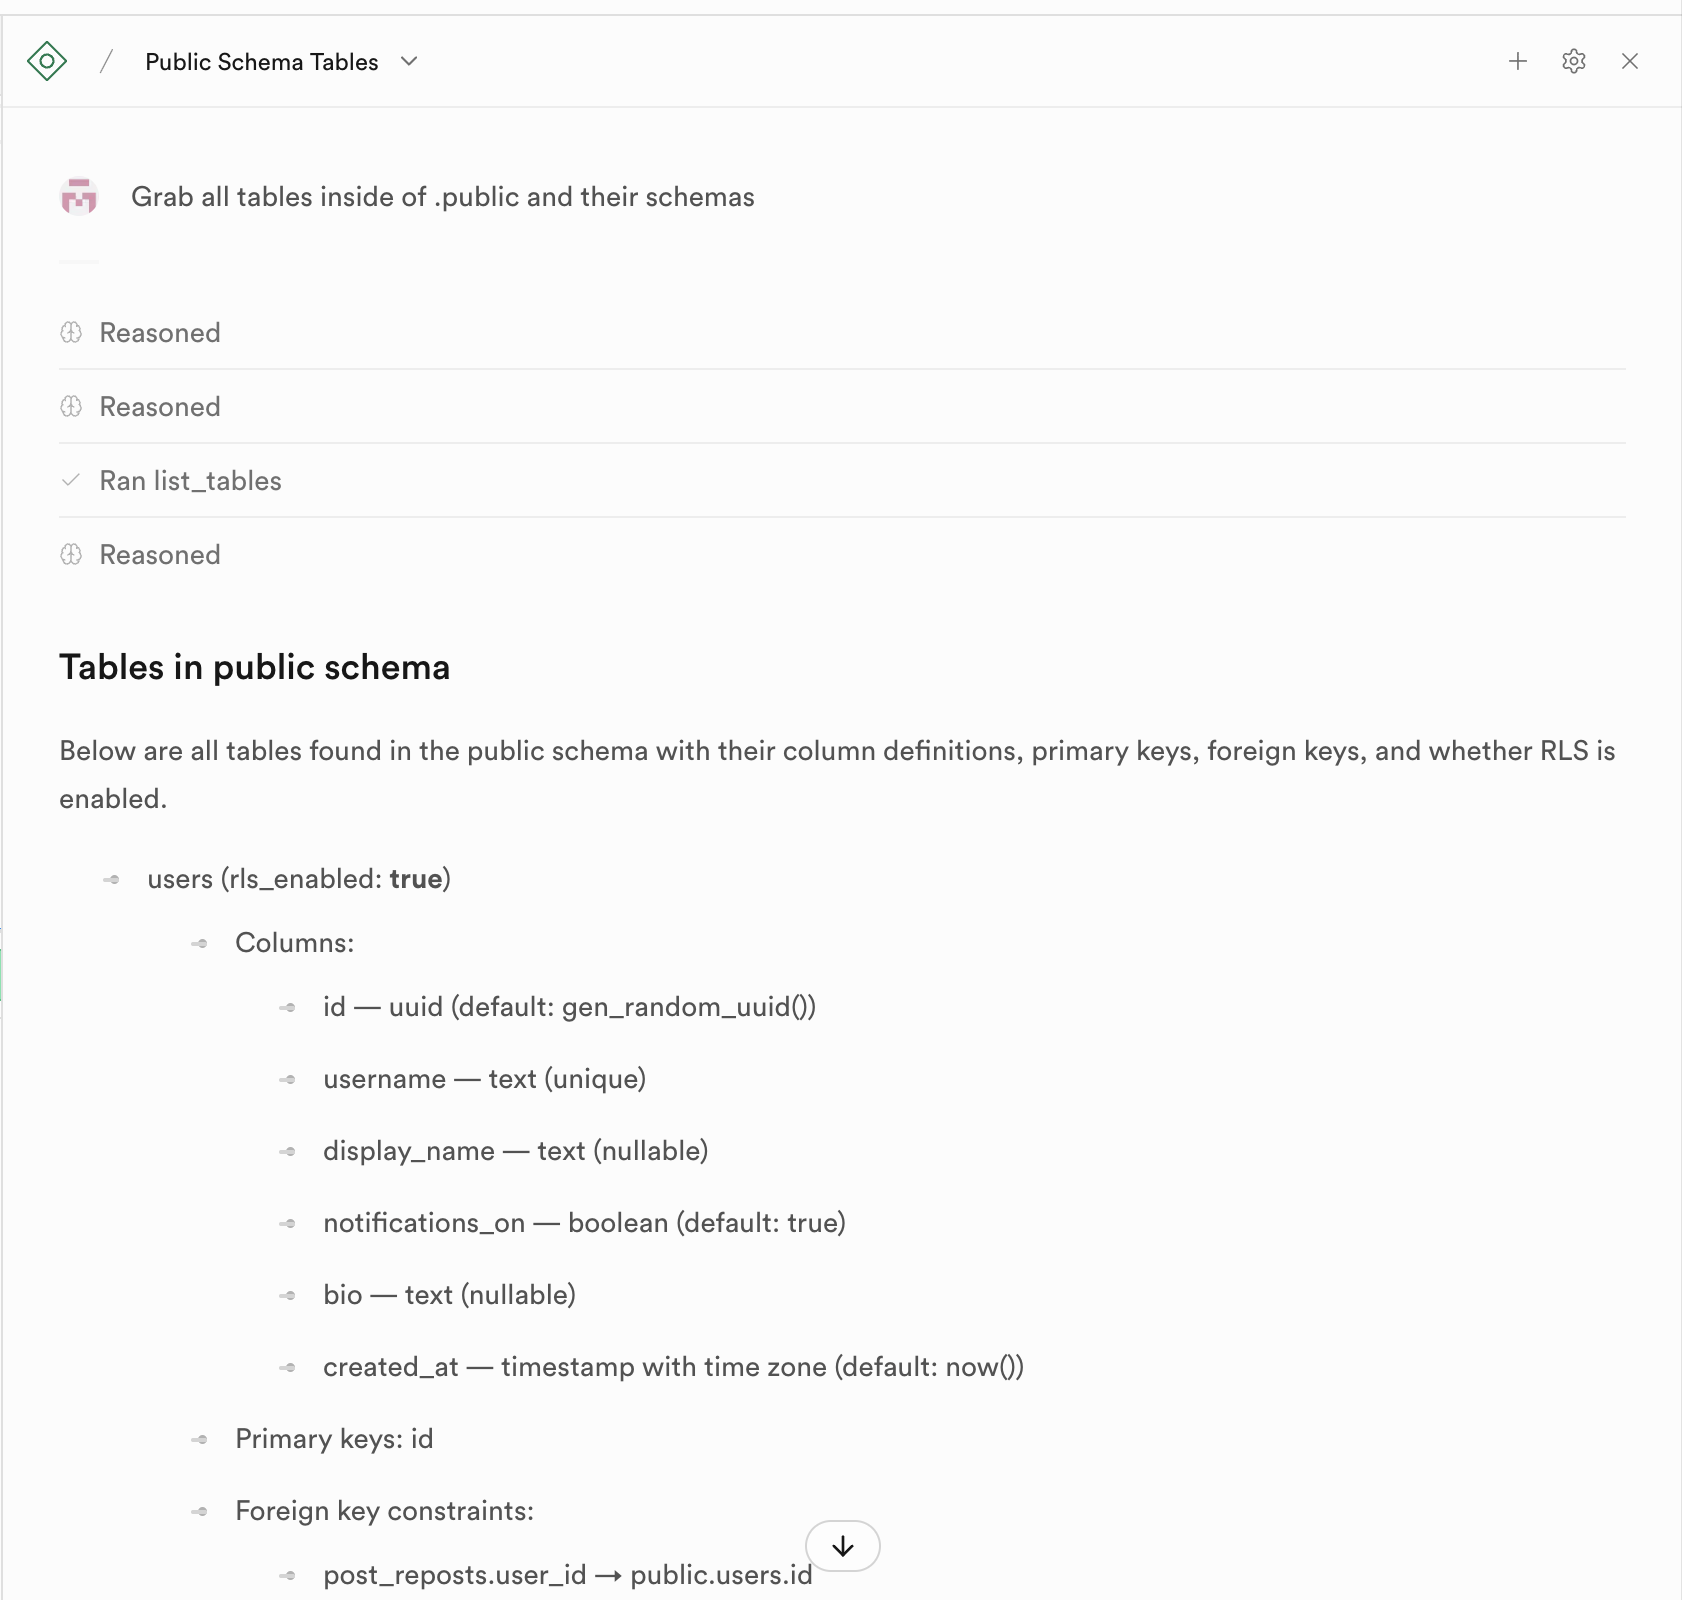
Updating your databases when your application changes
Sometimes, we add new features or update existing ones in ways where we ultimately need to update our data schema. You can always go to the Supabase SQL AI Editor and describe the changes you need to make. Rork can help you also generate the SQL changes, but always double check with the Supabase SQL AI editor before you use it.