

Test your app
This should seem obvious, but most issues can be avoided by testing your app thoroughly for at least an hour before pushing it to review.Create the necessary policies and link them to your app
- Create:
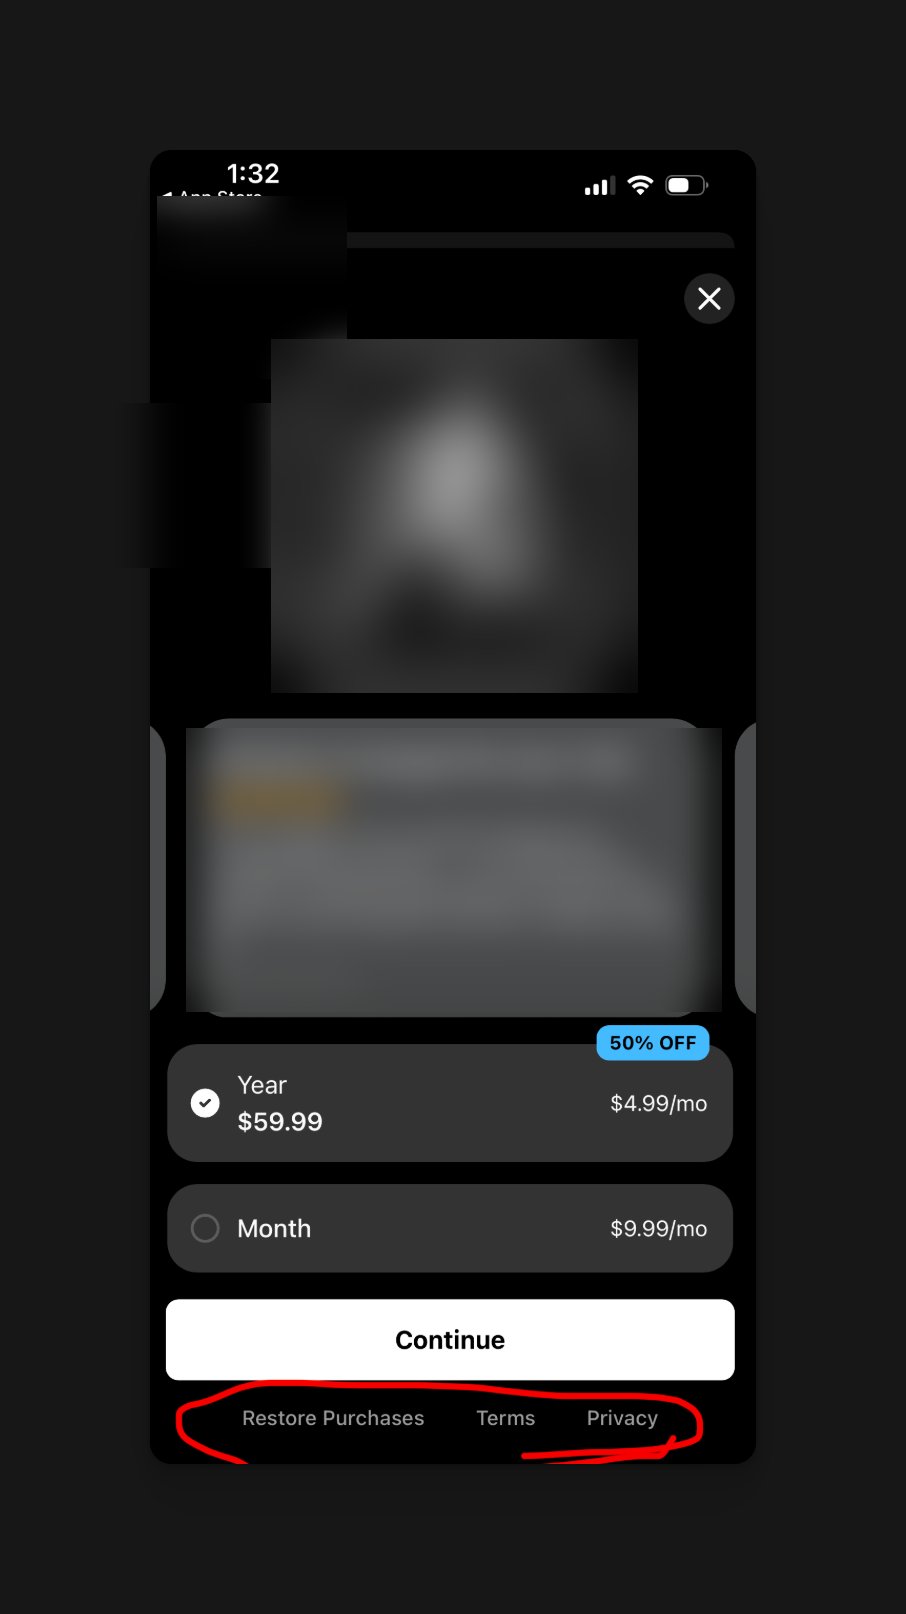
- Privacy policy
- Terms and Conditions
- Get the Apple standard EULA by looking up “Apple standard EULA” on Google, and then get that link for your EULA.
- Take these links and prompt Rork to add them to the paywall
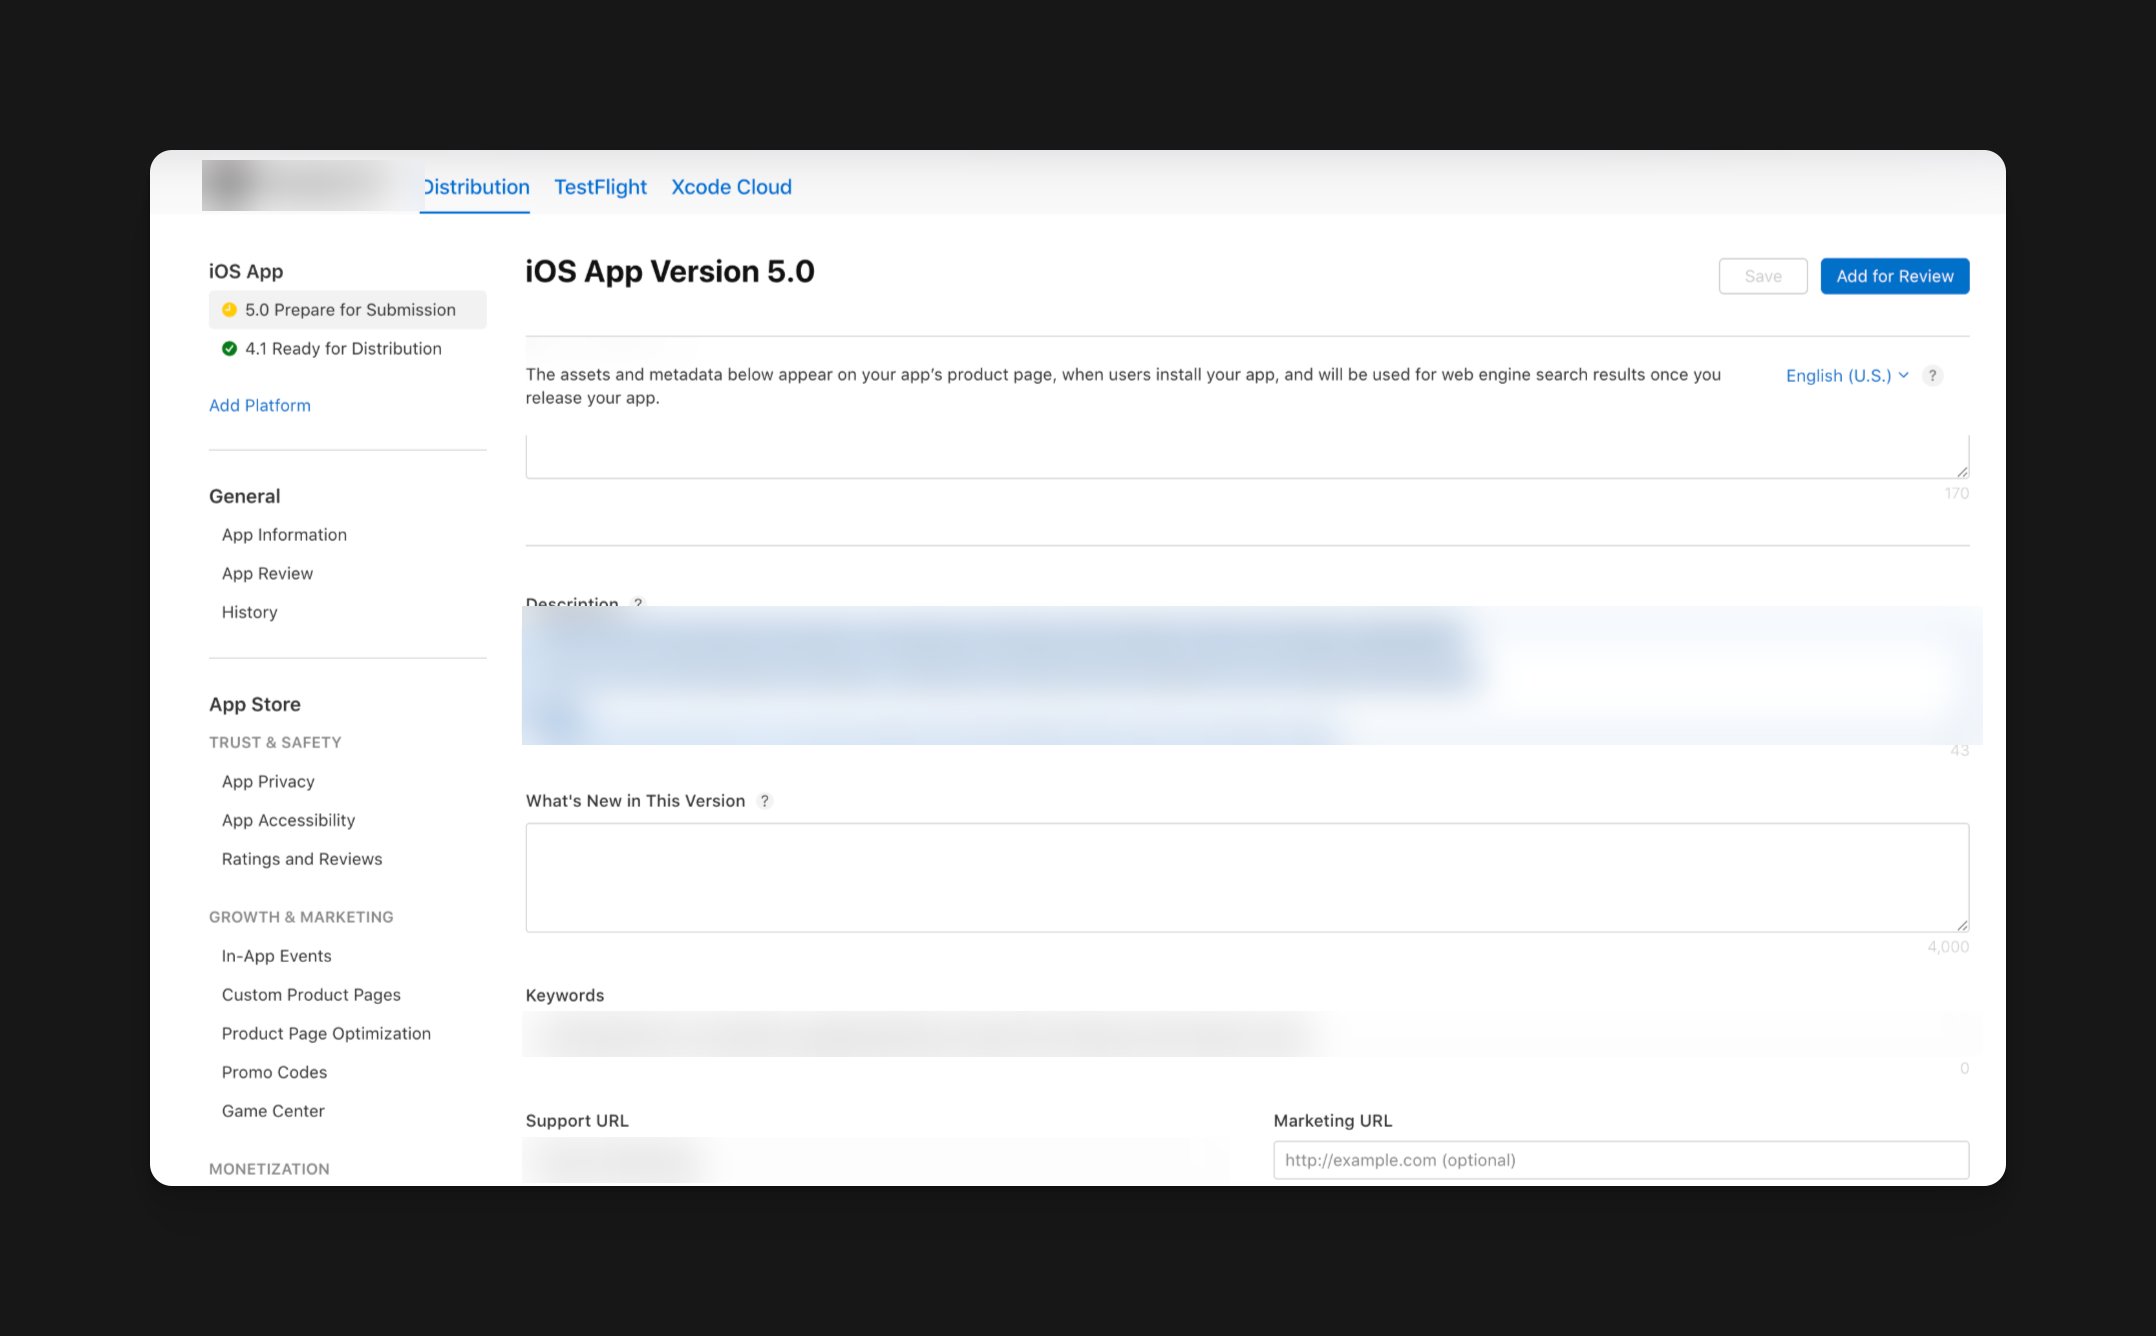
- Add these links to the App Store description as well
Be transparent with your app’s pricing
If you have a paywall inside your app, you must include that fact in your App Store descriptions.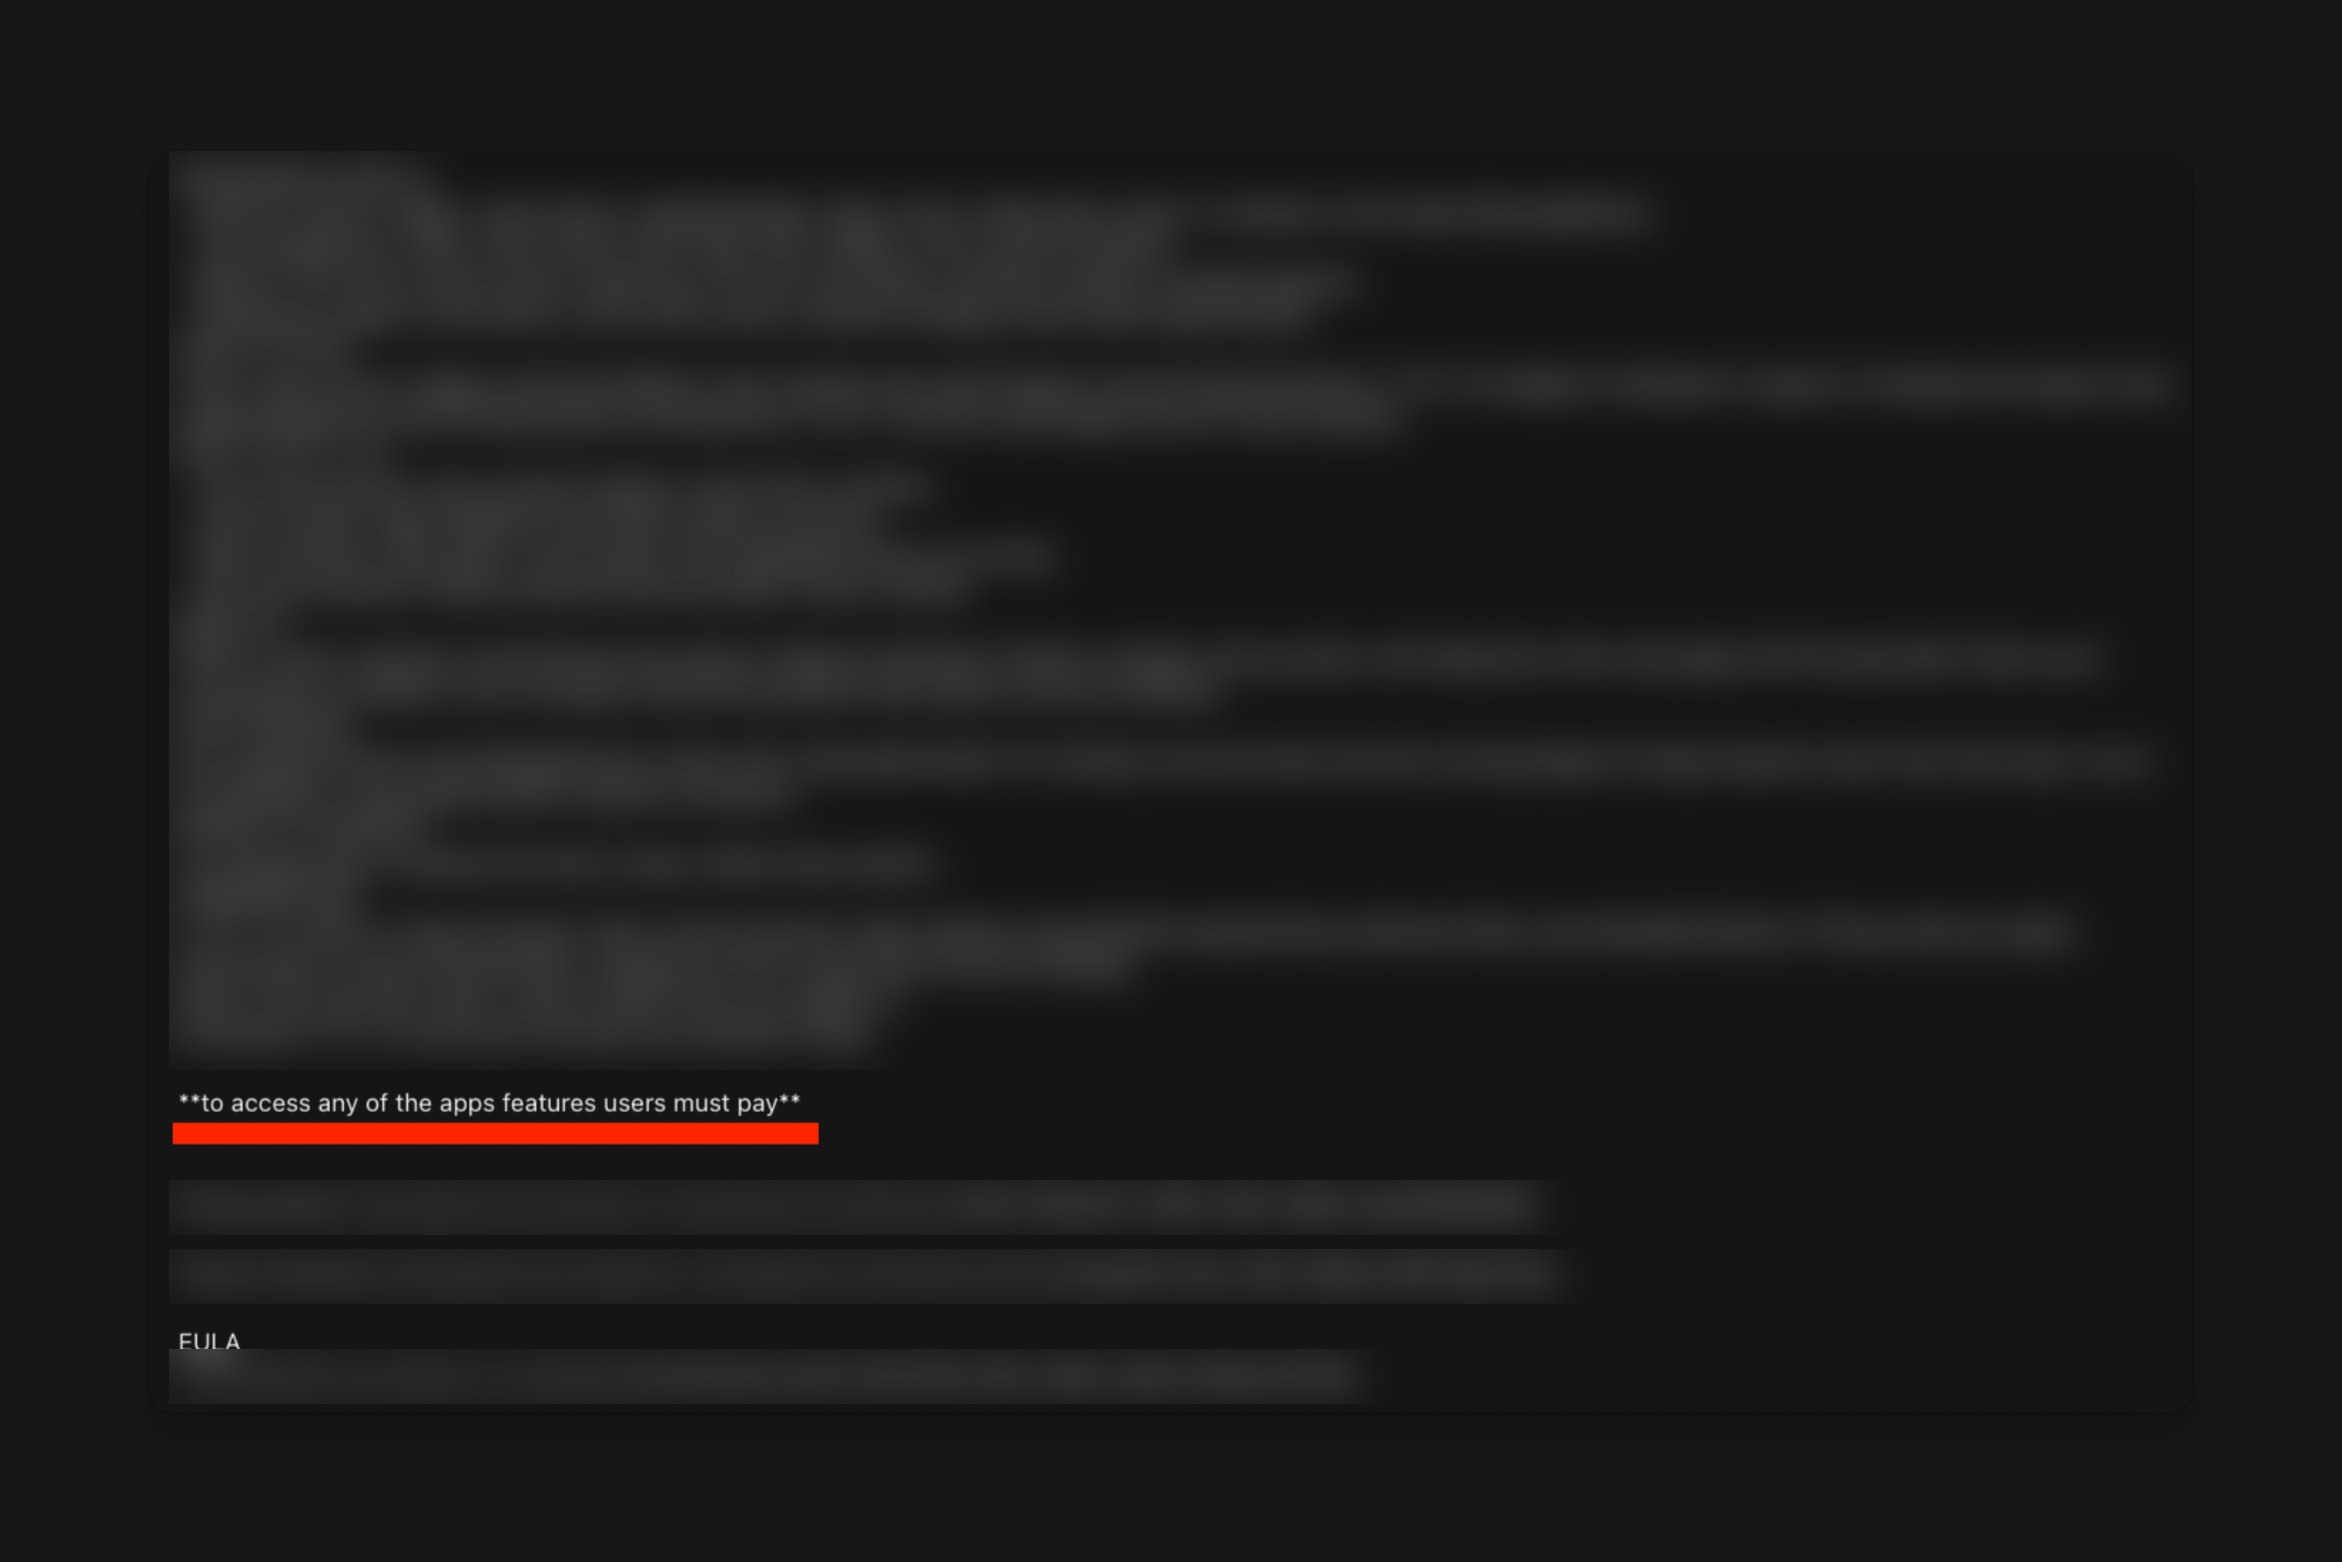
Review your permission descriptions
Apple rejects apps that ask for a permission without saying why. Every permission your app requests needs a clear sentence explaining the reason.- Open the code editor in your project
- Open
Info.plistin the iOS app folder - Read each
NSCamera...,NSPhotoLibrary...,NSLocation...and similar description