You can test your app in the Rork simulator, run it on your iPhone, and publish to the App Store through Rork without opening Xcode. Follow this guide only if you want to work with the exported Swift project on your own Mac.
When to use Xcode
Use Xcode when you or a developer want to step through the Swift code, debug on a connected device, or build and archive the app manually. Start by syncing your project with GitHub. Requirements- A Mac
- Xcode installed
- Your project connected to GitHub
- GitHub Desktop installed (or
gitin the terminal) - An Apple Developer account
Installing Xcode
Download Xcode from the App Store
Opening your Rork project in Xcode
Rork iPhone apps are native Swift projects, so Xcode opens them directly. There is nothing to generate first. Connect to GitHub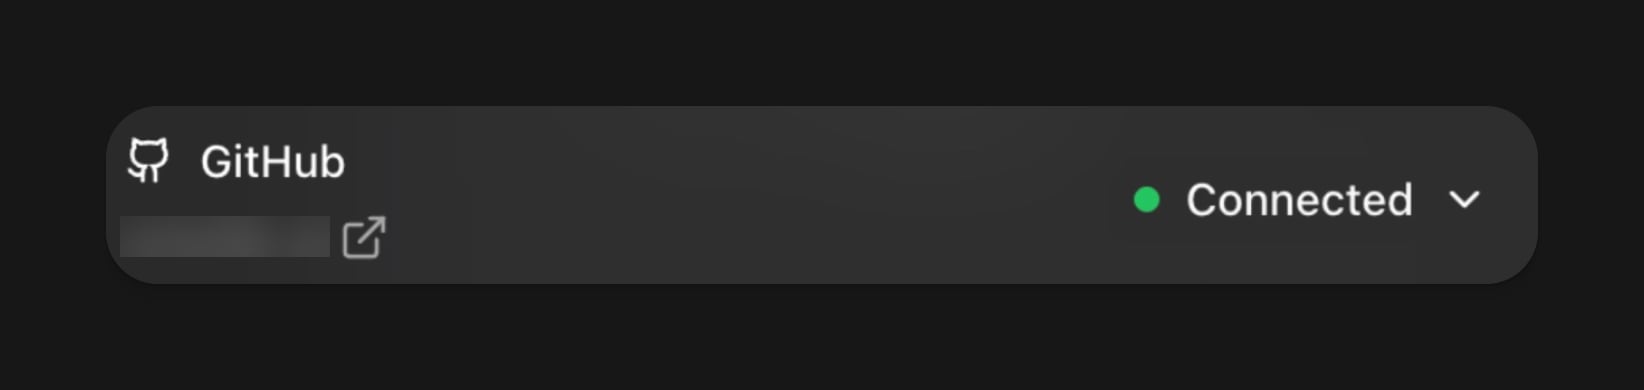
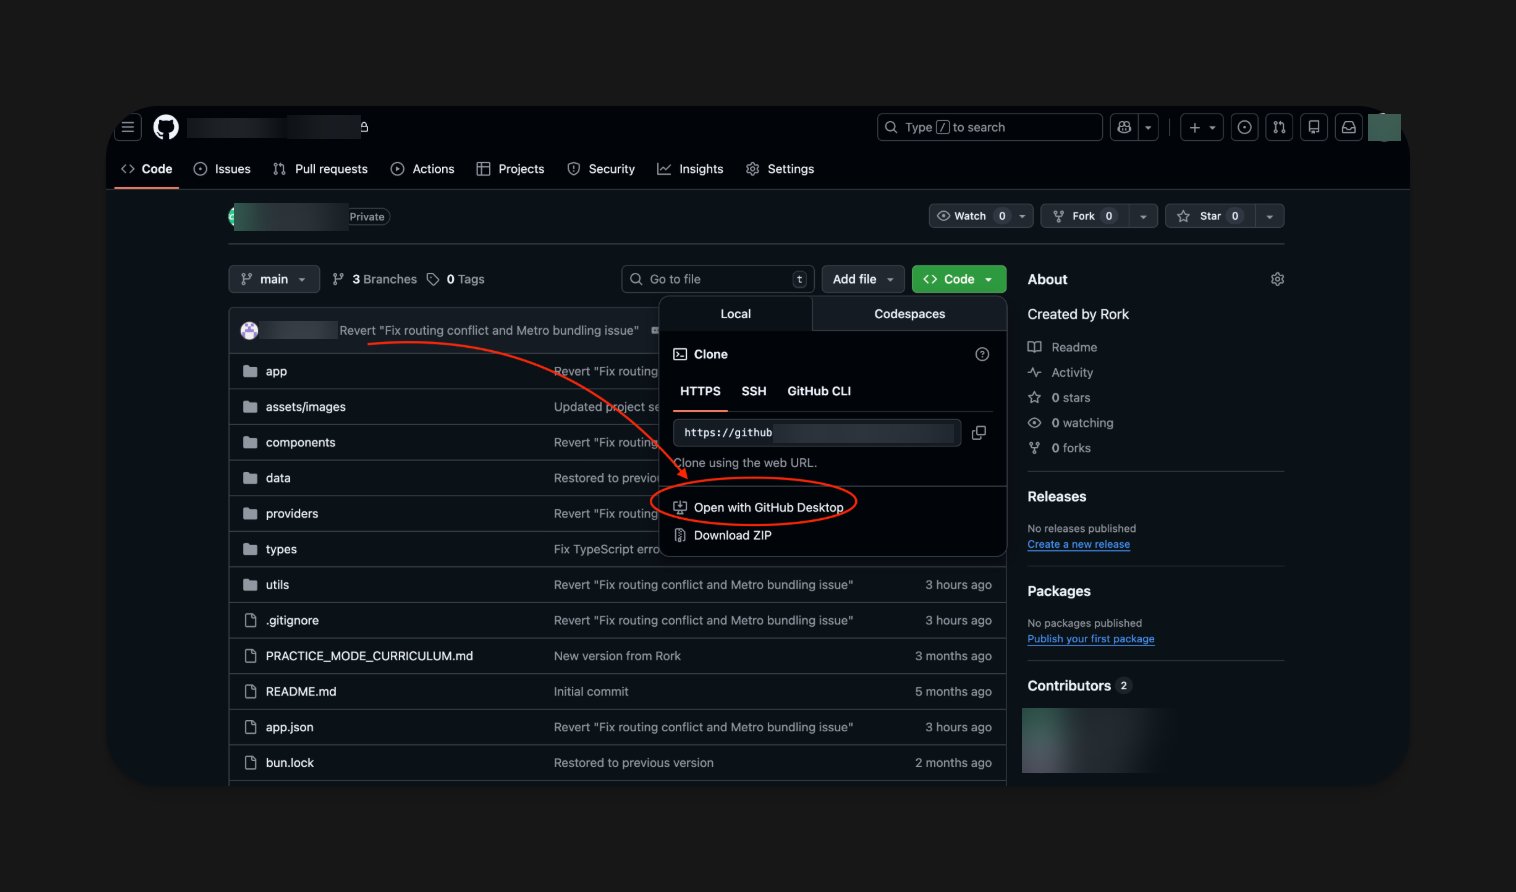
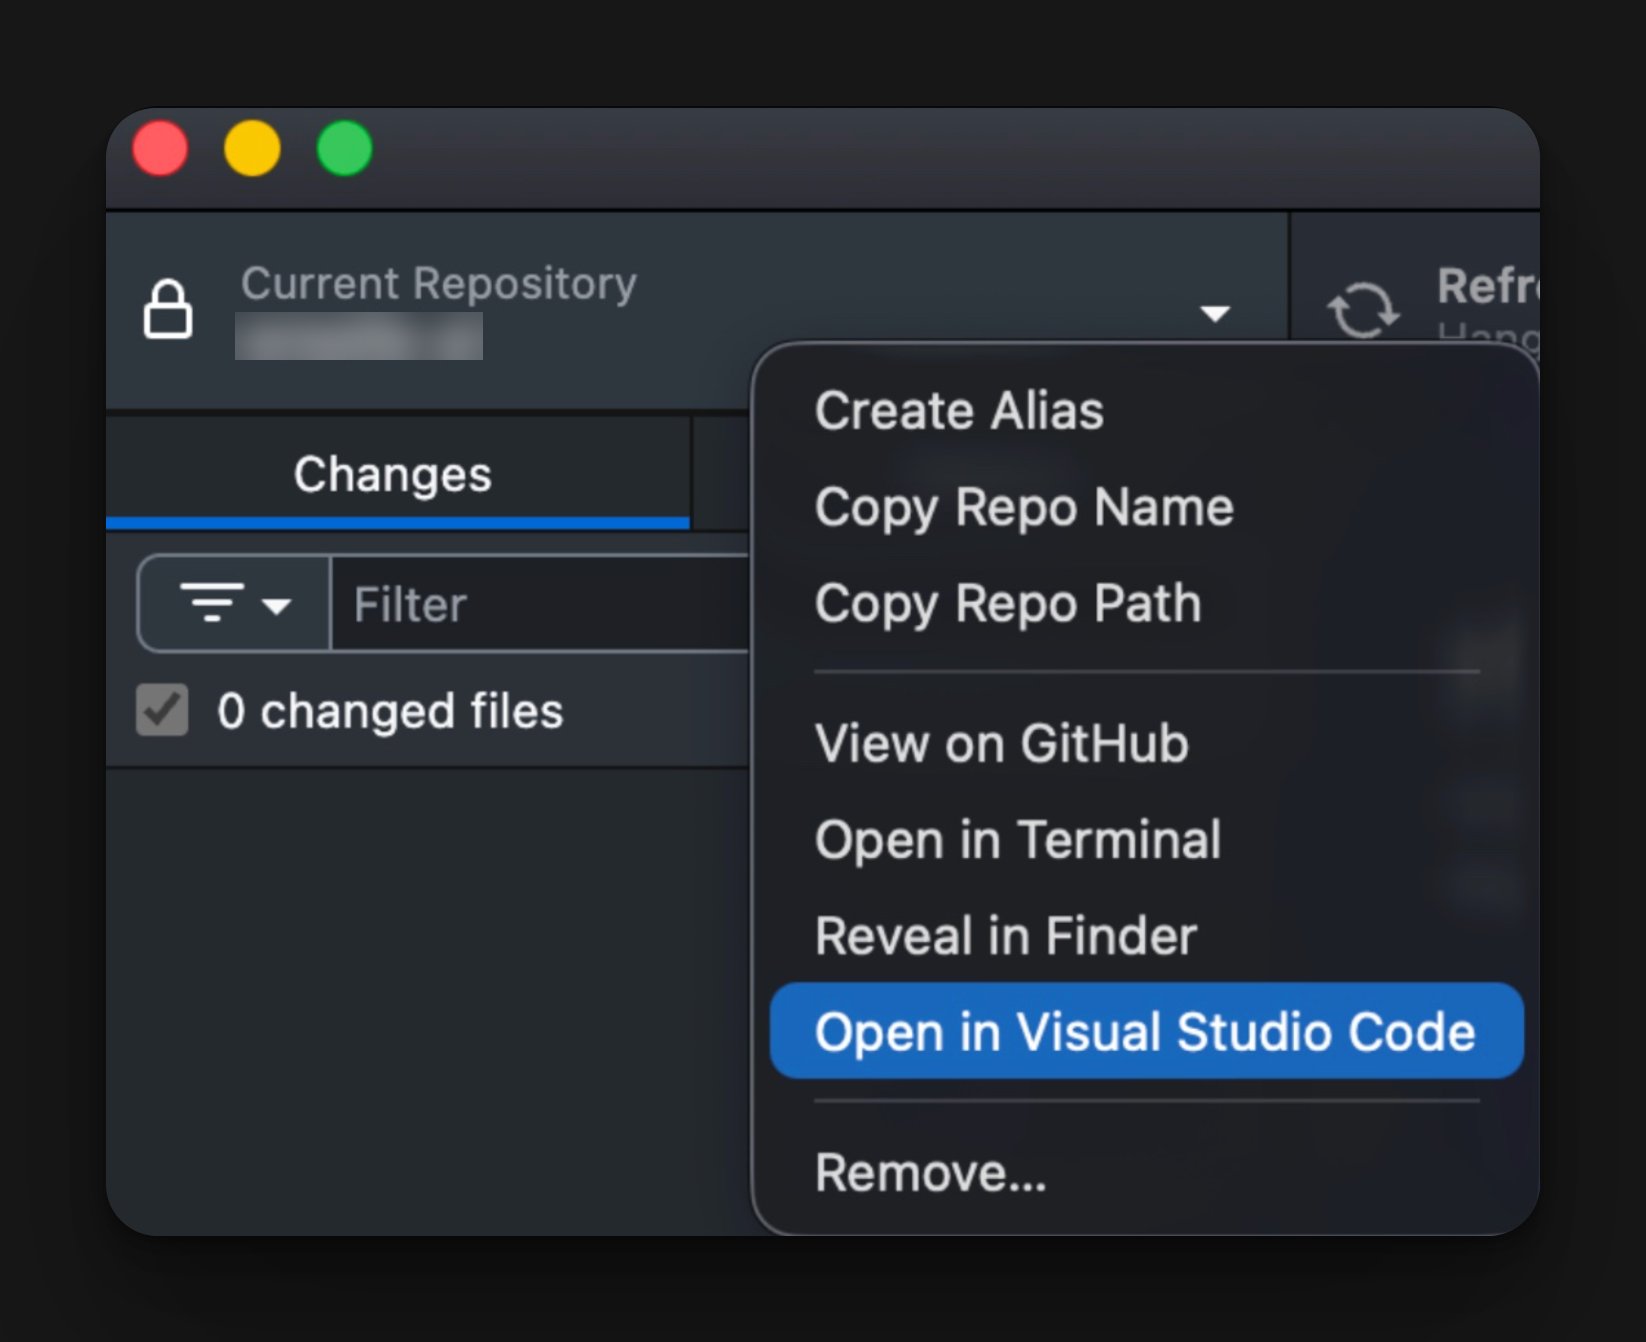
Run the app
- Simulator: pick a simulator in the toolbar and press the play button.
- Your own iPhone: plug it in, select it in the toolbar, then press play. Your device needs Developer Mode, under Settings → Privacy & Security → Developer Mode.
Publish to the App Store (via TestFlight)
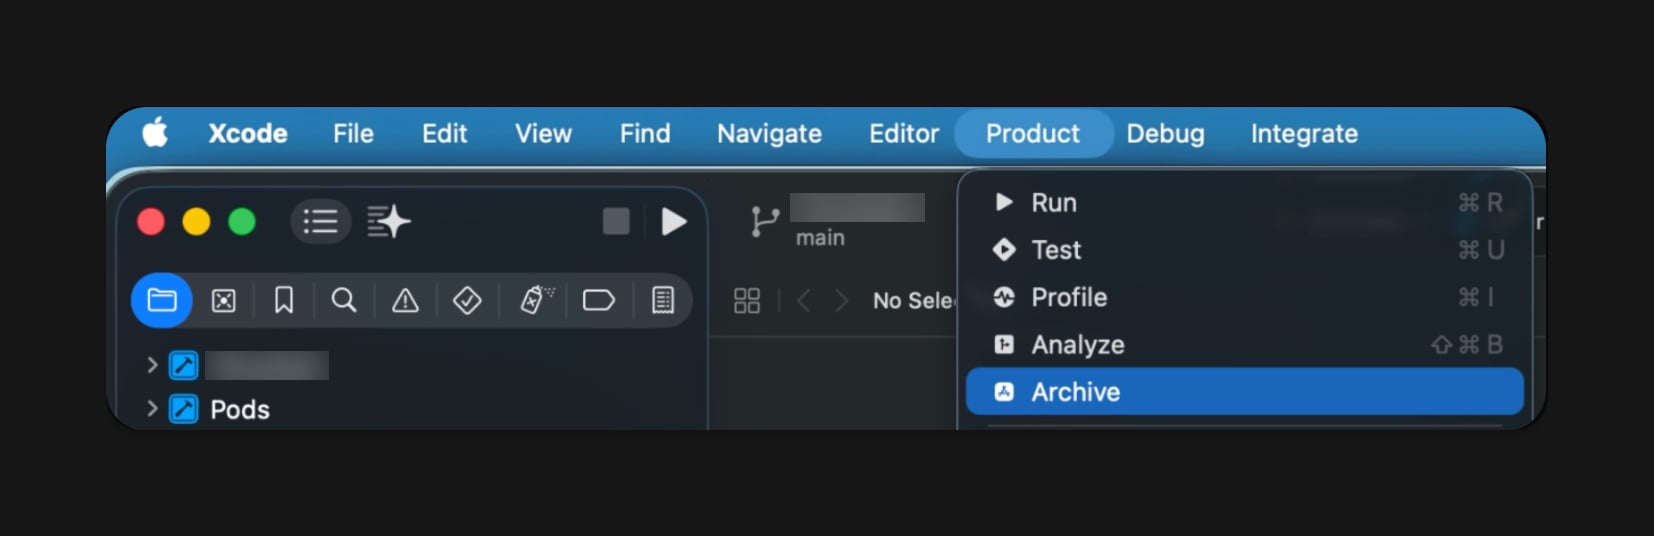
Navigate to “Product” and click “Archive.”