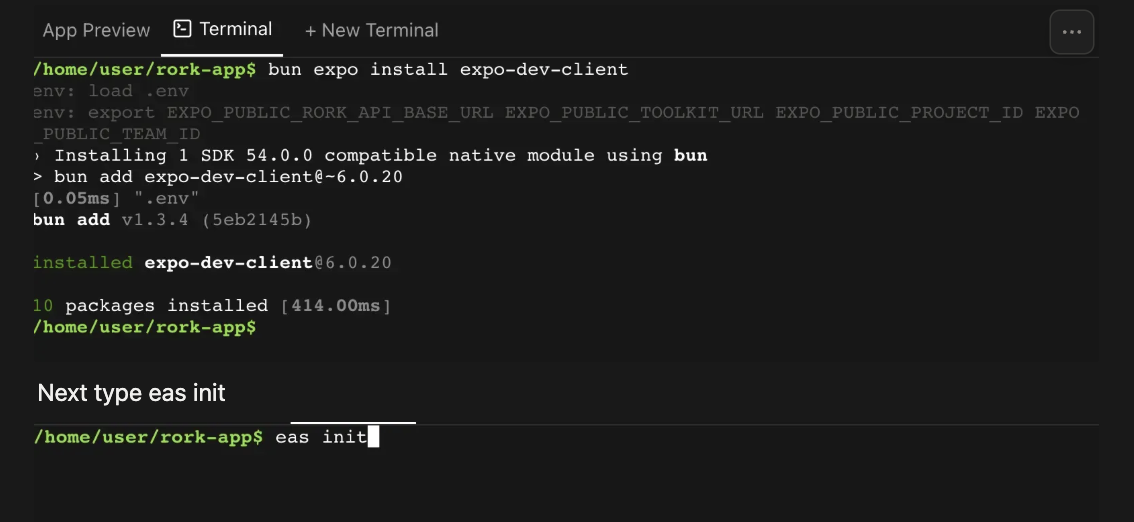
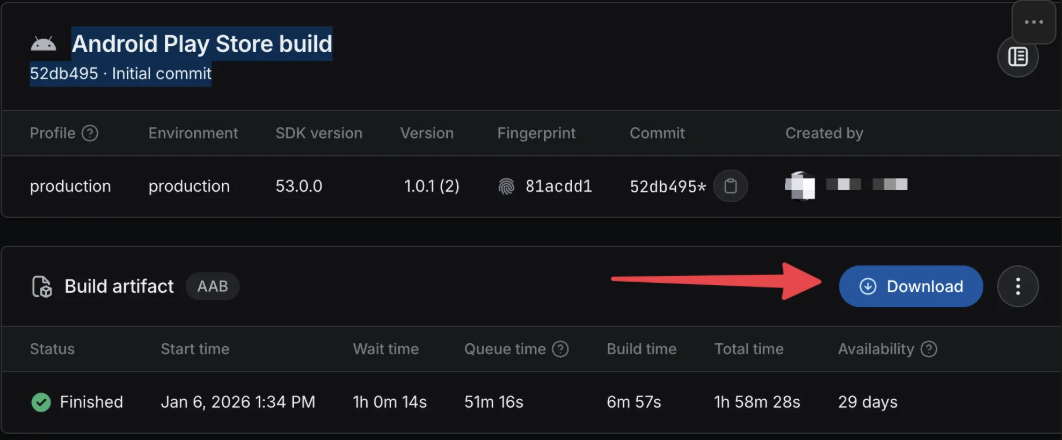
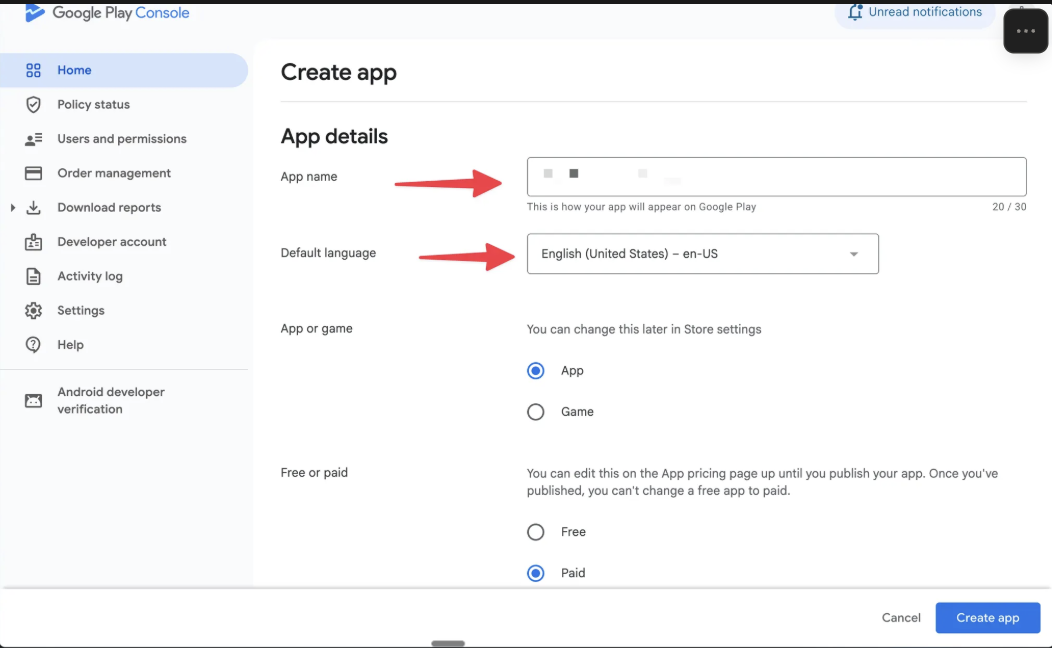
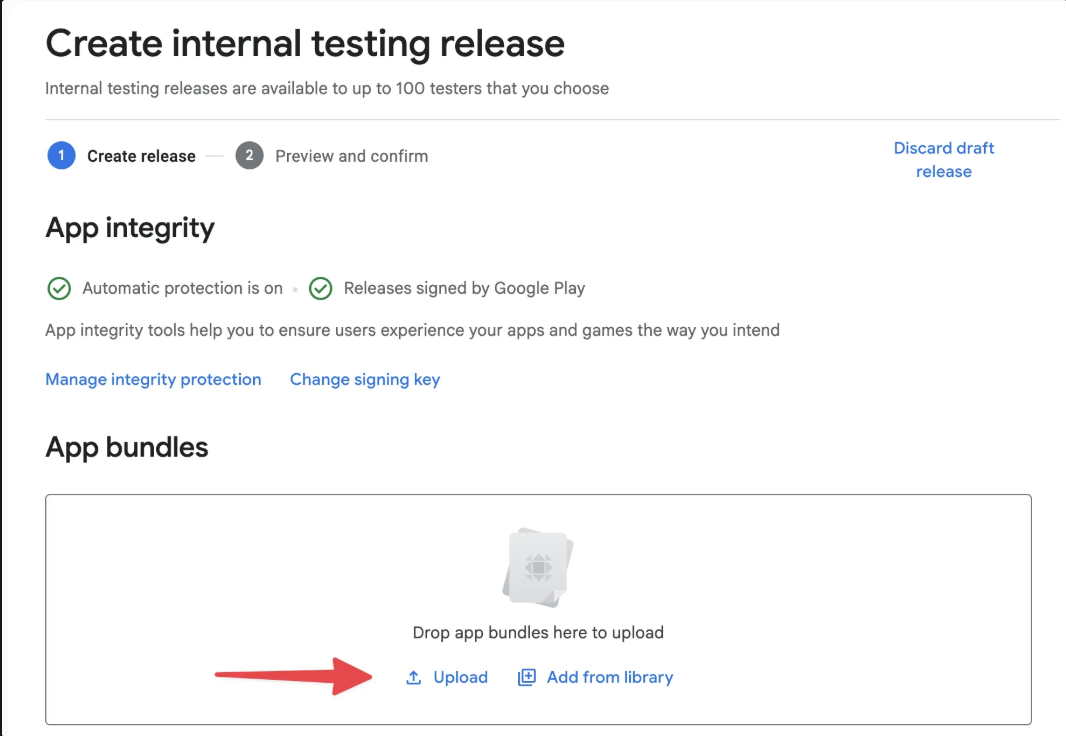
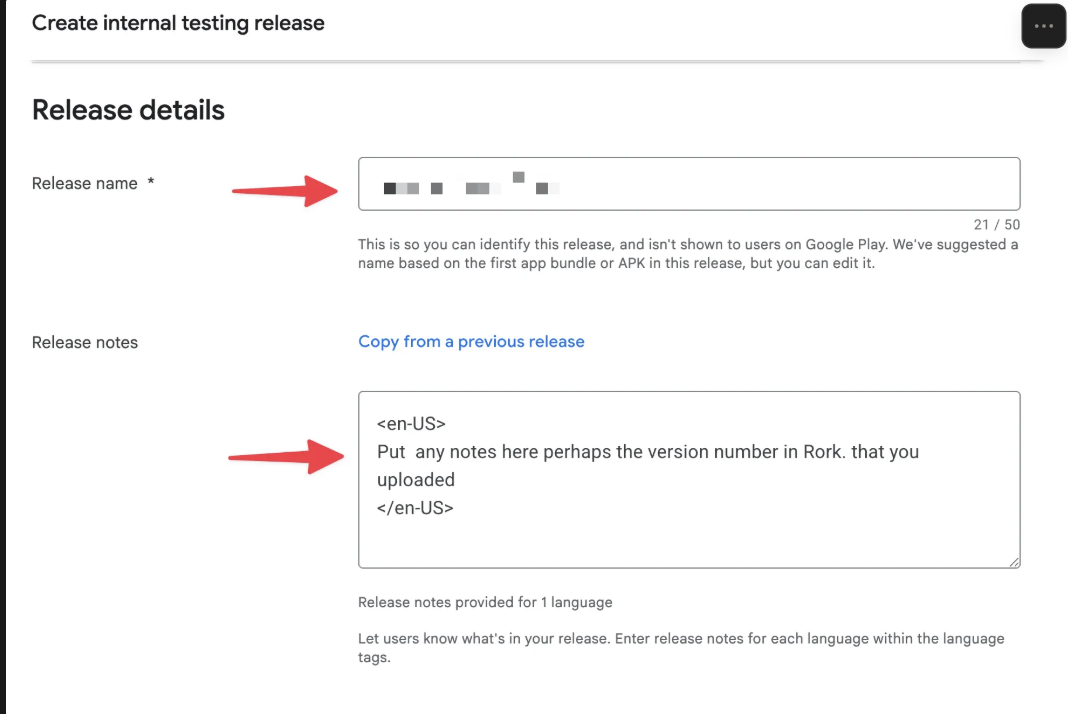
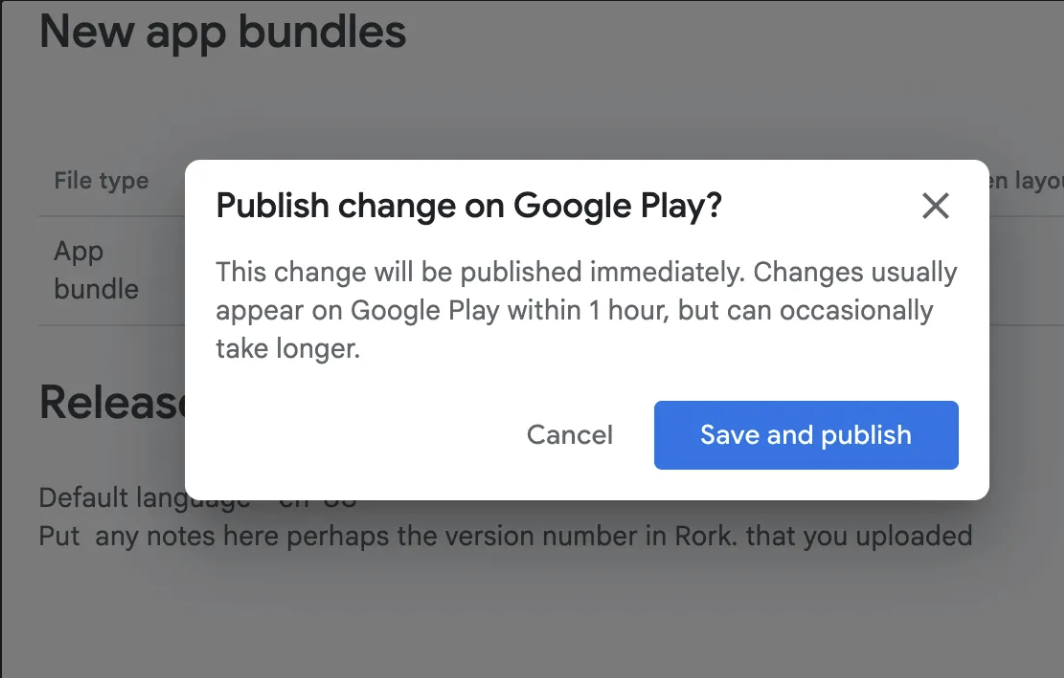
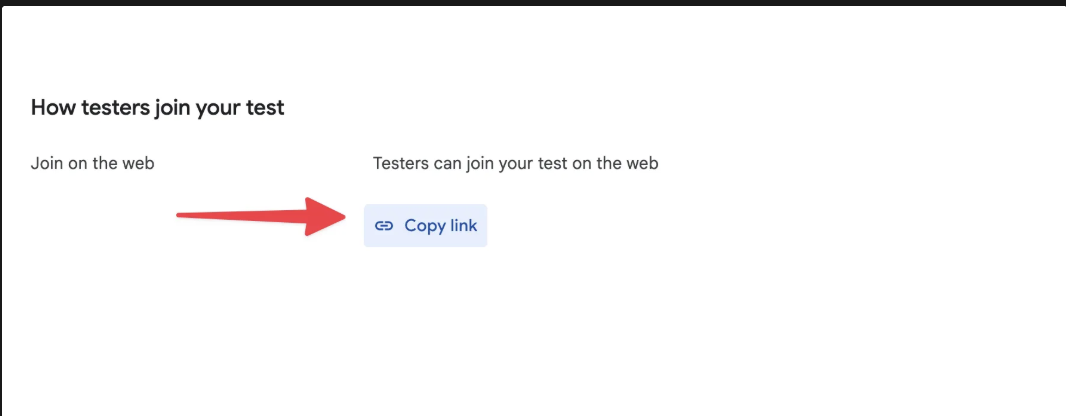
Prerequisites: Android Developer Account sign up at https://play.google.com/console/signup Expo.dev account signup at https://expo.dev/signup You will need to do this on a desktop or a laptop. You cannot do this from the phone app. Go to the top of your Rork page and click on the brackets to open the code editor. 1 Next, you should see the code editor. Look at the bottom of the screen and locate the new terminal button. 222222 Click the new terminal button to open a terminal screen. Type bun expo install expo-dev-client and hit enter. 3 Once that completes, you should get the following: 4 This will bring you a prompt that is asking you for your expo.dev account that you created earlier. Enter your email and password for expo.dev. If it asks you if you want to link your project type Y. 5 Next type eas build: configure 6 You should get a message like this that asks you if you want Expo to run git init. Select Yes by entering Y on your keyboard. 7 Enter the email address that you used for your expo.dev account for the user name and email address. You can just hit the enter key for the commit message. 8 Next, you should be asked to select which platform you want to build for. Select Android. 9 Now we’ll run the command to start building the.AAB file. Copy and paste the command below—it’s long and may appear jumbled in the terminal, so cut and paste to ensure accuracy.
eas build --platform android  --profile production 
Once this command is entered, it will start the build process on expo.dev. You should get a URL to your Expo dashboard that will show you the build process of your AAB file. Depending on how busy the Expo dev servers are, this can take a while. 11 Once you have created your production build using EAS Build, we’ll need to download it and then manually upload it to the Play Store. Go to your Expo dashboard and download the file 12 Now log in to your Android Play Store homepage at https://play.google.com/console/developers . Click on the Create App button on the right side. 13 Fill out the app name, the default language, whether or not this is an app or a game, and if you want to make it free or paid. VERY IMPORTANT: If you intend for this to be a paid app, make sure that it’s marked paid now. You can make a paid app free later, but you can’t make a free app paid at any point. Agree to the developer program policy of Google and the export laws. Press Create App. 14 Now select View Tasks under internal testing. Click on Select Testers. 15 Scroll down to the Testers tab and select Create email list. This is where you’ll create a distribution list of emails for people you want testing your app. For now, just add your own email so you can test the app yourself. 16 Just create a list with your email address and hit save. 17 Scroll back up and click on Create a new release 18 Upload the AAB file that we downloaded from the Expo dashboard earlier. 19 Enter the name of your app and any release notes that you may want to add. Perhaps the version from Rork that you uploaded so that you can remember. 20 Click next at the bottom of the screen. 21 This brings you to a summary screen. Click Save and Publish at the bottom. 22 If you get a pop-up, select “Save and Publish.” 23 Once that is complete,d go back to the internal testing page and scroll down to the bottom under the testers tab. Copy the link that says testers can join you on the web. They must join on the web first before they try to download the app. Screenshot 2026 01 09 At 4 36 49 PM Send the link to yourself and accept the invitation. Now you can install the app from the Google Play Store and test it without the need for an Expo development server.