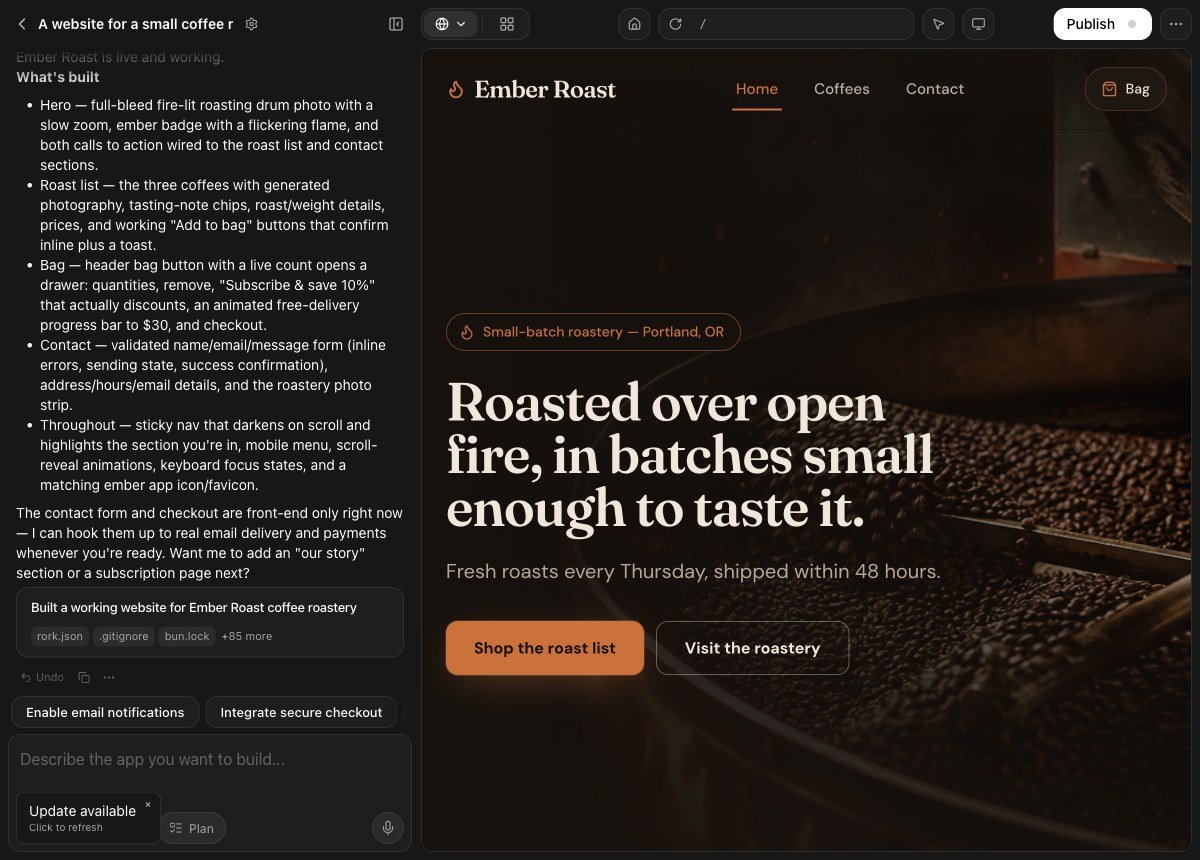
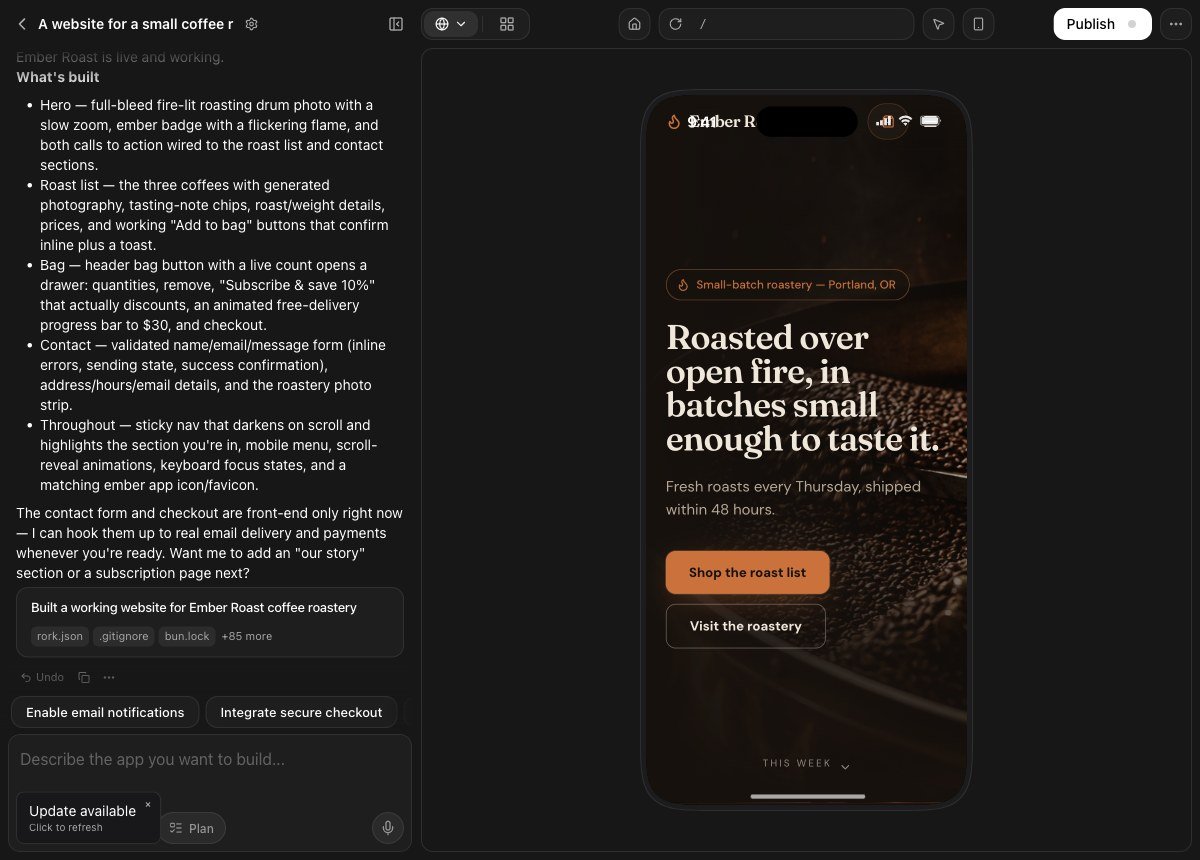
One prompt, one project: the chat on the left, the running site on the right.
A Rork web app runs in the browser. Rork writes it with **Vite and React**, previews it next to the chat, and publishes it to your own address on `rork.app`. There is no app store, no review, and no install. You share a link, and people open it on a laptop or on a phone. Web is the right platform for a website, a dashboard, a client portal, an admin tool, or a SaaS product. It is also the fastest way to put something in front of people today. See what it builds on the [Rork Web page](https://rork.com/web). ## Start a web app Pick the platform before you send your first message. On [rork.com](https://rork.com), open the platform picker under the prompt box and choose **For web**. Then describe the product, not the technology.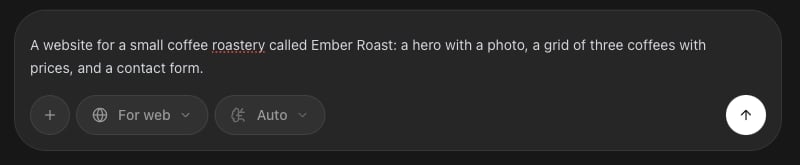 The picker says it plainly: **you can add another platform later**. One project can hold an iPhone app, an Android app, and a web app at the same time. See [Convert your app between iOS, Android, and web](/import/convert-between-platforms).
## Answer the questions about the look
Rork does not start writing code straight away. It asks a few short questions about the look first, and each answer is a picture, not a word. You can also type your own answer in **Other**.
The picker says it plainly: **you can add another platform later**. One project can hold an iPhone app, an Android app, and a web app at the same time. See [Convert your app between iOS, Android, and web](/import/convert-between-platforms).
## Answer the questions about the look
Rork does not start writing code straight away. It asks a few short questions about the look first, and each answer is a picture, not a word. You can also type your own answer in **Other**.
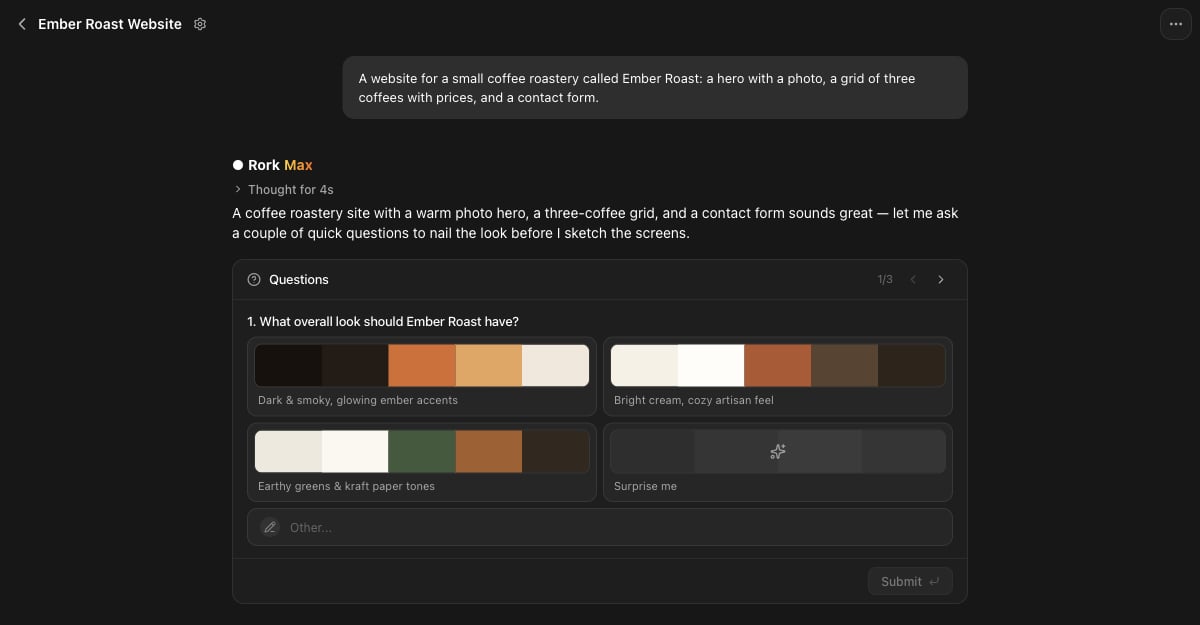 Answer all three, then press **Submit**. Skip this step by writing the look into your first prompt instead.
## Approve the design, then build
Next Rork draws the screens and shows them in **Design mode**. Nothing is built yet, so this is the cheap moment to change your mind. Ask for a different screen in chat, or press **Build** to turn the design into a working site.
Answer all three, then press **Submit**. Skip this step by writing the look into your first prompt instead.
## Approve the design, then build
Next Rork draws the screens and shows them in **Design mode**. Nothing is built yet, so this is the cheap moment to change your mind. Ask for a different screen in chat, or press **Build** to turn the design into a working site.
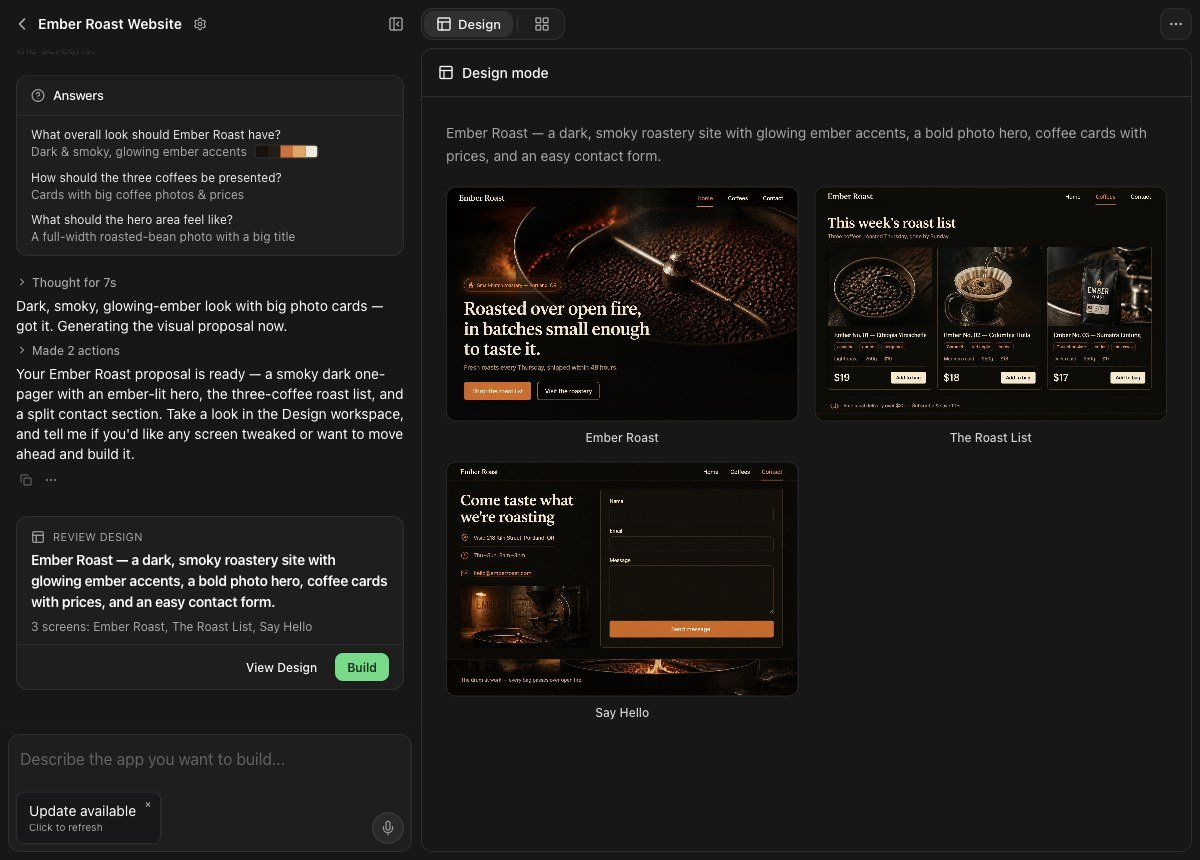 ## Work in the project
The project has the chat on the left and a live preview on the right. The preview is the real app, not a picture, so you can click through it while you build.
The controls above the preview do this:
| Control | What it does |
| ------------------------------------- | ----------------------------------------------------------------------- |
| **Switch preview platform** | Moves the preview between the apps in the project, and adds a platform. |
| **Switch preview size** | Switches the preview between **Desktop** and **Phone**. |
| **Go to home** | Returns the preview to the first page. |
| **Reload preview** | Loads the app again after a change. |
| **Select an element for your prompt** | Point at a part of the page, then write what to change about it. |
| **Publish** | Opens the publish panel. |
## Work in the project
The project has the chat on the left and a live preview on the right. The preview is the real app, not a picture, so you can click through it while you build.
The controls above the preview do this:
| Control | What it does |
| ------------------------------------- | ----------------------------------------------------------------------- |
| **Switch preview platform** | Moves the preview between the apps in the project, and adds a platform. |
| **Switch preview size** | Switches the preview between **Desktop** and **Phone**. |
| **Go to home** | Returns the preview to the first page. |
| **Reload preview** | Loads the app again after a change. |
| **Select an element for your prompt** | Point at a part of the page, then write what to change about it. |
| **Publish** | Opens the publish panel. |
 Then ask for the fixes you need:
```
On phone widths the hero text overlaps the image. Stack them instead.
```
## Publish to the web
Open **Publish**, then press **Publish to web**. Rork builds the app and hosts it at your own address on `rork.app`.
Then ask for the fixes you need:
```
On phone widths the hero text overlaps the image. Stack them instead.
```
## Publish to the web
Open **Publish**, then press **Publish to web**. Rork builds the app and hosts it at your own address on `rork.app`.
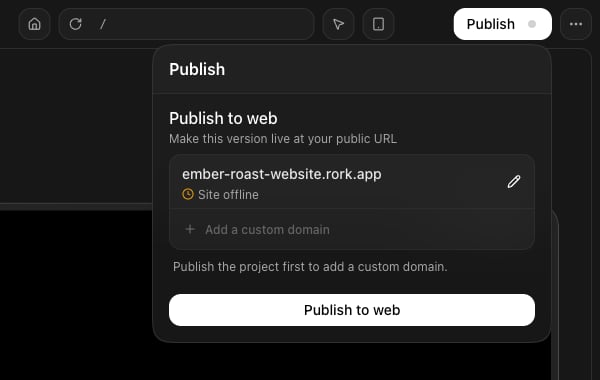 What the panel shows:
* **The address.** Rork picks one from the project name, like `ember-roast-website.rork.app`. Press the pencil to change the subdomain.
* **The status.** It reads **Site offline** until you publish for the first time.
* **Add a custom domain.** This row stays off until the first publish. The panel says so: "Publish the project first to add a custom domain."
Publishing is a separate step from building. Your changes stay in the preview until you publish again, and the **Publish** button marks itself when the live site is behind your project.
## Add a web app to a project you already have
Any mobile project can grow a web version. Open **Project Settings → Add new app → Web**, use the platform switcher above the preview, or just ask:
```
Add a web version of this app
```
Each app keeps its own code. They share the chat, and the backend if you have one. A common split is a mobile app for customers and a web app as the admin dashboard.
## What a web app cannot do
A web app runs inside the browser, so the deeply native features are out of reach:
* No App Store or Google Play distribution
* No home screen or lock screen widgets, no Live Activities, no Dynamic Island
* No Apple Watch app and no Apple Health integration
* No background tracking, and no advanced motion or body tracking
* Push notifications are limited. On iPhone and iPad the user must add the site to the Home Screen first, on iOS 16.4 or later, and then grant permission
If your product needs any of those, build the native app and keep the web app beside it. See [iPhone, Android, or web: what's the difference](/swift-vs-react-native/whats-the-difference).
## FAQ
What the panel shows:
* **The address.** Rork picks one from the project name, like `ember-roast-website.rork.app`. Press the pencil to change the subdomain.
* **The status.** It reads **Site offline** until you publish for the first time.
* **Add a custom domain.** This row stays off until the first publish. The panel says so: "Publish the project first to add a custom domain."
Publishing is a separate step from building. Your changes stay in the preview until you publish again, and the **Publish** button marks itself when the live site is behind your project.
## Add a web app to a project you already have
Any mobile project can grow a web version. Open **Project Settings → Add new app → Web**, use the platform switcher above the preview, or just ask:
```
Add a web version of this app
```
Each app keeps its own code. They share the chat, and the backend if you have one. A common split is a mobile app for customers and a web app as the admin dashboard.
## What a web app cannot do
A web app runs inside the browser, so the deeply native features are out of reach:
* No App Store or Google Play distribution
* No home screen or lock screen widgets, no Live Activities, no Dynamic Island
* No Apple Watch app and no Apple Health integration
* No background tracking, and no advanced motion or body tracking
* Push notifications are limited. On iPhone and iPad the user must add the site to the Home Screen first, on iOS 16.4 or later, and then grant permission
If your product needs any of those, build the native app and keep the web app beside it. See [iPhone, Android, or web: what's the difference](/swift-vs-react-native/whats-the-difference).
## FAQ