> ## Documentation Index
> Fetch the complete documentation index at: https://docs.rork.com/llms.txt
> Use this file to discover all available pages before exploring further.
# Screenshot Studio: App Store screenshots in a minute
> Screenshot Studio turns your raw app screens into a designed App Store deck: written headlines, painted backgrounds, and iPhone frames, exported at the size App Store Connect accepts.
export const CtaBanner = () =>
Build your app with Rork today.
Ship iOS, Android, and web apps by chatting with AI.
;
Raw simulator screenshots sell nothing. The listings that convert have a headline on every slide, a background that matches the app, and the screen inside a device frame.
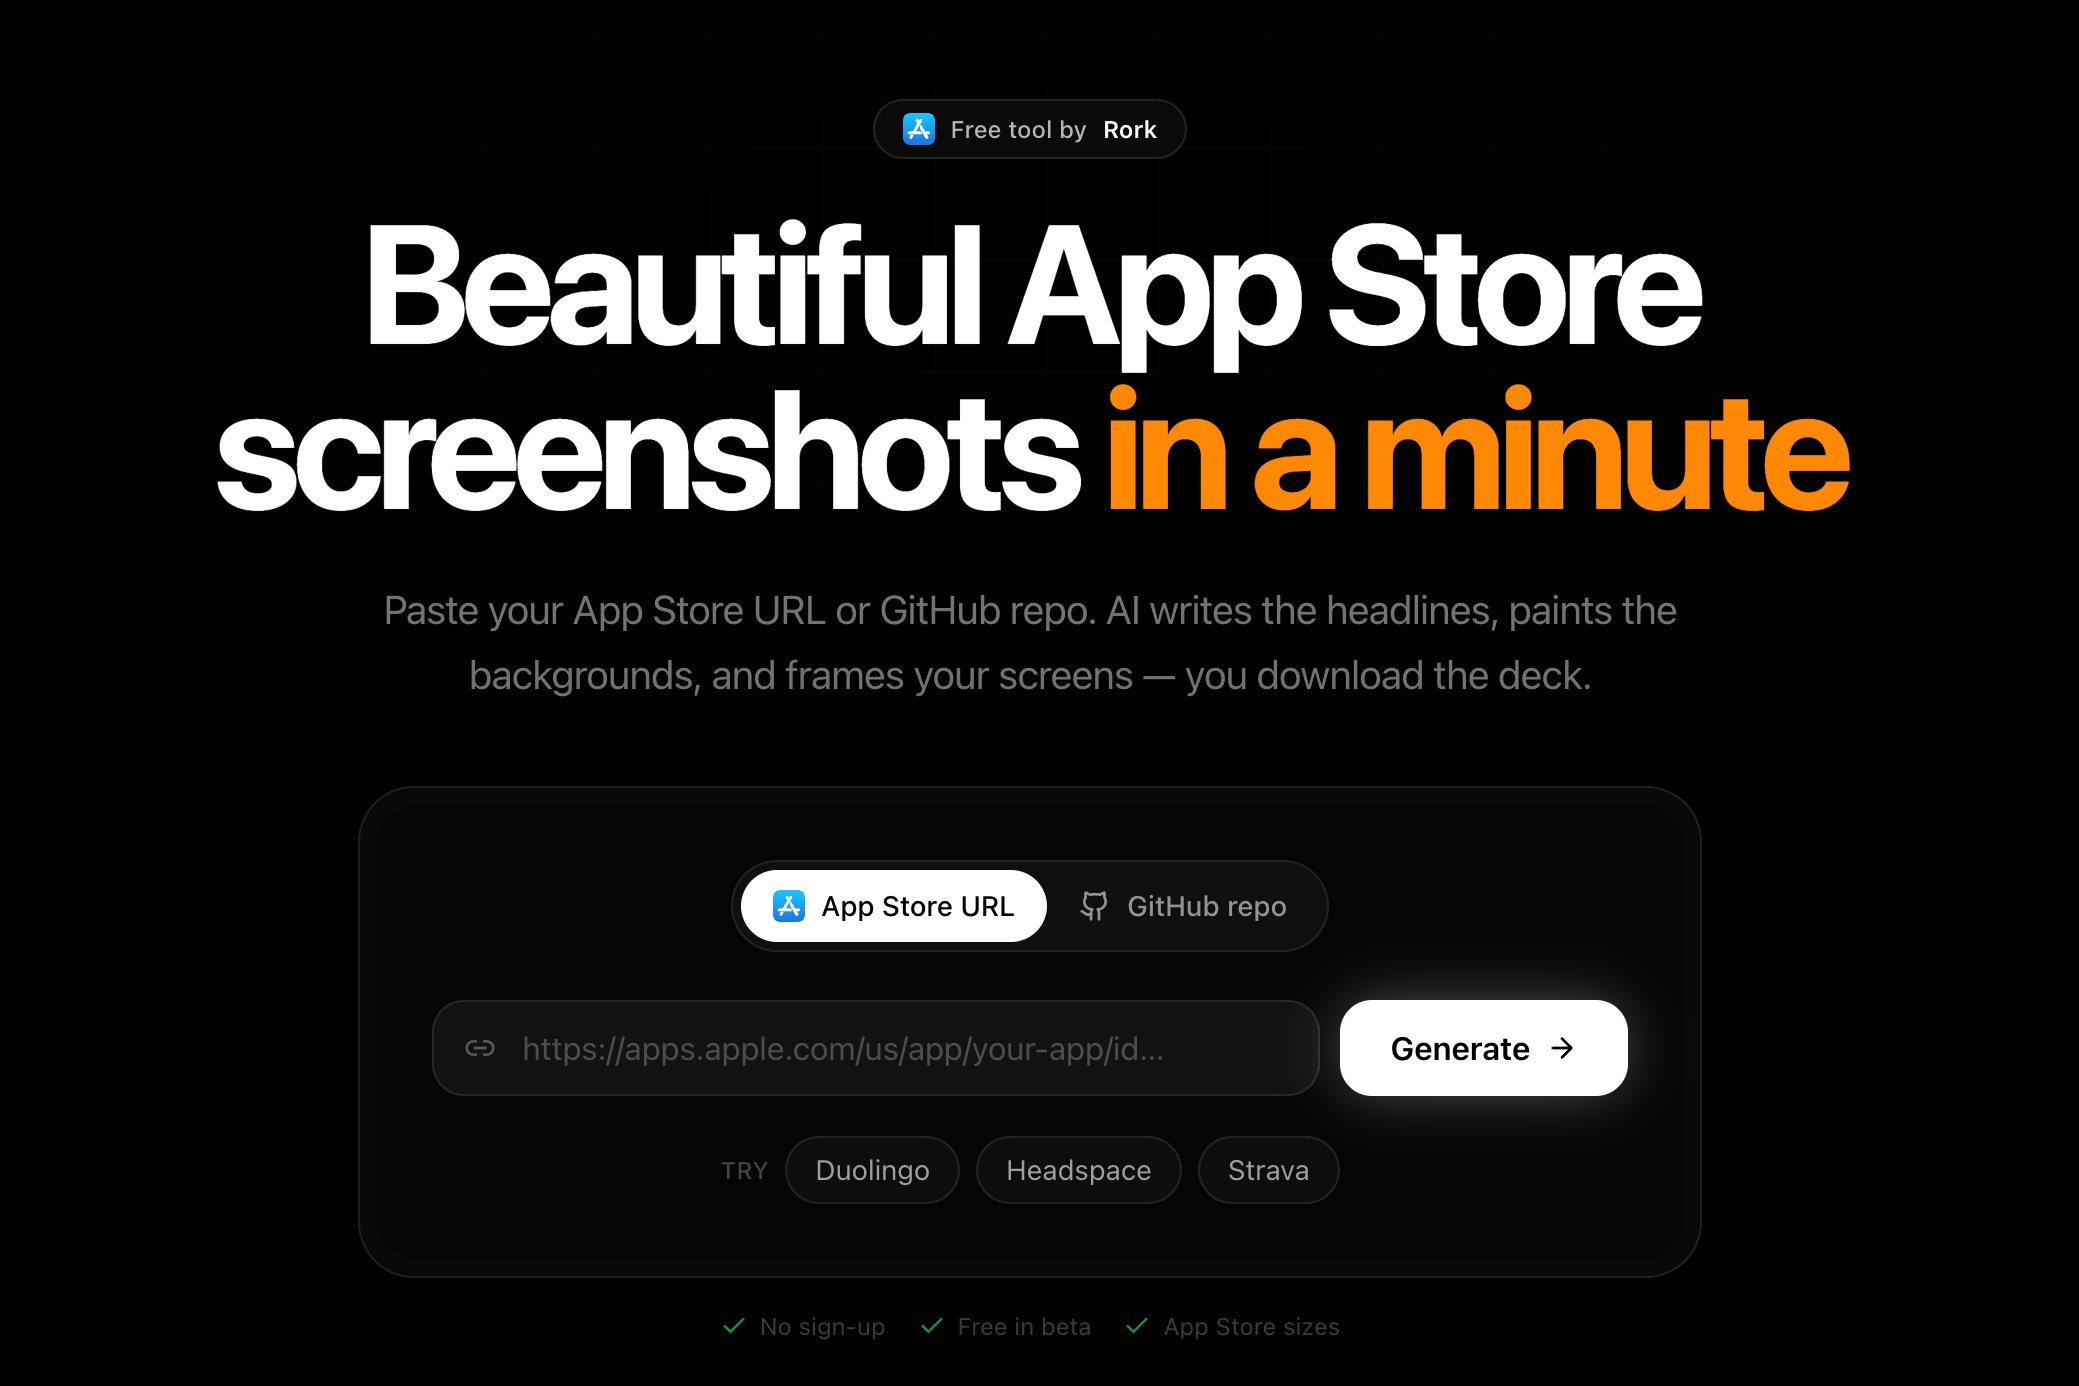
**Screenshot Studio** does that for you, at [rork.com/screenshots](https://rork.com/screenshots). It is free while in beta, and it needs no account.
## Use it
**App Store URL** works best, because Rork reads your app's name, its description, and your existing screenshots. **GitHub repo** works for an app that is not published yet. If neither fits, skip ahead and upload your screens by hand.
Rork fills in the app name, the category, and a summary. Correct them if the store listing is out of date, because the headlines are written from this text.
Choose the screens that carry your story. Use **Upload your own** for screens Rork could not find, straight from your simulator or phone.
**Layout** and **Style** are both optional. Pick a preset like dark premium or gradient dreamy, or write your own direction in a sentence and the whole deck follows it.
It takes about a minute. **Download all** gives you the deck, and any slide you dislike has its own **Retry**.
## What you get
* **PNG files at 1284×2778**, the iPhone 6.5-inch size App Store Connect accepts for every modern iPhone
* **A written headline per slide**, short and specific to your app
* **Background art per slide**, tied together by one palette
* **Your screen inside an iPhone frame**, composited to the pixel
Upload the files straight into App Store Connect. There is nothing to resize.
The output is sized for the App Store. For Google Play, generate your Play listing images separately, since Play asks for different sizes. See [How to publish your Rork app to Google Play Store](/submitting-to-play-store/creating-the-aab-file).
## Write better headlines
The studio writes the copy, but it writes from what you give it. Two habits improve the result:
1. **Fix the summary before you generate.** One clear sentence about who the app is for beats a paragraph of store keywords.
2. **Order the screens like a pitch.** The first slide earns the second. Lead with the thing people came for, not with your settings screen.
## How it relates to the rest of Rork
| Tool | What it is for |
| ------------------------------- | ------------------------------------------------------------------- |
| **Screenshot Studio** | A standalone deck for your store listing, from any app, no account |
| **Screenshots in your project** | Ask the agent for store screenshots while you build in Rork |
| **Mockup creator** | Social images from the preview, sized for X, Instagram, and stories |
The studio also works for apps that were never built in Rork. If you are shipping something from another tool, you can still use it.
## FAQ
Yes, free while in beta, and no account is needed. It does not spend your Rork credits.
Import a GitHub repo, or upload raw screenshots from your simulator. The studio takes it from there.
Yes. Pick a preset, or describe the look you want in a sentence and the whole deck follows it.
Up to six, which matches what a store listing shows before people stop swiping.
Screenshots have to show your real app, not a mockup of features you do not have. The studio frames your real screens, which is what Apple asks for. See the [App Store Checklist](/submitting-to-app-store/apple/app-store-checklist).
## Next steps
Required sizes and what to put on each slide.
Check your app against the guidelines before you submit.
Take the finished app to review.
Images, video, audio, and 3D inside your app.
 ## Use it