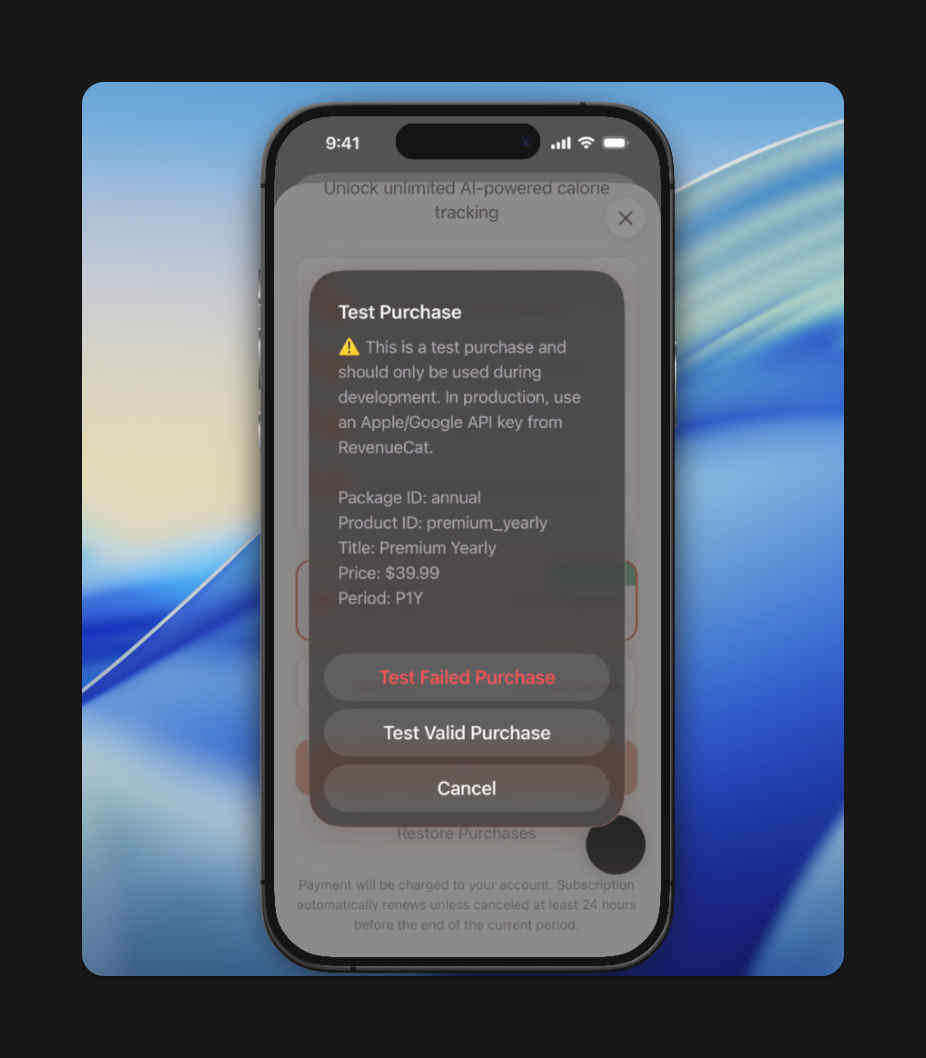
 ## 4) Push the app to TestFlight (required for real Apple IAP)
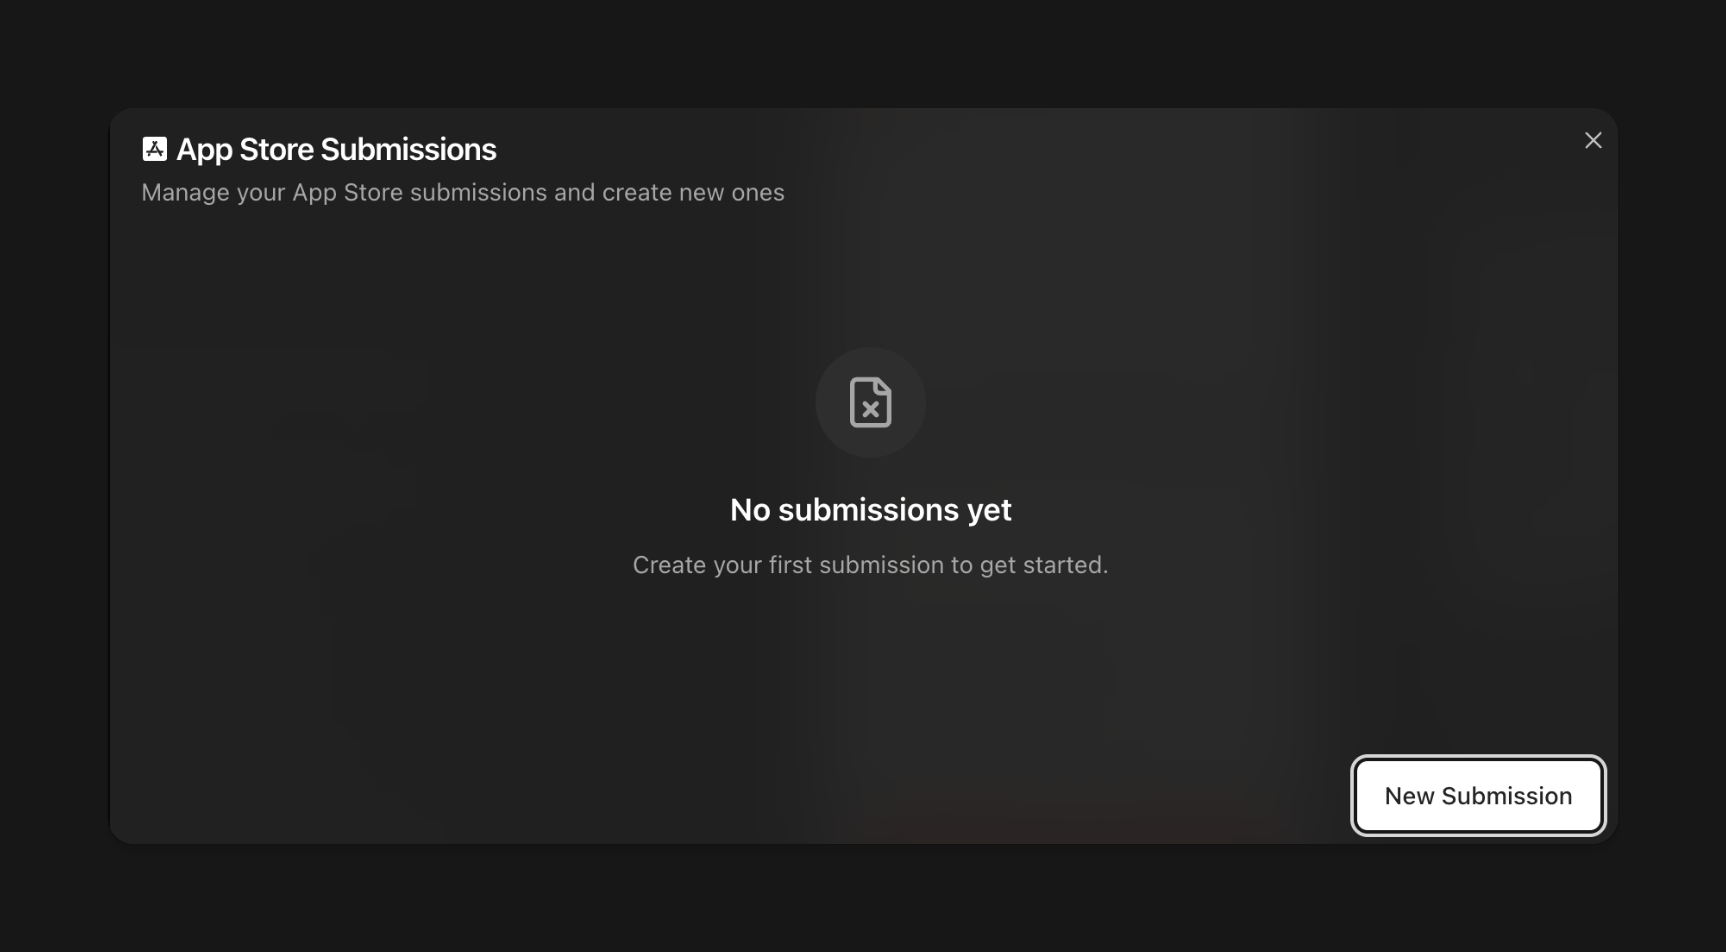
1. In Rork, go to **Get users → Submit to TestFlight**.
2. Click **New submission**.
3. (Optional but recommended) Generate an app icon using Rork.
4. Fill out **Apple Developer** information when prompted.
5. Submit and wait for the build/upload to complete.
6. Go to **App Store Connect**. Complete the required compliance info so the build is testable.
## 4) Push the app to TestFlight (required for real Apple IAP)
1. In Rork, go to **Get users → Submit to TestFlight**.
2. Click **New submission**.
3. (Optional but recommended) Generate an app icon using Rork.
4. Fill out **Apple Developer** information when prompted.
5. Submit and wait for the build/upload to complete.
6. Go to **App Store Connect**. Complete the required compliance info so the build is testable.
 ## 5) Create subscriptions in App Store Connect (real products)
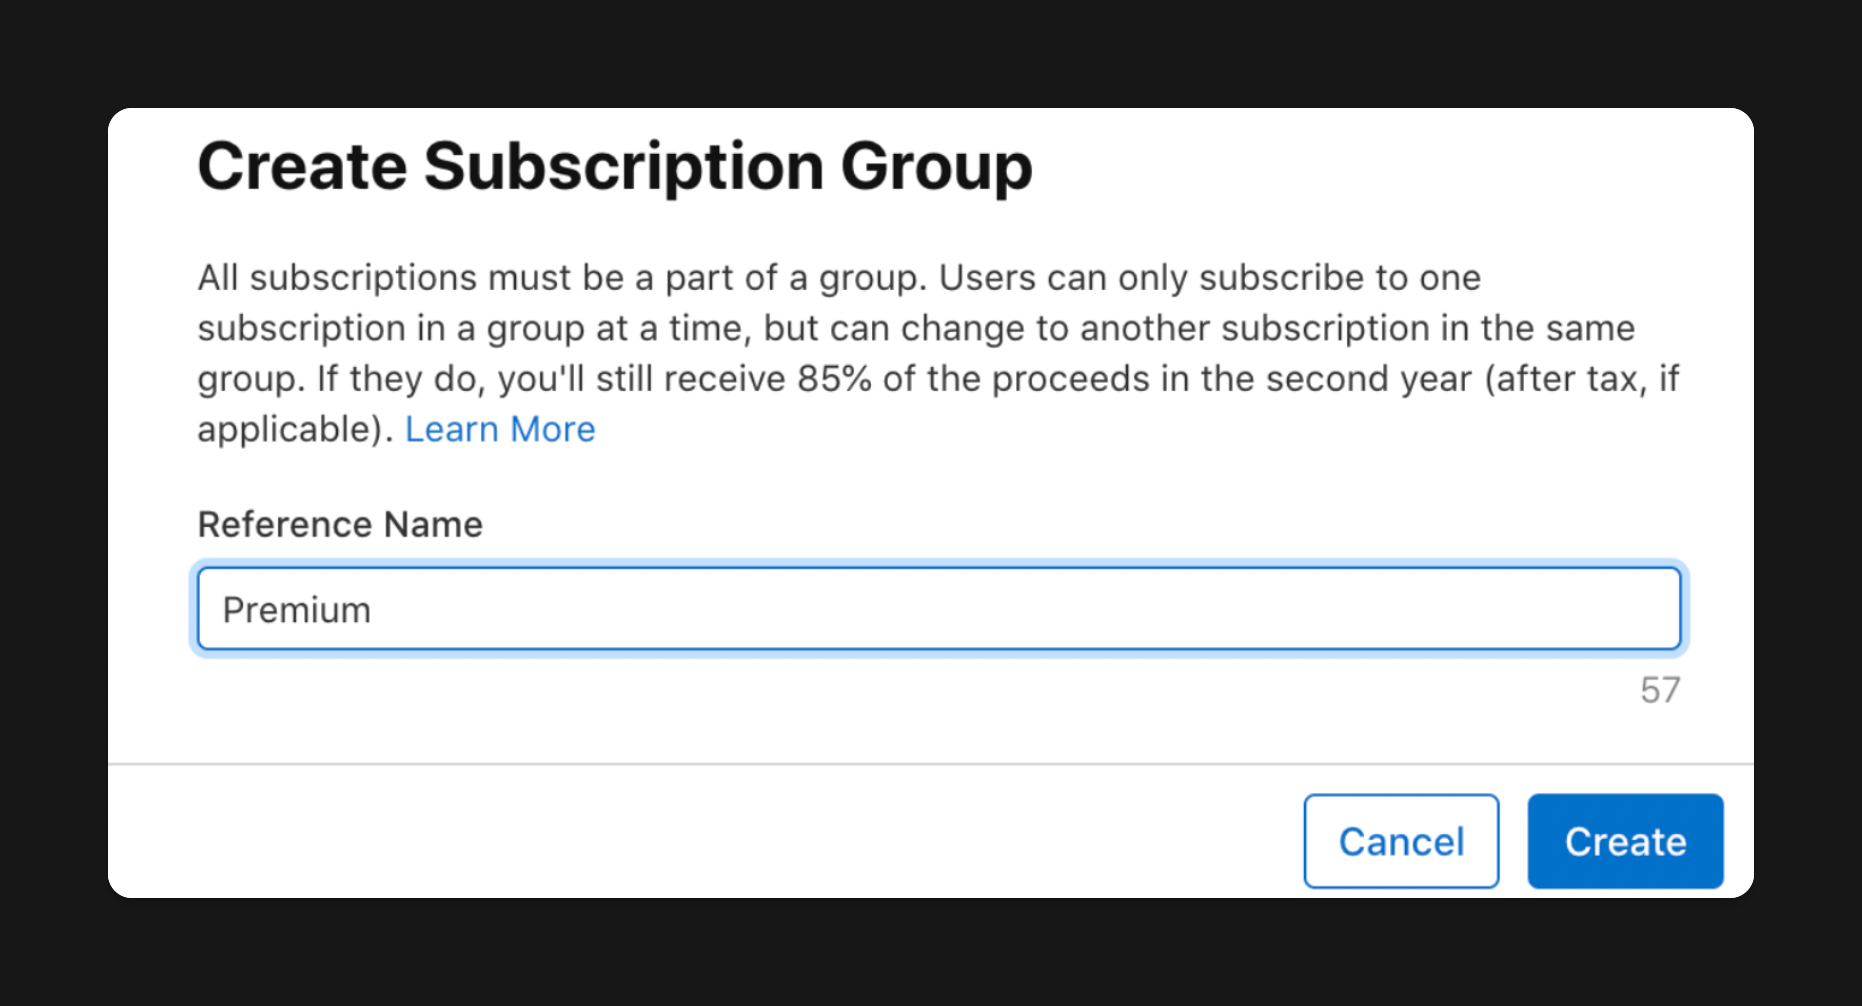
### Create a Subscription Group
1. App Store Connect → **Subscriptions**
2. Create **Subscription Group**
* Name it something simple (example: "Subscriptions")
## 5) Create subscriptions in App Store Connect (real products)
### Create a Subscription Group
1. App Store Connect → **Subscriptions**
2. Create **Subscription Group**
* Name it something simple (example: "Subscriptions")
 ### Create monthly subscription (repeat for yearly)
1. Create **Subscription**
2. Set:
* Reference name: "Monthly subscription."
* Product ID: "monthly\_subscription" (or same name)
3. Configure required metadata:
* Duration: **1 month**
* Availability: **Everywhere**
* Price: example **\$4.99/month**
4. Add localization:
* Display name: "Monthly subscription."
5. Add a screenshot/image of your paywall (required for submission readiness)
6. Submit / Save
7. Repeat the same steps for **Yearly**.
✅ After this, products should be "Ready to submit" in App Store Connect.
### Create monthly subscription (repeat for yearly)
1. Create **Subscription**
2. Set:
* Reference name: "Monthly subscription."
* Product ID: "monthly\_subscription" (or same name)
3. Configure required metadata:
* Duration: **1 month**
* Availability: **Everywhere**
* Price: example **\$4.99/month**
4. Add localization:
* Display name: "Monthly subscription."
5. Add a screenshot/image of your paywall (required for submission readiness)
6. Submit / Save
7. Repeat the same steps for **Yearly**.
✅ After this, products should be "Ready to submit" in App Store Connect.
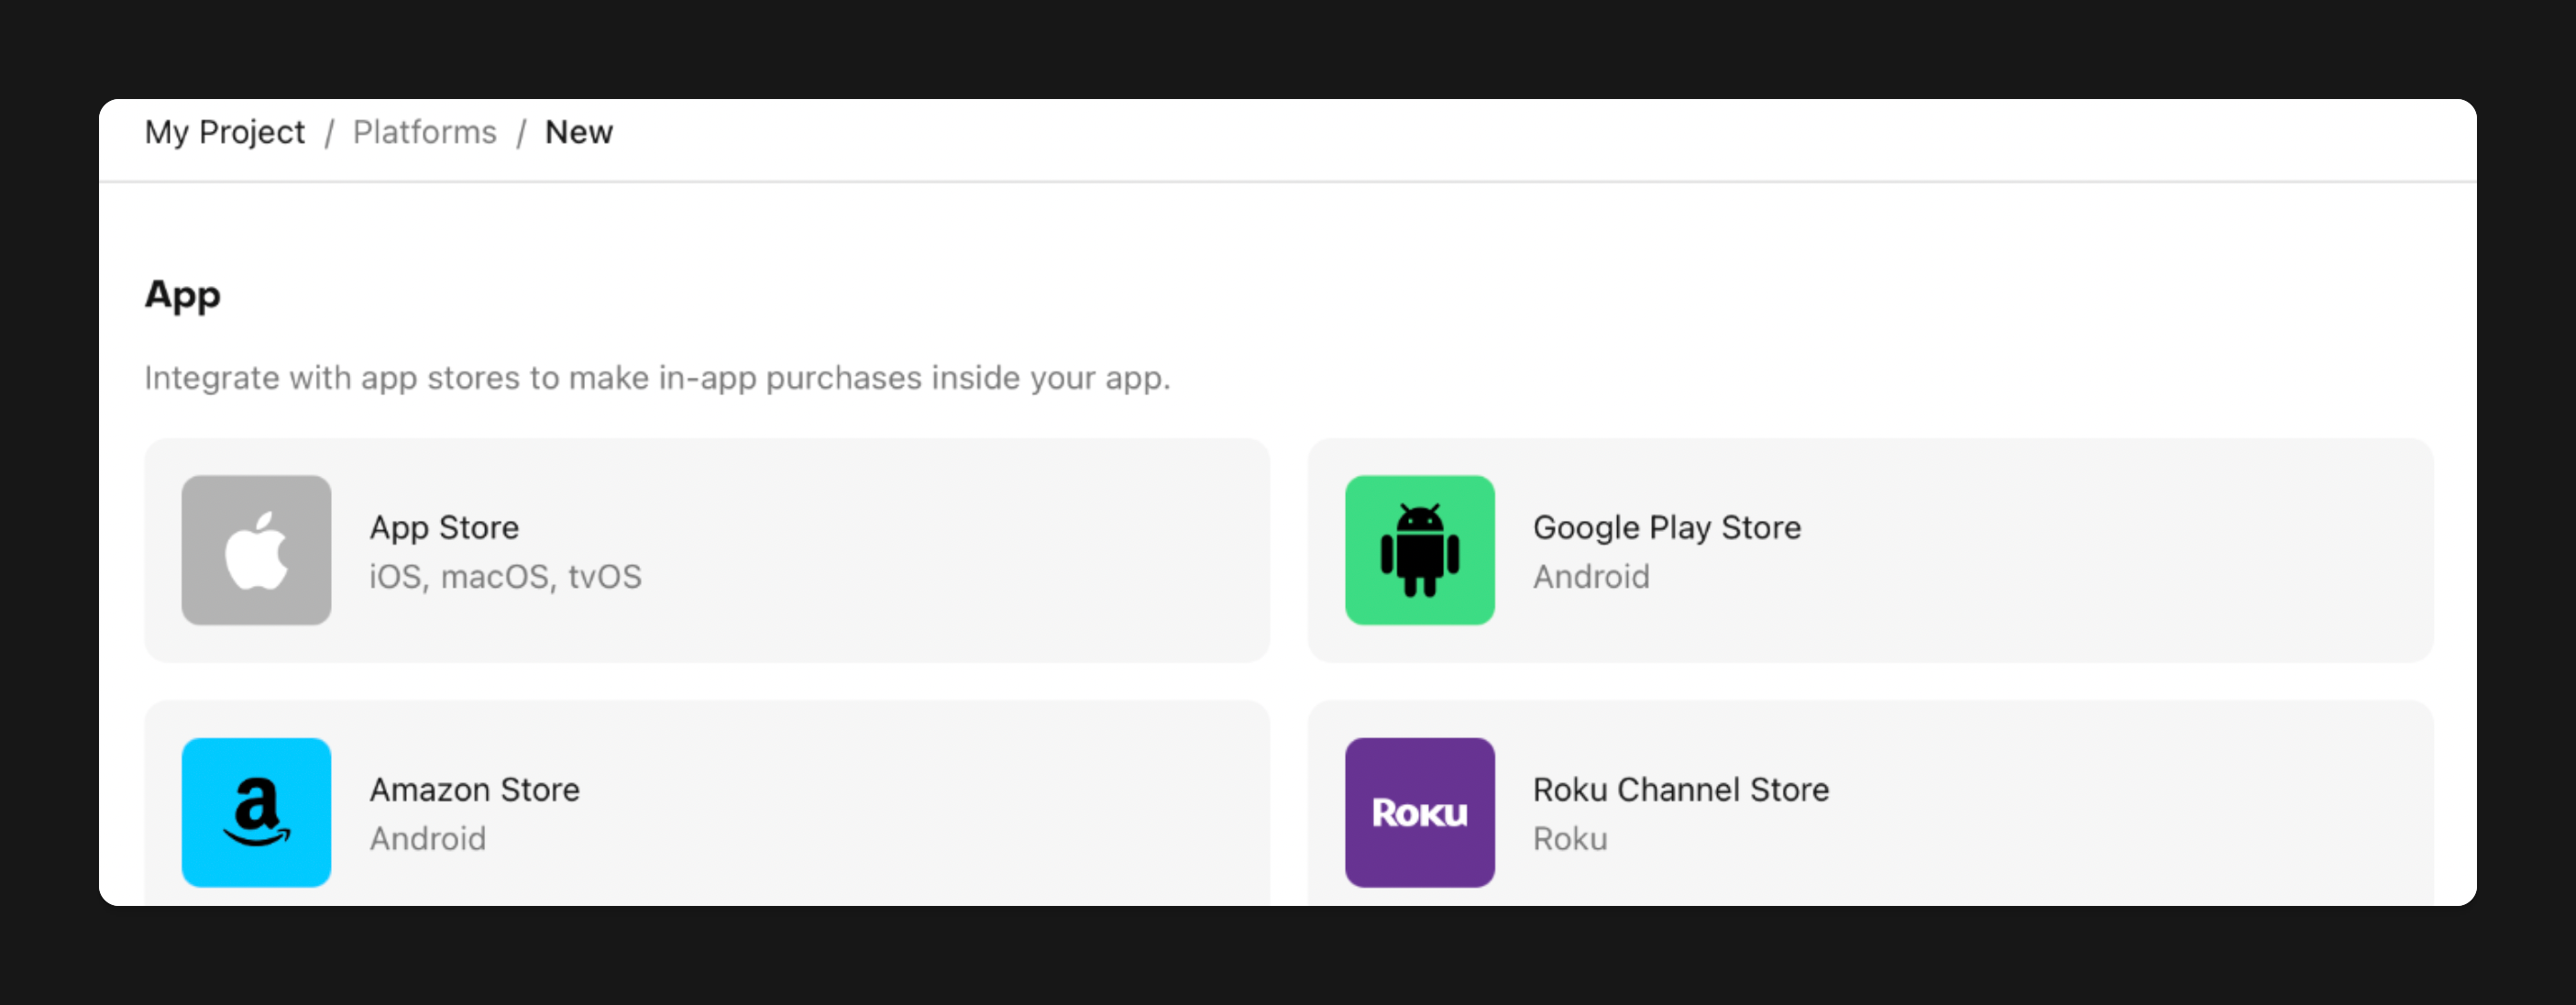 ## 6) Connect App Store Connect to RevenueCat (so products sync)
RevenueCat → **Apps → iOS app**
### Add App Info
1. Copy your **Bundle ID** from App Store Connect into RevenueCat.
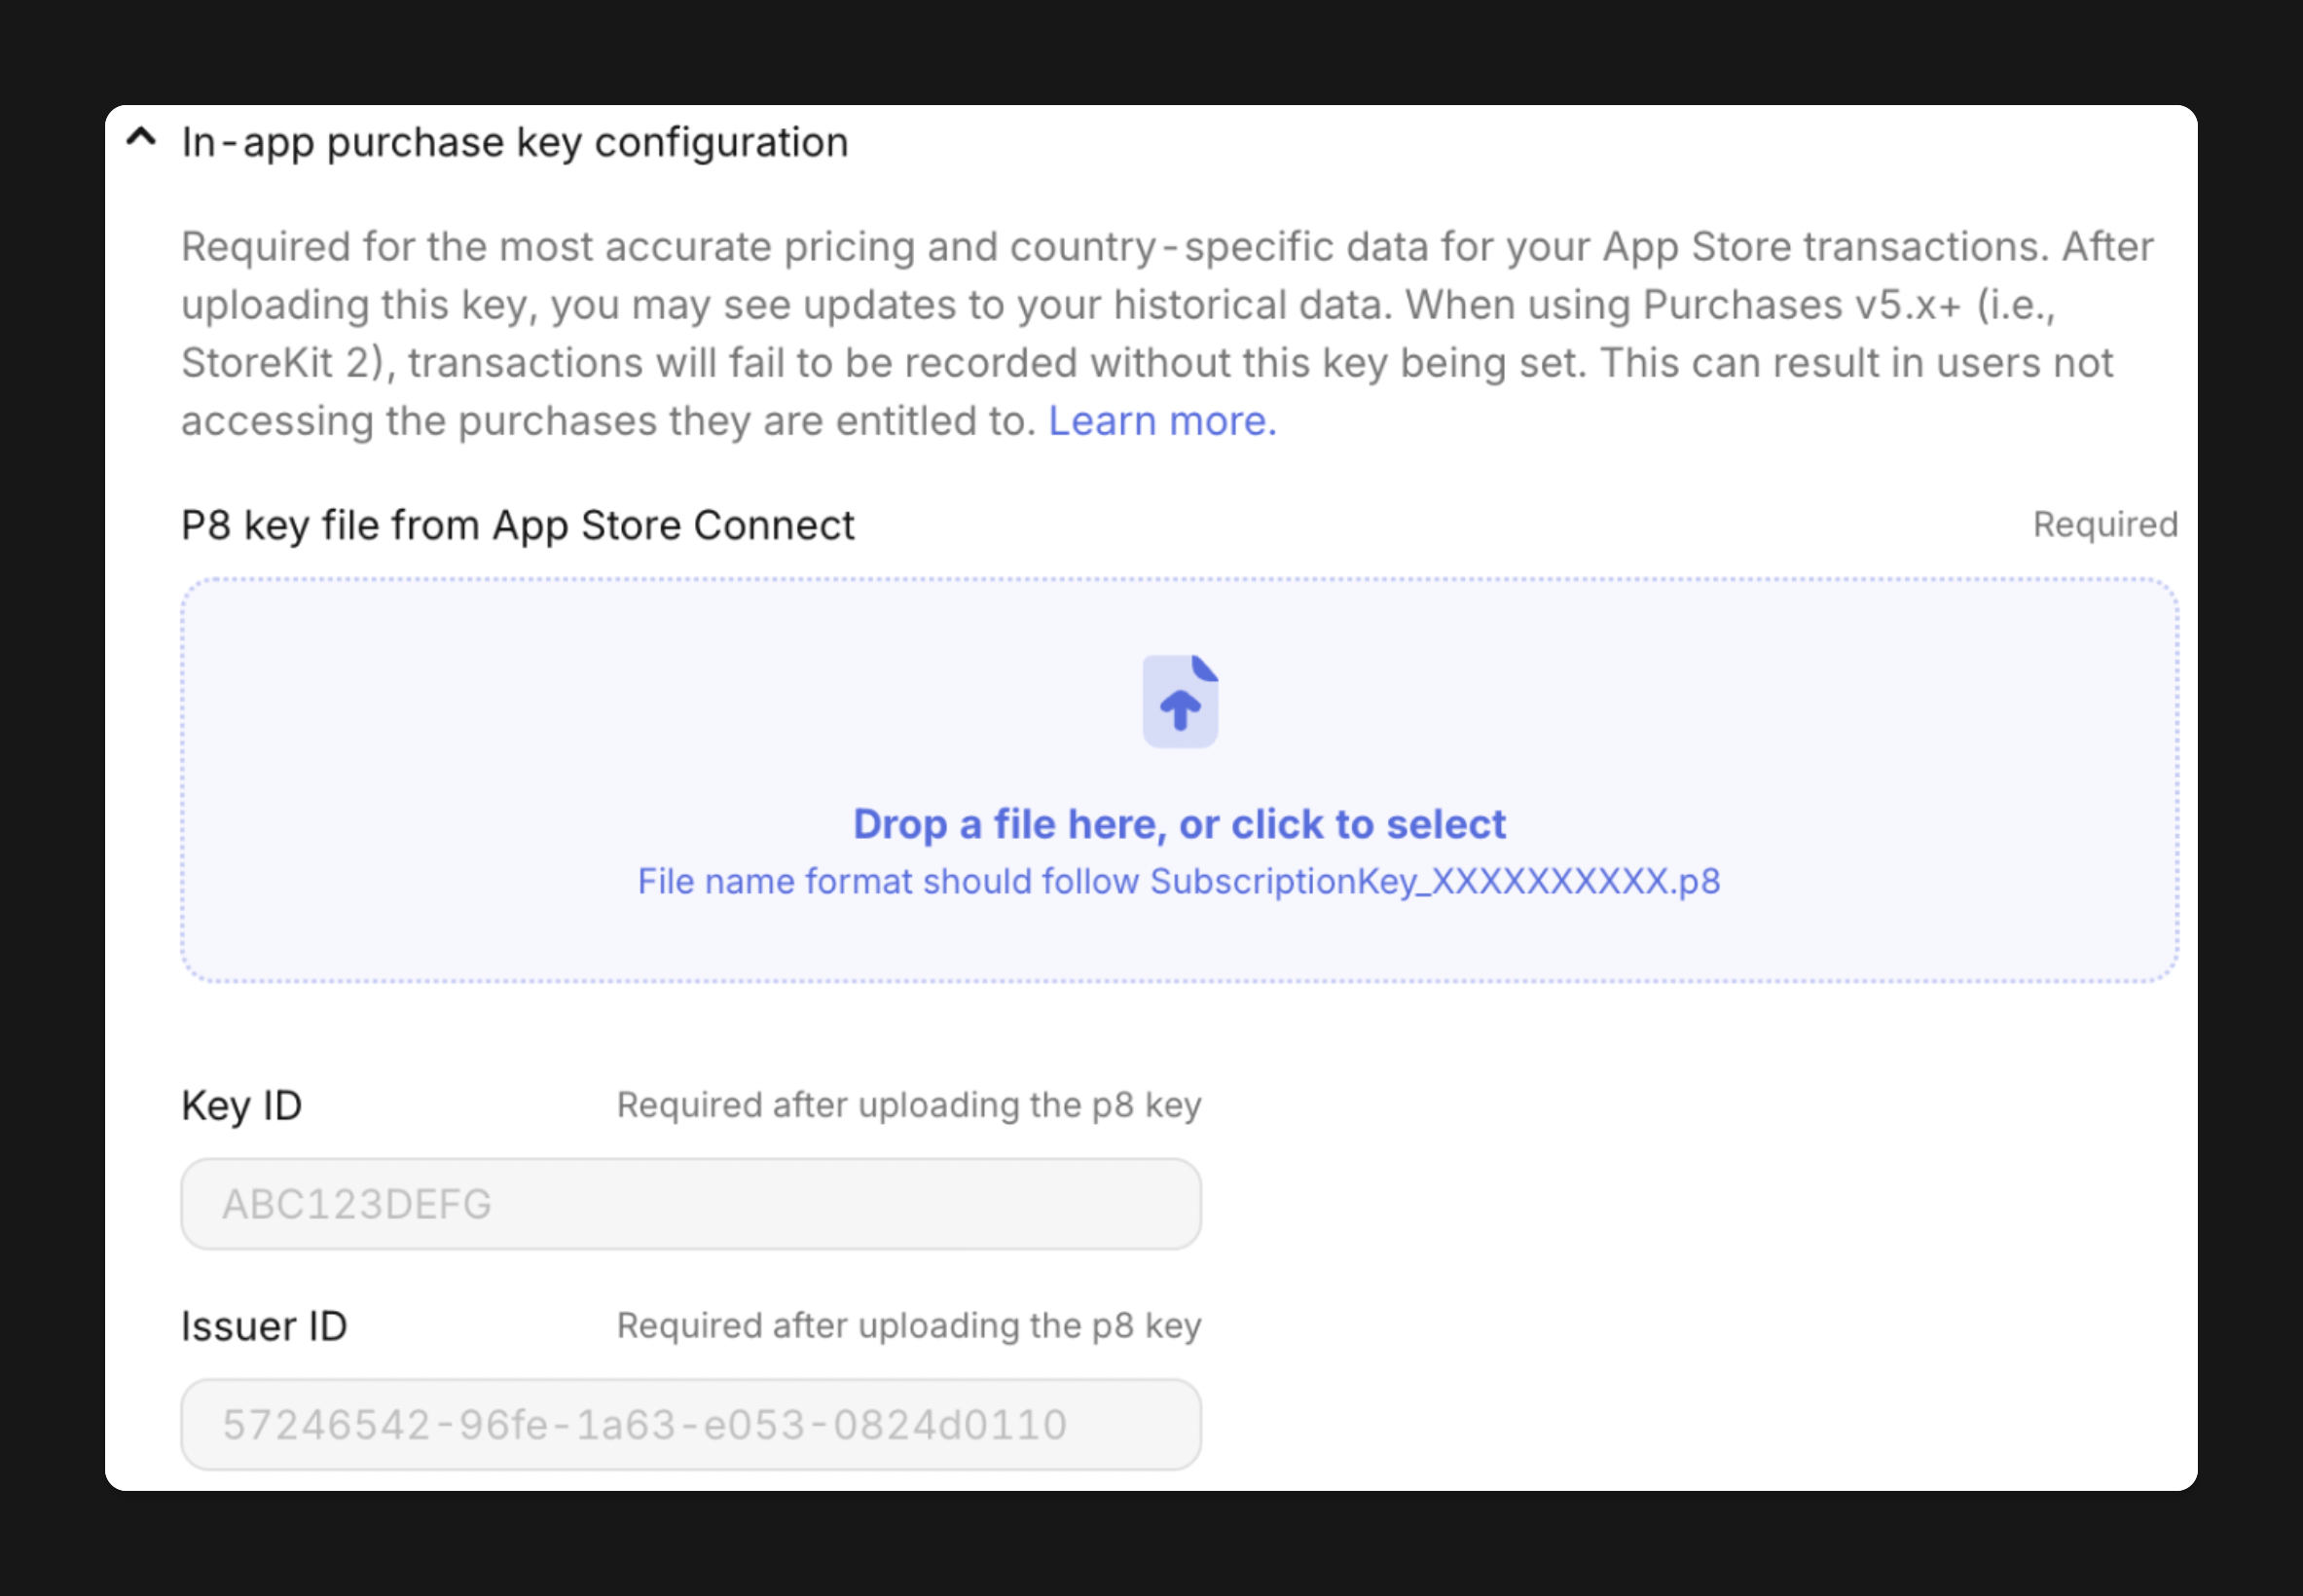
### Add In-App Purchase Key
1. App Store Connect → **Users and Access → Integrations**
2. Under **In-App Purchase**, click the **+**
3. Name it (example: "RevenueCat Calorie Tracker")
4. Download the key file
5. Upload/drag into RevenueCat
6. Copy **Issuer ID** (above the integration keys list) → paste into RevenueCat
## 6) Connect App Store Connect to RevenueCat (so products sync)
RevenueCat → **Apps → iOS app**
### Add App Info
1. Copy your **Bundle ID** from App Store Connect into RevenueCat.
### Add In-App Purchase Key
1. App Store Connect → **Users and Access → Integrations**
2. Under **In-App Purchase**, click the **+**
3. Name it (example: "RevenueCat Calorie Tracker")
4. Download the key file
5. Upload/drag into RevenueCat
6. Copy **Issuer ID** (above the integration keys list) → paste into RevenueCat
 ### Add App Store Connect API Key
1. Still in **Users and Access → Integrations**
2. Create **App Store Connect API** key
3. Download it → upload into RevenueCat
4. Enter **Issuer ID** again
### Add App Store Connect API Key
1. Still in **Users and Access → Integrations**
2. Create **App Store Connect API** key
3. Download it → upload into RevenueCat
4. Enter **Issuer ID** again
 ### Add Vendor Number
1. App Store Connect → **Reports** (Business section)
2. The top left shows the **Vendor Number**
3. Copy → paste into RevenueCat
### Enable server-to-server notifications (recommended)
* Toggle: **Track new purchases from server-to-server notifications**
### Add App-Specific Shared Secret
1. App Store Connect → **Apps → Your app → App Information**
2. Scroll to **App-Specific Shared Secret**
3. Click **Manage → Generate**
4. Copy secret → paste into RevenueCat
5. Click **Save changes** in RevenueCat
✅ Now: Apple ↔ RevenueCat is connected.
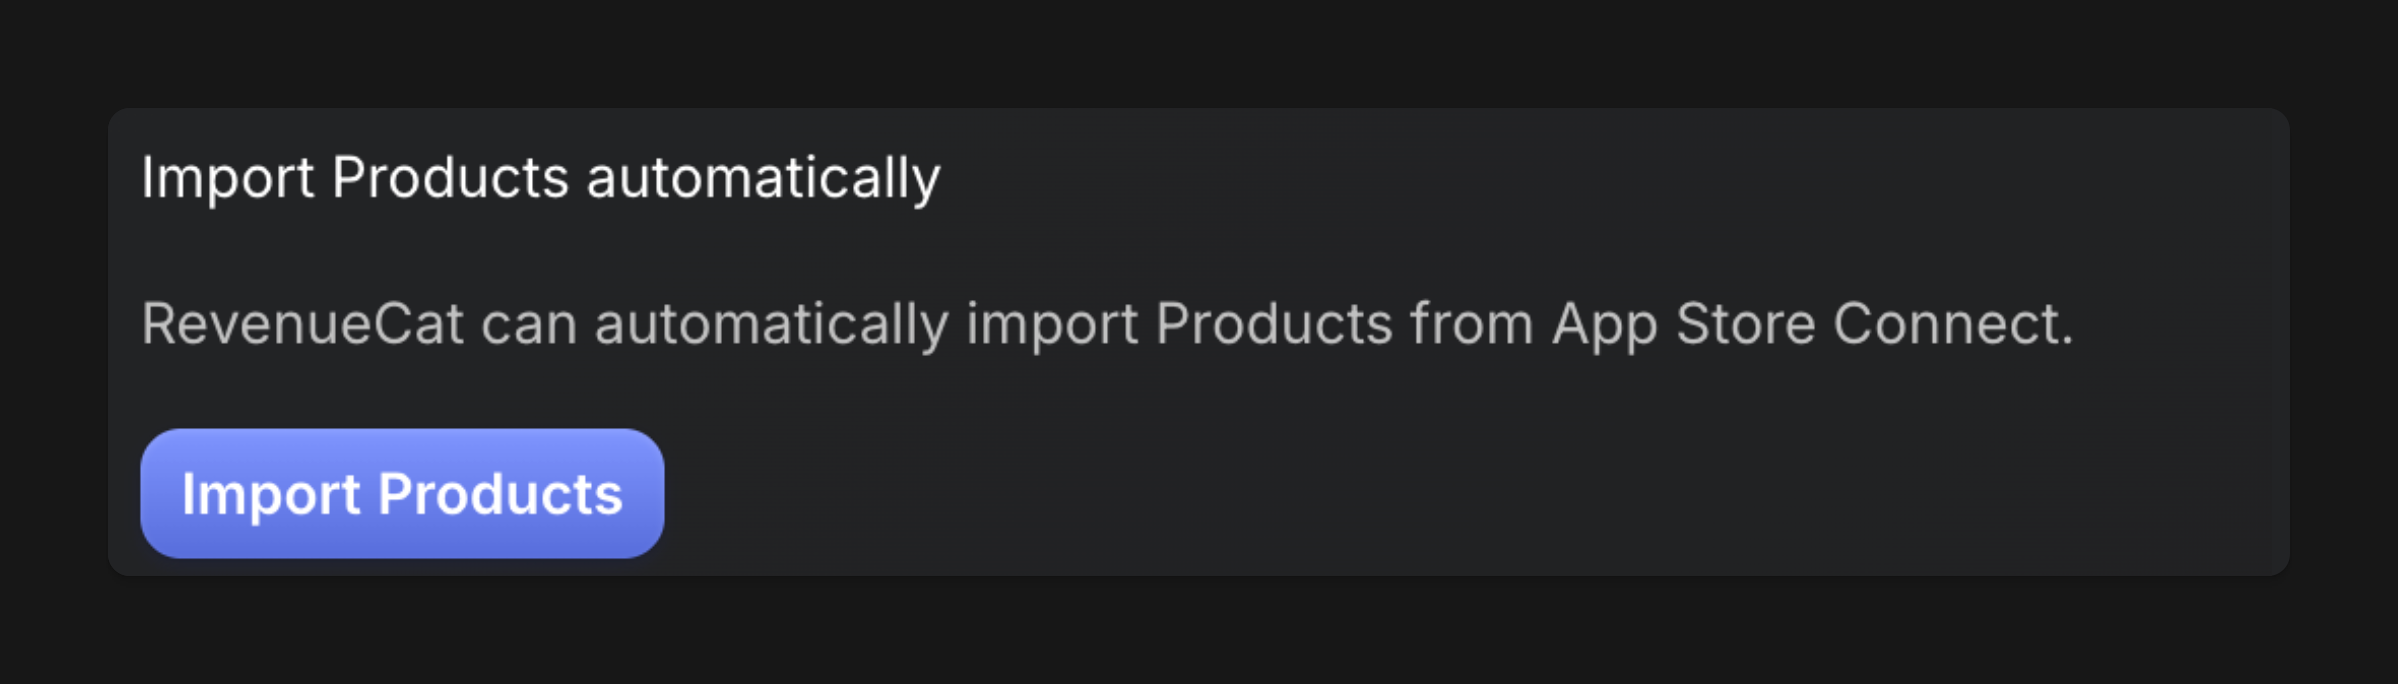
## 7) Import your App Store products into RevenueCat
1. RevenueCat → **Product Catalog**
2. Choose **Default** (or your active catalog)
3. Click **Add new product → Import products**
4. Select the monthly + yearly products → **Import**
5. For each imported product:
* Attach an **Entitlement** (same entitlement for both is common)
## 8) Attach products to your RevenueCat Offering
1. RevenueCat → **Offerings → Default**
2. Click **Edit**
3. Attach each App Store product to the correct package
4. Click **Save**
## 9) Final test: TestFlight purchase
1. Install your app via **TestFlight**
2. Open your paywall in-app
3. Your subscriptions should now be purchasable via TestFlight and in production after release.
# Common Issues:
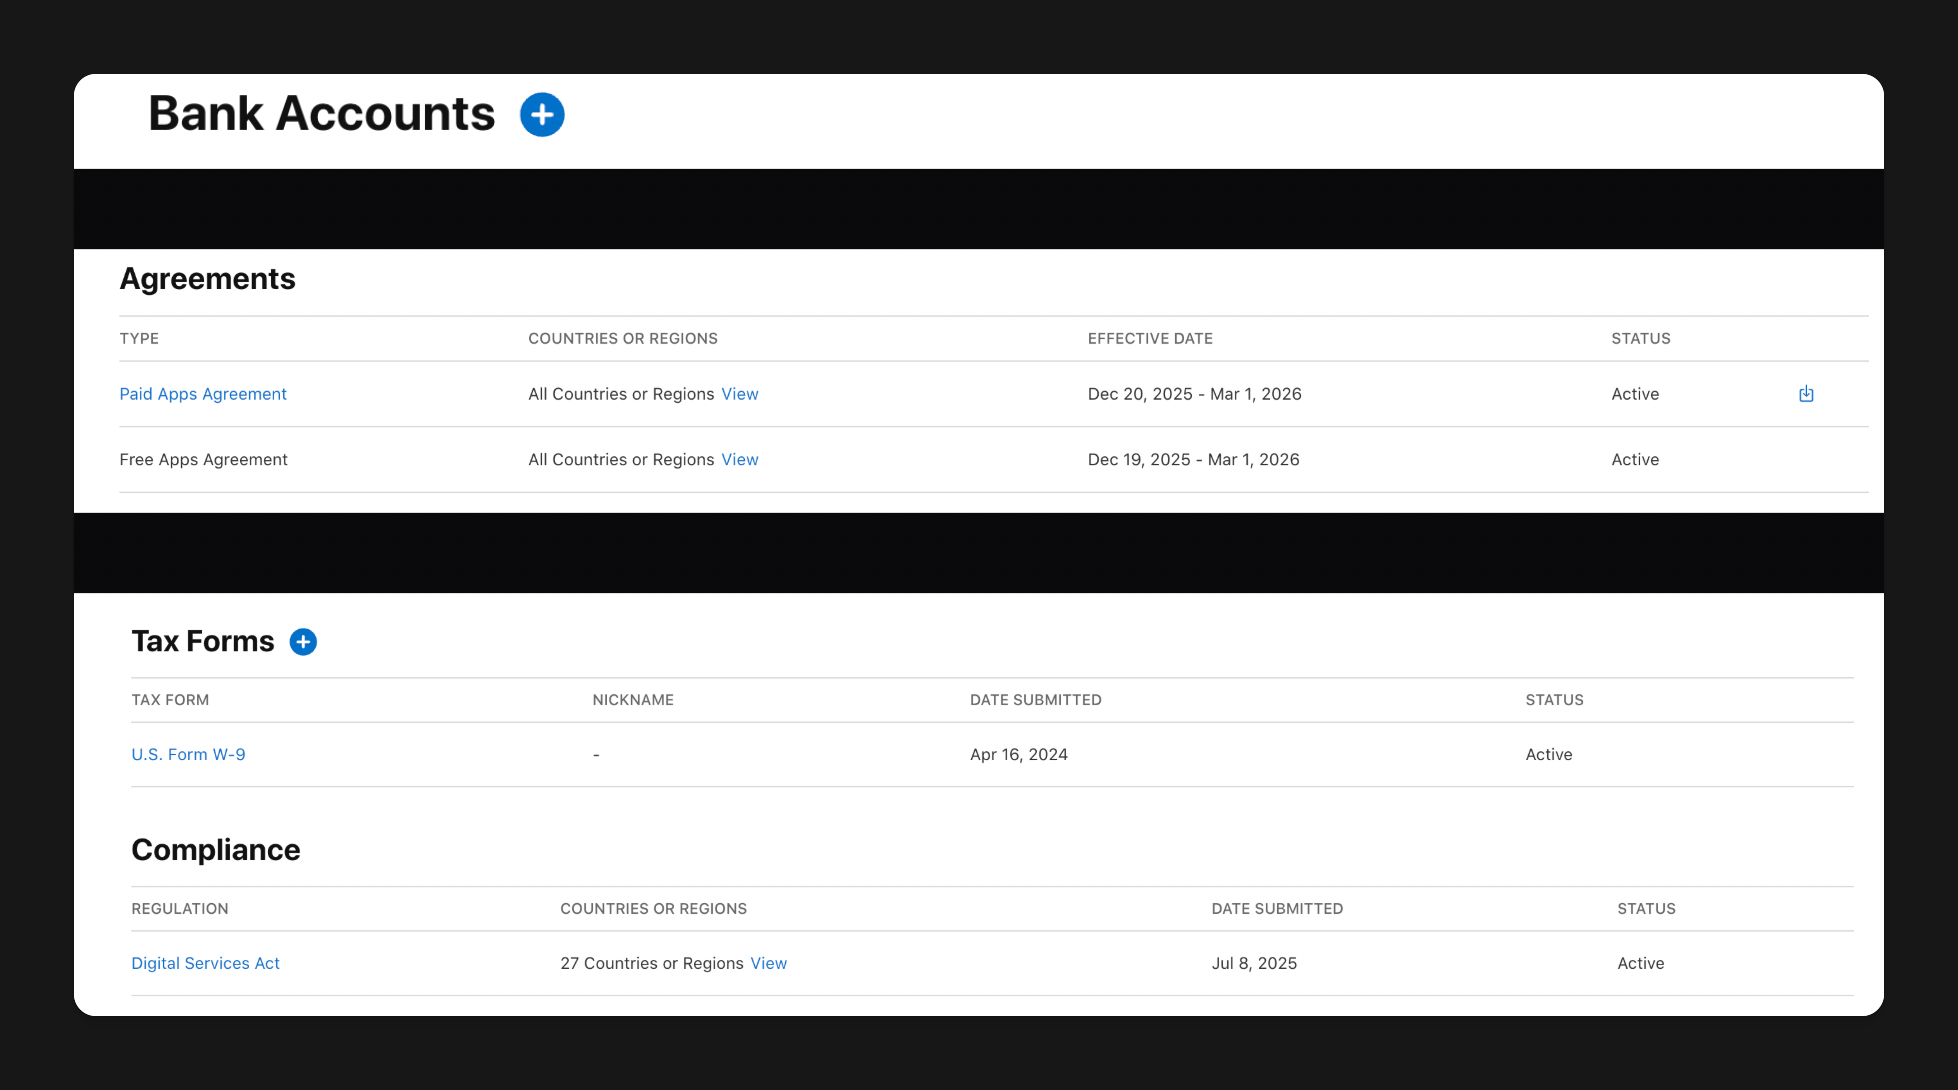
* Make sure all of your Agreements/Bank information is active. (Your subscriptions will not work if this isn't set up
### Add Vendor Number
1. App Store Connect → **Reports** (Business section)
2. The top left shows the **Vendor Number**
3. Copy → paste into RevenueCat
### Enable server-to-server notifications (recommended)
* Toggle: **Track new purchases from server-to-server notifications**
### Add App-Specific Shared Secret
1. App Store Connect → **Apps → Your app → App Information**
2. Scroll to **App-Specific Shared Secret**
3. Click **Manage → Generate**
4. Copy secret → paste into RevenueCat
5. Click **Save changes** in RevenueCat
✅ Now: Apple ↔ RevenueCat is connected.
## 7) Import your App Store products into RevenueCat
1. RevenueCat → **Product Catalog**
2. Choose **Default** (or your active catalog)
3. Click **Add new product → Import products**
4. Select the monthly + yearly products → **Import**
5. For each imported product:
* Attach an **Entitlement** (same entitlement for both is common)
## 8) Attach products to your RevenueCat Offering
1. RevenueCat → **Offerings → Default**
2. Click **Edit**
3. Attach each App Store product to the correct package
4. Click **Save**
## 9) Final test: TestFlight purchase
1. Install your app via **TestFlight**
2. Open your paywall in-app
3. Your subscriptions should now be purchasable via TestFlight and in production after release.
# Common Issues:
* Make sure all of your Agreements/Bank information is active. (Your subscriptions will not work if this isn't set up
 * App store public api key isn't set properly.
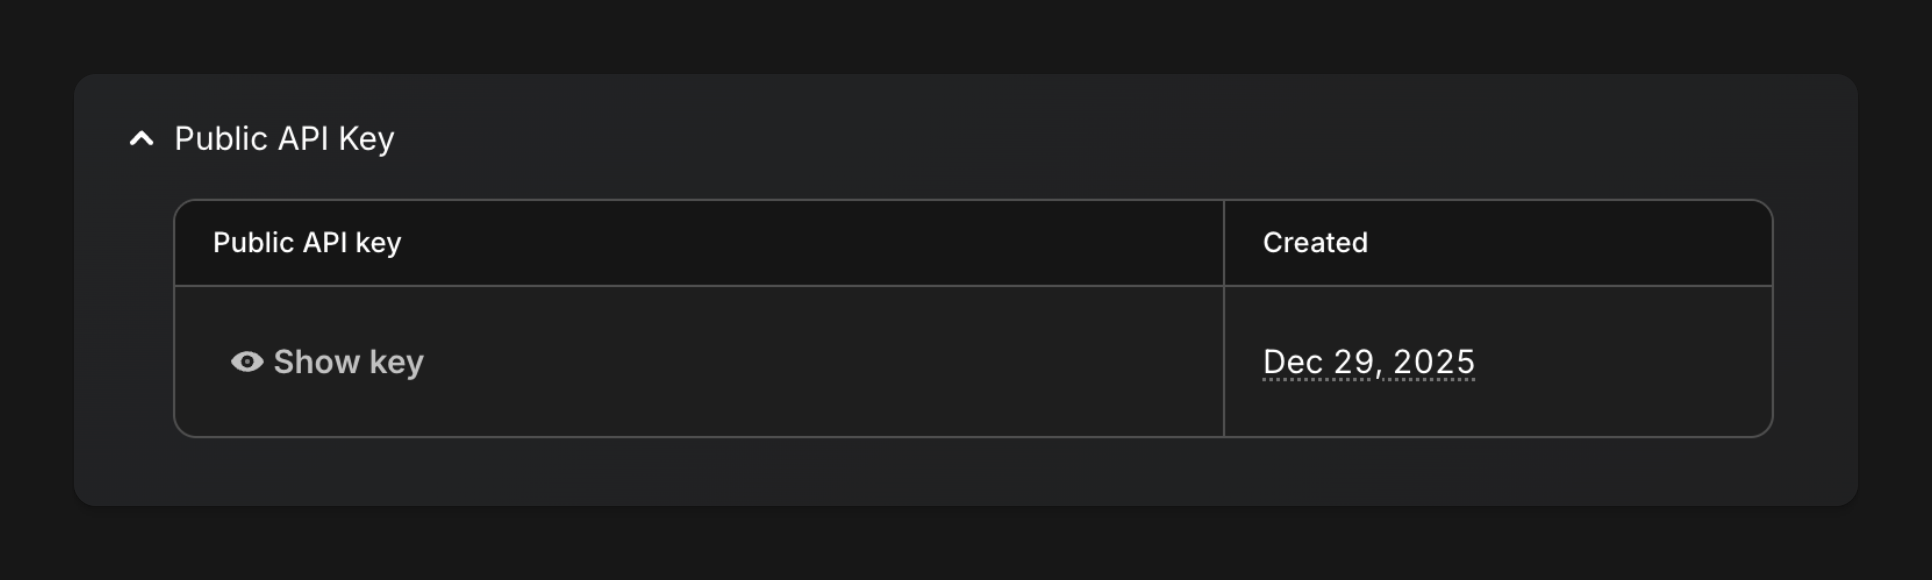 * Just give this key to Rork and say, "Make sure Apple and RevenueCat are connected".
## What to do next:
After adding a paywall, you will still be rejected from the App Store if you do not have a privacy policy, terms and conditions, and a visible EULA.\
\
In your App Store description, make sure to mention that every feature requires a paid subscription if you are hard paywalling your app. If you do not, Apple will reject you.
[How to create policies?](make-your-app-profitable/paywalls/how-to-set-up-your-policies.mdx)
* Just give this key to Rork and say, "Make sure Apple and RevenueCat are connected".
## What to do next:
After adding a paywall, you will still be rejected from the App Store if you do not have a privacy policy, terms and conditions, and a visible EULA.\
\
In your App Store description, make sure to mention that every feature requires a paid subscription if you are hard paywalling your app. If you do not, Apple will reject you.
[How to create policies?](make-your-app-profitable/paywalls/how-to-set-up-your-policies.mdx)