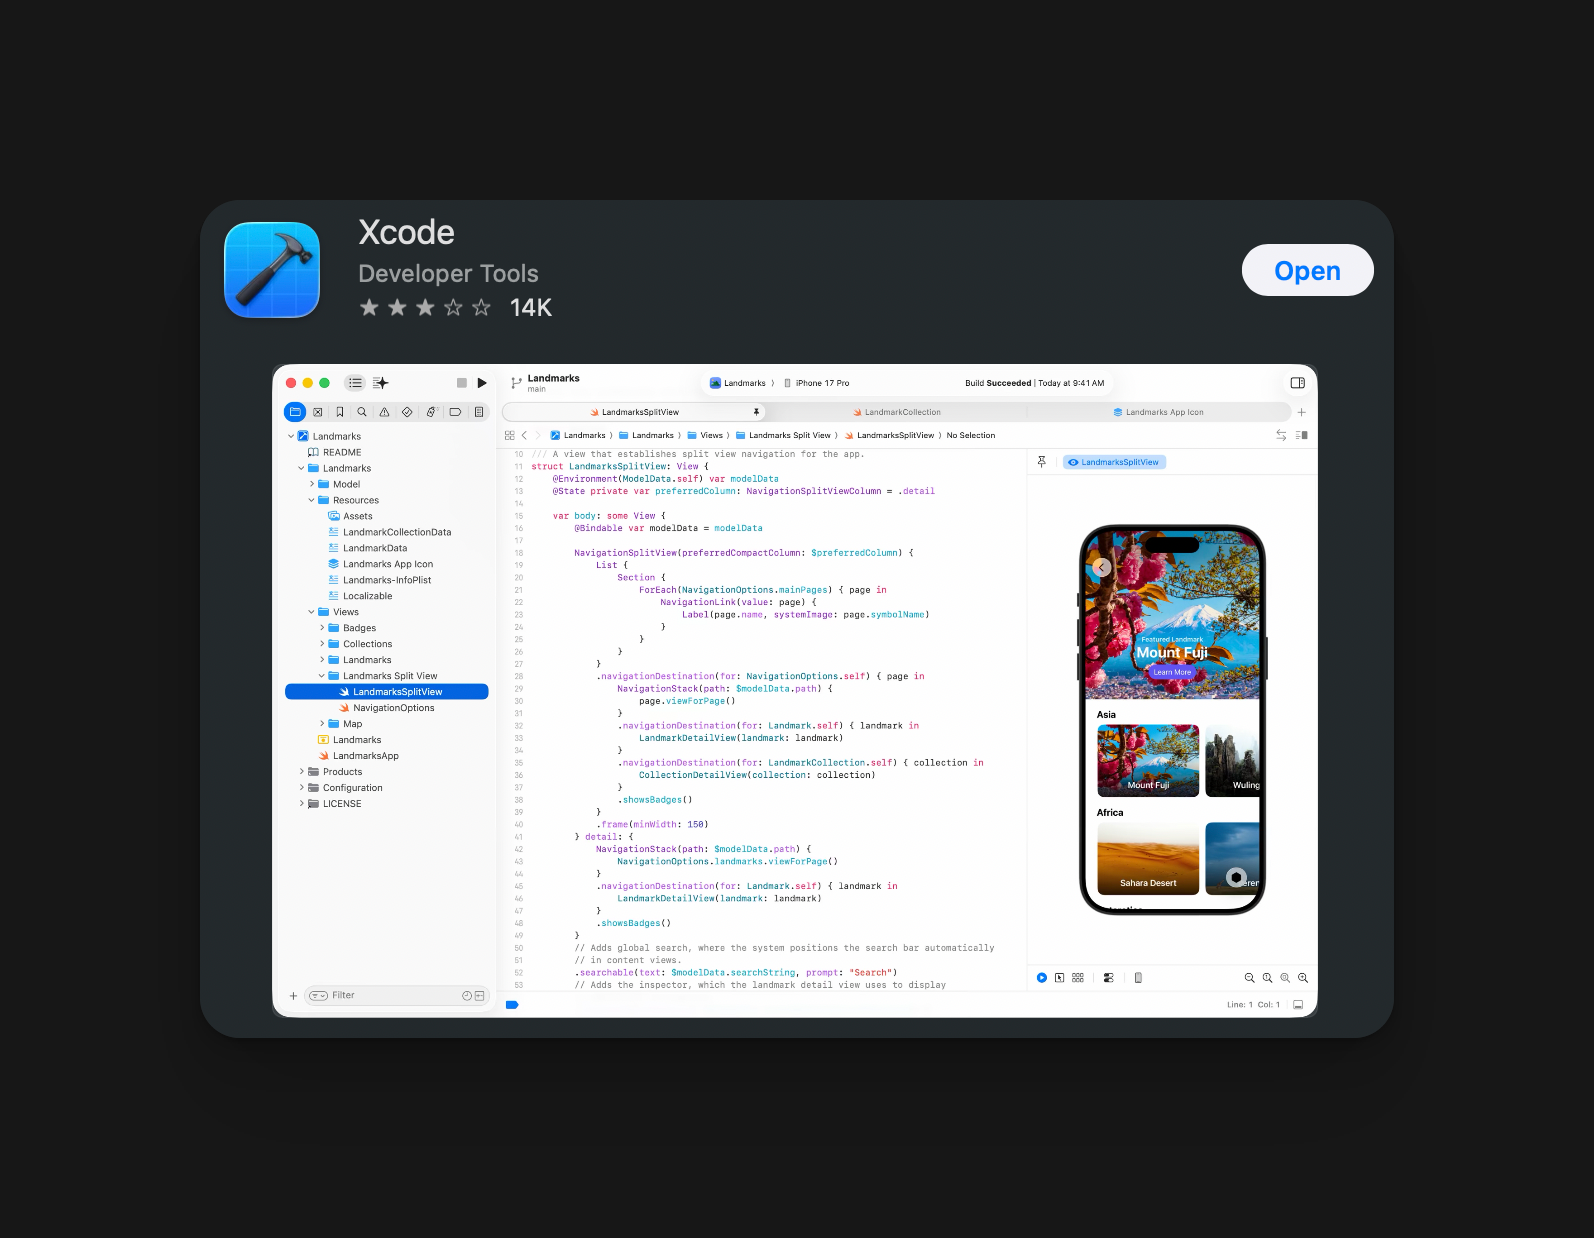
 ### Opening your Rork project in Xcode
Connect to GitHub
### Opening your Rork project in Xcode
Connect to GitHub
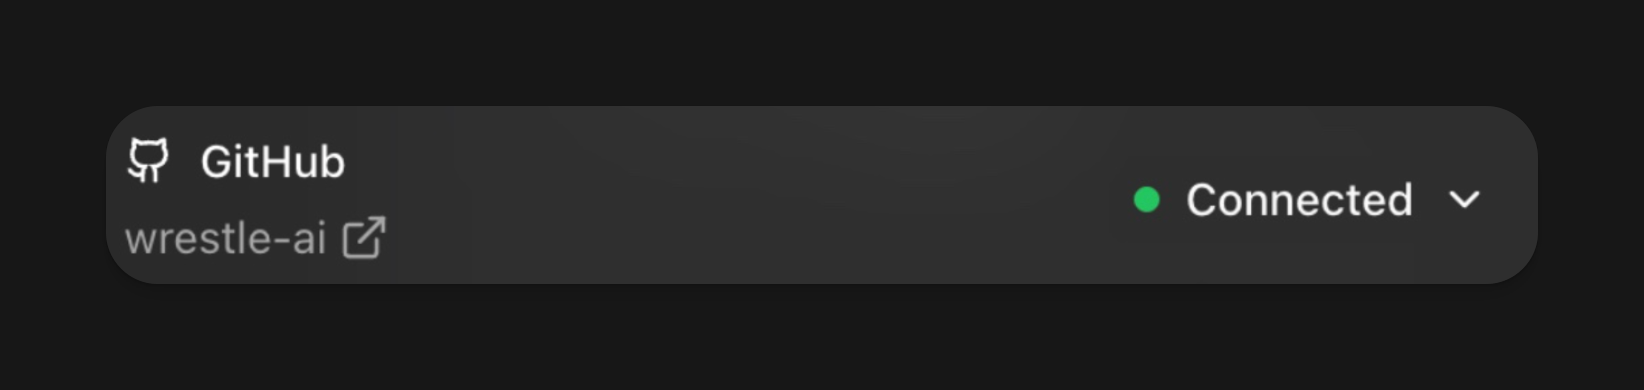 Go to GitHub
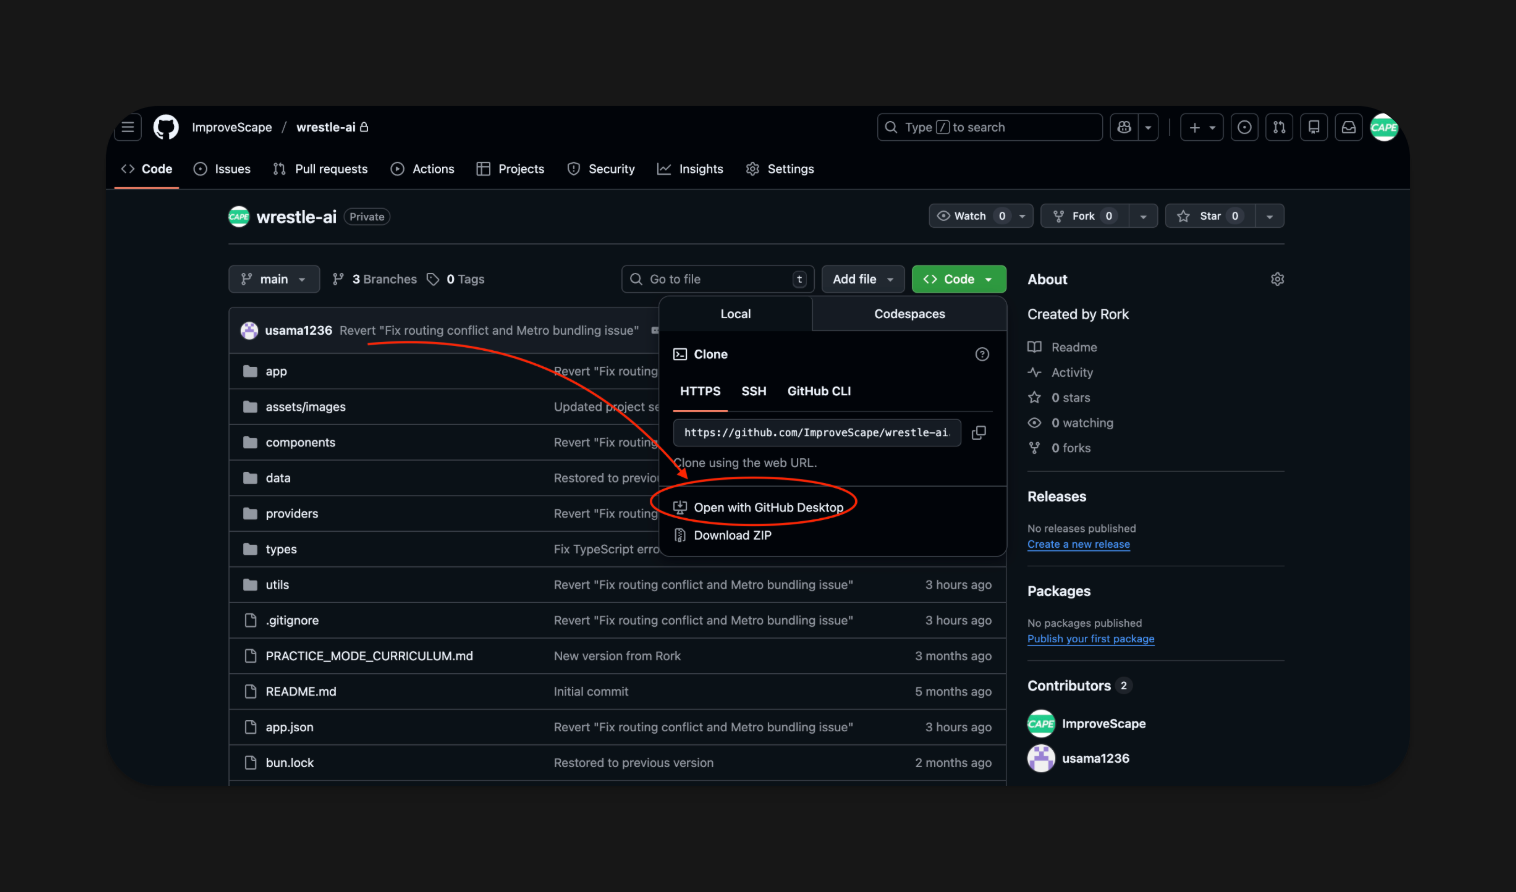 Open with GitHub Desktop
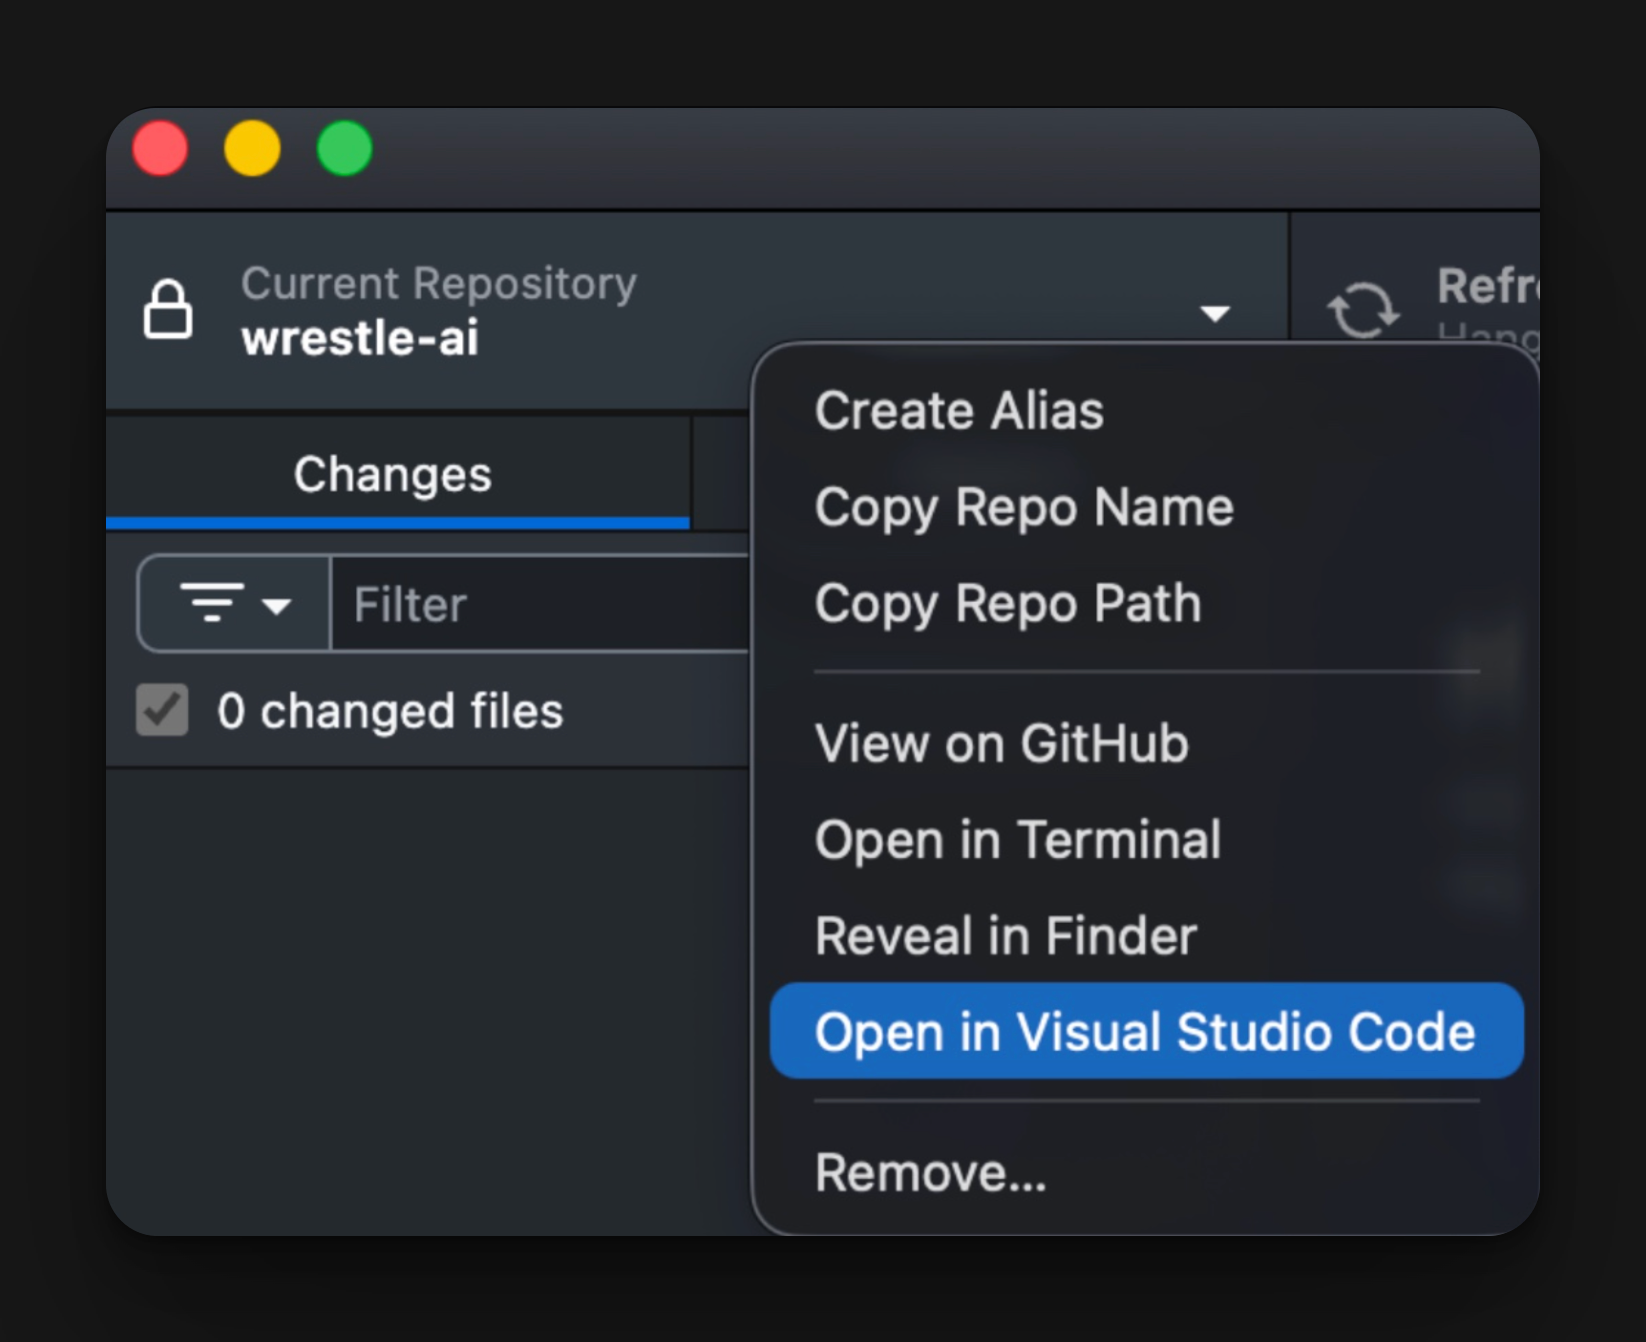 Right-click the name of your app and open it in VS Code:
 Now you'll need to set up your environment
If you're using Rork Max, just type:
```shellscript theme={null}
Xed .
```
If not:
\
**Install Homebrew (if not installed)**
```shellscript theme={null}
/bin/bash -c "$(curl -fsSL https://raw.githubusercontent.com/Homebrew/install/HEAD/install.sh)"
```
**Install Node.js (includes npm)**
```shellscript theme={null}
brew install node
```
**Verify:**
```shellscript theme={null}
node -v
npm -v
```
**Install Yarn**
```shellscript theme={null}
npm install -g yarn
```
**Verify:**
```shellscript theme={null}
yarn -v
```
**Install Expo CLI**
```shellscript theme={null}
npm install -g expo
```
**Verify:**
```shellscript theme={null}
npx expo --version
```
**Install Xcode Command Line Tools**
```shellscript theme={null}
xcode-select --install
```
**Accept license:**
```shellscript theme={null}
sudo xcodebuild -license accept
```
**Install CocoaPods**
```shellscript theme={null}
sudo gem install cocoapods
```
**Verify:**
```shellscript theme={null}
pod --version
```
**Install Project Dependencies**
From project root:
```shellscript theme={null}
yarn
```
**Run iOS Prebuild and Open Xcode**
```shellscript theme={null}
yarn && npx expo prebuild -p ios && xed ios
```
After this, your project should open up in Xcode.
### Here are some issues you may run into and how to solve them:
**If iOS Folder Already Exists**
```shellscript theme={null}
npx expo prebuild -p ios --clean
```
**If Dependencies or Pods Break**
```shellscript theme={null}
rm -rf node_modules ios
yarn
npx expo prebuild -p ios
```
**If CocoaPods Fail**
```shellscript theme={null}
cd ios
pod deintegrate
pod install
cd ..
```
## Final Requirement Check
```shellscript theme={null}
node -v
npm -v
yarn -v
npx expo --version
pod --version
```
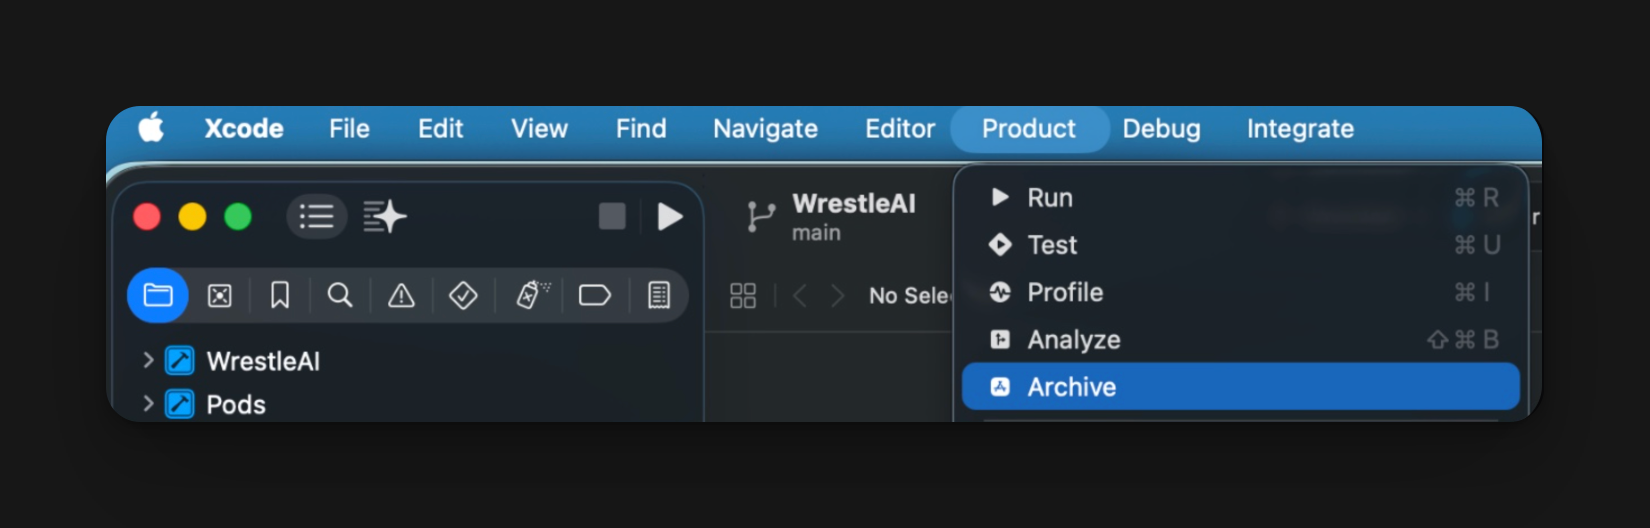
### After your project is open in Xcode, publish to the App Store (via TestFlight)
Navigate to "Product" and click "Archive."
Now you'll need to set up your environment
If you're using Rork Max, just type:
```shellscript theme={null}
Xed .
```
If not:
\
**Install Homebrew (if not installed)**
```shellscript theme={null}
/bin/bash -c "$(curl -fsSL https://raw.githubusercontent.com/Homebrew/install/HEAD/install.sh)"
```
**Install Node.js (includes npm)**
```shellscript theme={null}
brew install node
```
**Verify:**
```shellscript theme={null}
node -v
npm -v
```
**Install Yarn**
```shellscript theme={null}
npm install -g yarn
```
**Verify:**
```shellscript theme={null}
yarn -v
```
**Install Expo CLI**
```shellscript theme={null}
npm install -g expo
```
**Verify:**
```shellscript theme={null}
npx expo --version
```
**Install Xcode Command Line Tools**
```shellscript theme={null}
xcode-select --install
```
**Accept license:**
```shellscript theme={null}
sudo xcodebuild -license accept
```
**Install CocoaPods**
```shellscript theme={null}
sudo gem install cocoapods
```
**Verify:**
```shellscript theme={null}
pod --version
```
**Install Project Dependencies**
From project root:
```shellscript theme={null}
yarn
```
**Run iOS Prebuild and Open Xcode**
```shellscript theme={null}
yarn && npx expo prebuild -p ios && xed ios
```
After this, your project should open up in Xcode.
### Here are some issues you may run into and how to solve them:
**If iOS Folder Already Exists**
```shellscript theme={null}
npx expo prebuild -p ios --clean
```
**If Dependencies or Pods Break**
```shellscript theme={null}
rm -rf node_modules ios
yarn
npx expo prebuild -p ios
```
**If CocoaPods Fail**
```shellscript theme={null}
cd ios
pod deintegrate
pod install
cd ..
```
## Final Requirement Check
```shellscript theme={null}
node -v
npm -v
yarn -v
npx expo --version
pod --version
```
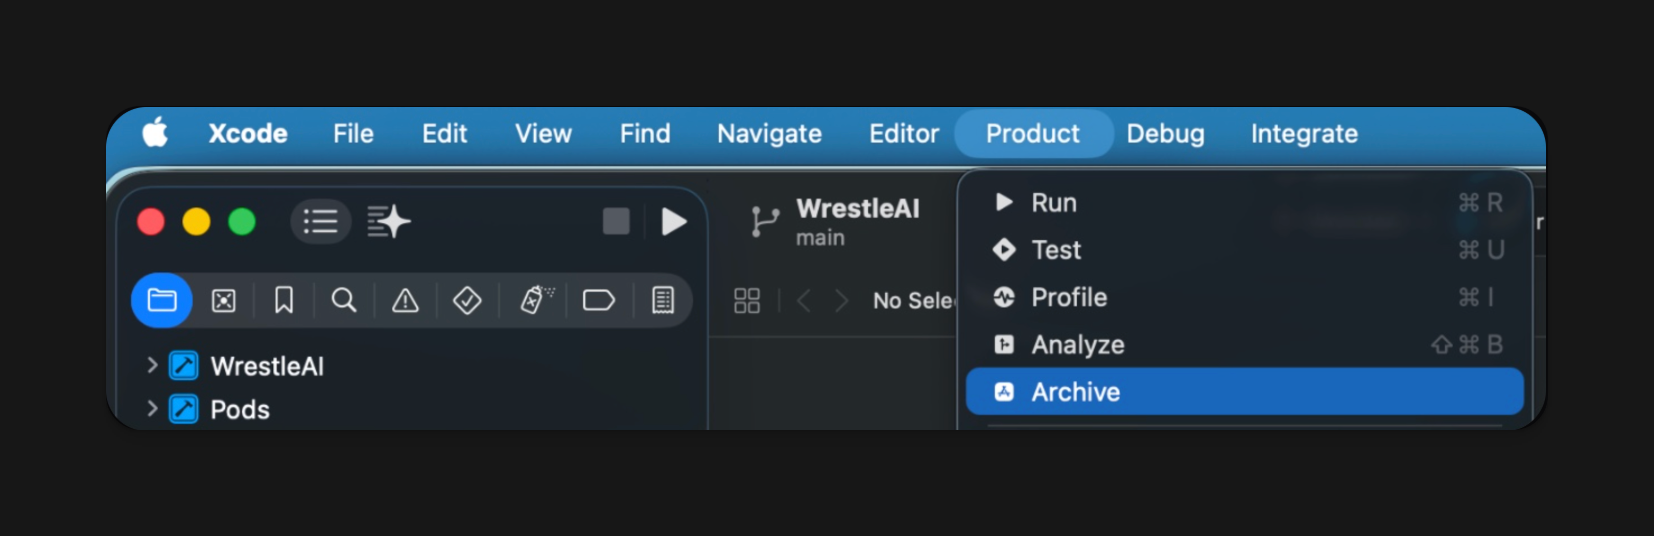
### After your project is open in Xcode, publish to the App Store (via TestFlight)
Navigate to "Product" and click "Archive."
 To test in the simulator:
Hit the play button, and then go back to your VS Code terminal and run: yarn start
## Troubleshooting:
To test in the simulator:
Hit the play button, and then go back to your VS Code terminal and run: yarn start
## Troubleshooting:
 Delete any .lock file, IOS, Android, or node\_modules file. Then rerun the commands before. \
\
Other commands to try:
* Yarn install.
* npm expo prebuild
* Xed ios
* npm expo start
Delete any .lock file, IOS, Android, or node\_modules file. Then rerun the commands before. \
\
Other commands to try:
* Yarn install.
* npm expo prebuild
* Xed ios
* npm expo start