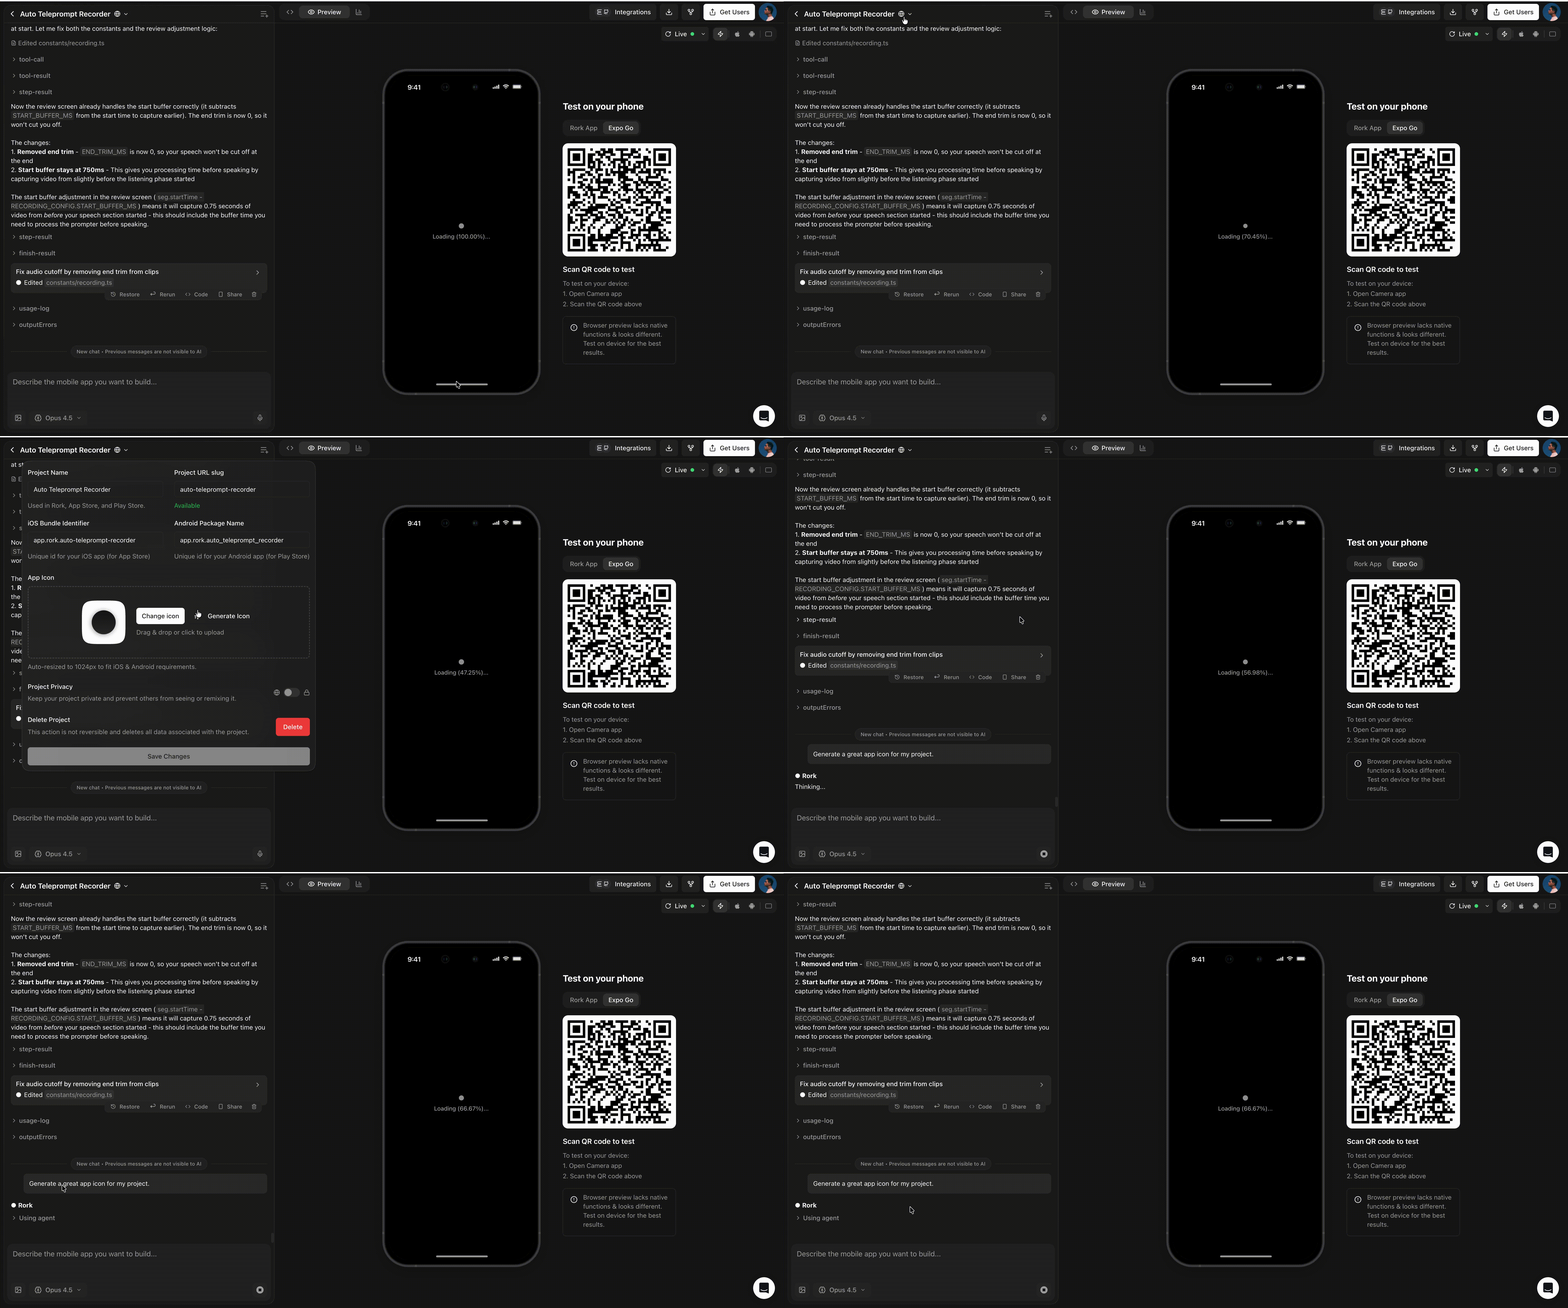
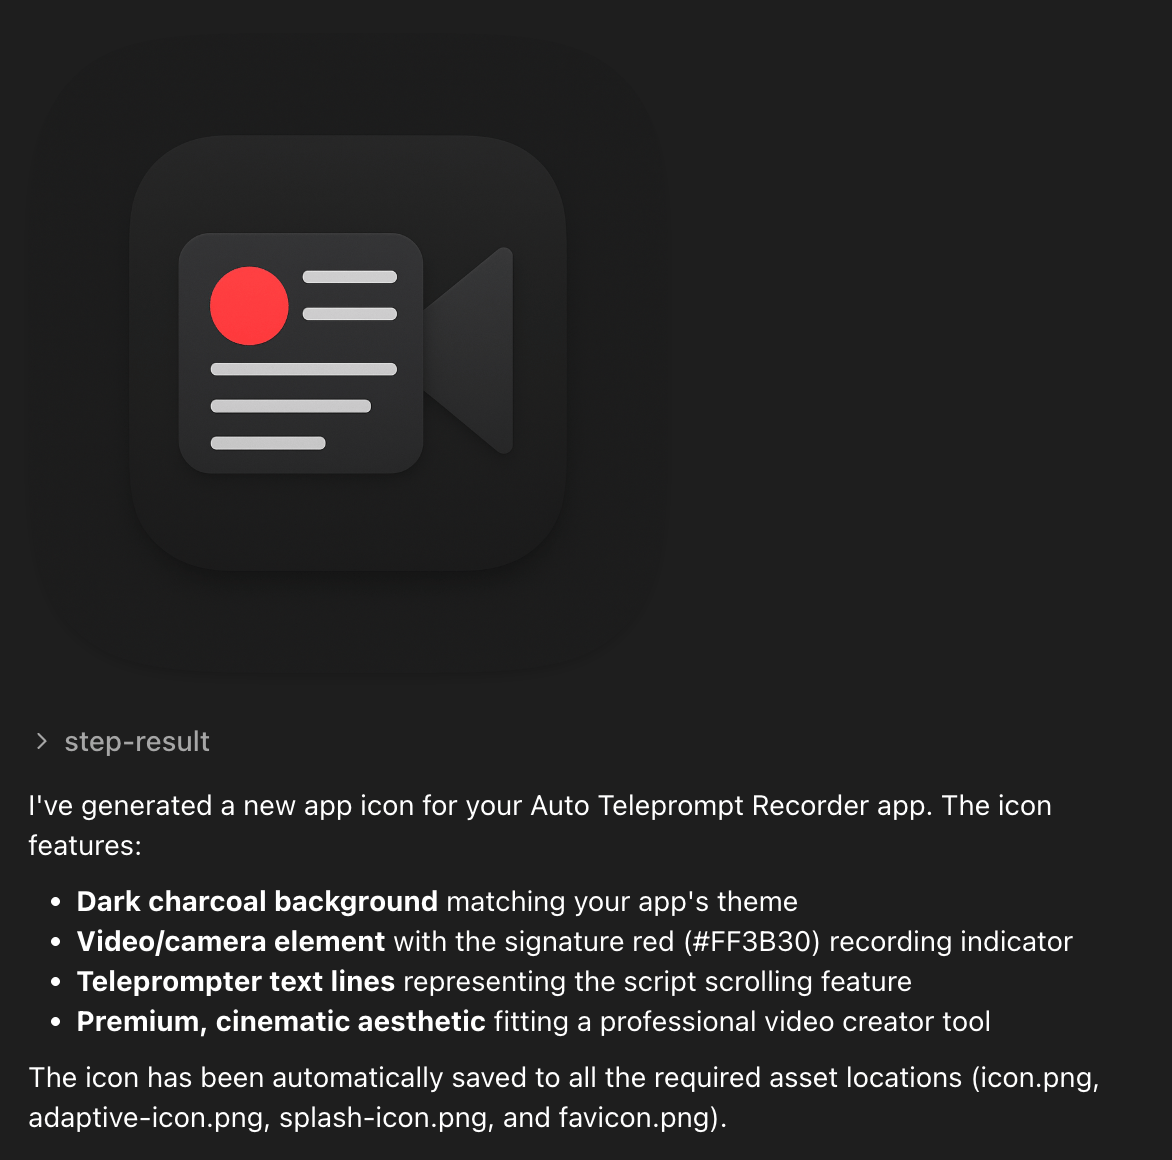
 If all goes correctly, you should see a new icon generated and your app updated! This icon will transfer to your actual published app on the App Store.
## Using Image Generation functionality within a Project
You can create text to image or image to image generation functions for your Rork project. This can be helpful if you are making an app like a Polaroid app, that takes a picture of you and then generates an image in a polaroid for you.
Here is an example prompt for that:
> Please add an AI image generator / NanoBanana for this camera app. When a user takes a photo with this camera app, instead of returning the actual photo, generate a polaroid version of that image. Ask the user what celebrity that want in the picture before generating the image.
This will generate a project thats main function is to take pictures and turn them into polaroids with celebrities.
If all goes correctly, you should see a new icon generated and your app updated! This icon will transfer to your actual published app on the App Store.
## Using Image Generation functionality within a Project
You can create text to image or image to image generation functions for your Rork project. This can be helpful if you are making an app like a Polaroid app, that takes a picture of you and then generates an image in a polaroid for you.
Here is an example prompt for that:
> Please add an AI image generator / NanoBanana for this camera app. When a user takes a photo with this camera app, instead of returning the actual photo, generate a polaroid version of that image. Ask the user what celebrity that want in the picture before generating the image.
This will generate a project thats main function is to take pictures and turn them into polaroids with celebrities.